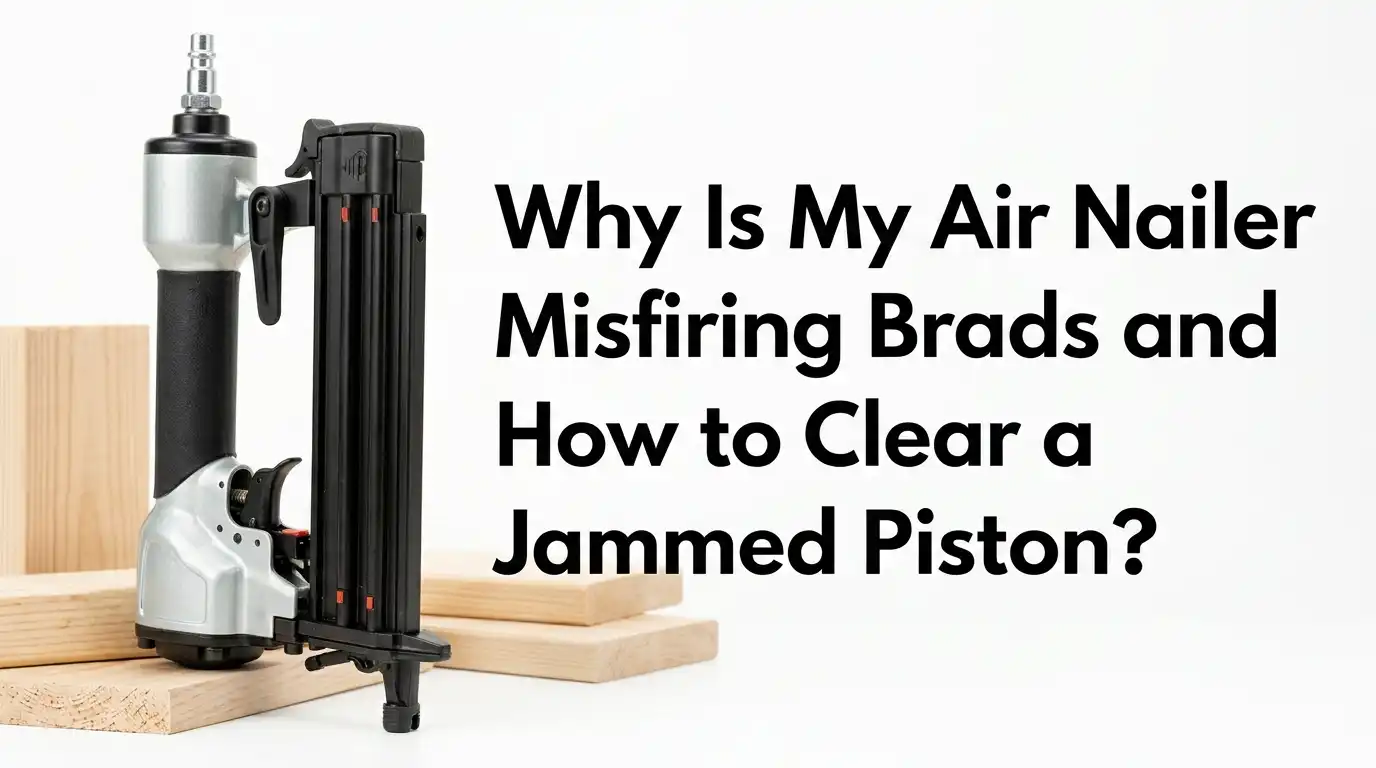
Why Is My Air Nailer Misfiring Brads and How to Clear a Jammed Piston?
Your air nailer was working fine yesterday. Today it spits out half driven brads, skips fasteners, or refuses to fire at all.
That sinking feeling is familiar to every woodworker, trim carpenter, and weekend DIYer. A misfiring brad nailer slows your project, ruins your trim, and sometimes leaves you with a stuck piston that feels impossible to free.
The good news? Most brad nailer problems come from a short list of causes. Low air pressure, bent brads, dry seals, and a jammed driver blade account for almost every misfire you will ever see. You can fix nearly all of them in your own workshop with simple tools.
Key Takeaways
- Always disconnect the air hose first. Never poke around inside a pneumatic tool that is still pressurized. This single step prevents most nail gun injuries.
- Low air pressure is the number one cause of weak shots. Most brad nailers need between 70 and 120 PSI to drive fasteners flush. Check your compressor before blaming the tool.
- Jammed brads usually wedge against the driver blade. Open the nose plate, pull the bent brad with needle nose pliers, and inspect the channel for debris.
- Dry O-rings and a sticky piston cause weak return strokes. Add three to five drops of pneumatic tool oil into the air inlet daily.
- Cheap or wrong size brads jam more often. Stick to the gauge and length printed on your magazine.
- A driver blade that will not return points to worn O-rings, a broken bumper, or a damaged piston. These are repairable with a basic rebuild kit.
Understanding How Your Air Brad Nailer Actually Works
Before you fix the problem, you need a quick picture of what happens inside the tool. A pneumatic brad nailer is simpler than it looks. Compressed air pushes a piston down a cylinder. The piston is connected to a thin metal driver blade. That blade slams the brad into your workpiece.
A spring or air pressure then pushes the piston back to the top. A fresh brad slides into position from the magazine. The cycle repeats every time you press the trigger and contact tip.
Three things must work together for a clean shot. Air must enter at the right pressure, the piston must move freely, and a brad must feed into the firing channel. When any one of these fails, you get a misfire. Knowing this helps you trace the fault quickly instead of guessing.
Common Reasons Your Brad Nailer Is Misfiring
Misfires fall into a few clear categories. Low air pressure is the most common. A weak compressor, a kinked hose, or a clogged filter starves the tool of energy. The driver blade then lacks the force to seat the brad.
Worn O-rings and dry seals come next. Rubber seals harden over time, especially if you skip daily oiling. Air leaks past the piston instead of pushing it. The result is a soft strike or no strike at all.
Bent brads, cheap brads, or the wrong gauge cause feeding failures. The magazine pusher cannot line up a damaged brad with the firing channel.
Debris in the magazine track, sawdust mixed with oil, also blocks the feed. A broken trigger valve or a damaged bumper explains the rest. Each cause has a clear fix that we will cover next.
Safety First: Steps Before You Touch Your Nailer
Pneumatic tools store dangerous energy. Treat every nailer as if it could fire at any second. Follow this routine every single time, even for a quick check.
First, release the trigger and let the tool sit. Second, disconnect the air hose at the quick connect coupler. Third, point the nose at the floor and squeeze the trigger to release any trapped air. Fourth, empty the magazine of all brads.
Wear safety glasses. Keep your hand away from the nose during inspection. Never bypass the contact safety tip with tape or a zip tie. That shortcut causes most accidental fires.
Work on a clean bench with good light. Have a small parts tray ready so tiny screws and O-rings do not roll away. These habits cost you thirty seconds and save you from a trip to the emergency room.
Checking Your Air Pressure and Compressor Setup
Start with the easiest fix. Most brad nailers need 70 to 120 PSI at the tool. Check the spec sticker on your nailer for the exact range. If your compressor regulator reads 90 PSI but the tool fires weakly, the problem may be downstream.
Look at the hose. A 1/4 inch hose longer than 50 feet drops pressure noticeably. Kinks and tight bends choke airflow. A clogged inline filter or a frozen water trap does the same in cold weather.
Pros of fixing pressure first: It costs nothing and solves about half of all misfires. Cons: A failing compressor that cannot keep up under load may need professional service or replacement. Bump the regulator up five PSI at a time until brads sit flush. Never exceed the maximum PSI printed on the tool. Going too high cracks the housing and blows seals.
How to Identify a Jammed Piston in Your Nailer
A jammed piston feels different from a simple brad jam. The trigger clicks but nothing fires. Or the driver blade pokes out of the nose and refuses to retract. Sometimes you hear a hiss of escaping air with no movement at all.
Press the contact tip against scrap wood and pull the trigger. If the tool sounds normal but no brad comes out, the issue is likely in the magazine. If the tool releases air without any thump, the piston is stuck.
Visual check: Look at the tip with the air disconnected. A driver blade that sticks below the nose means the piston is stuck at the bottom of its stroke. That is the classic sign of a worn bumper, a torn O-ring, or a damaged piston ring. Mark this finding before opening the tool. It tells you which parts to inspect first and saves teardown time.
Step by Step Guide to Clearing a Jammed Brad
Most jams clear in under five minutes. Follow these steps in order.
Step 1: Disconnect the air hose and empty the magazine. Step 2: Locate the nose latch or the front bolts on the nose plate. Many nailers use a flip lever you can open by hand. Others need a 4mm Allen key.
Step 3: Open the nose plate and expose the firing channel. You will usually see a bent brad wedged sideways against the driver blade. Step 4: Grab the brad with needle nose pliers and pull it straight out. Do not yank at an angle.
Step 5: Shine a flashlight into the channel. Remove any broken pieces, sawdust, or oil residue. Step 6: Close the nose plate and tighten the bolts. Step 7: Reload a fresh strip of brads. Reconnect the air and test fire into scrap wood. Pros: fast and free. Cons: repeated jams point to a deeper issue like a worn driver blade or a weak feed spring.
How to Free a Stuck Piston Safely
If the driver blade will not return, the piston needs help. Try lubrication first. With the air disconnected, place three to five drops of pneumatic tool oil into the air inlet. Reconnect the hose briefly and dry fire the tool a few times. Often the oil softens hardened seals and the piston pops free.
If oiling fails, you must open the tool. Remove the top cap or cylinder cap. Most caps use four to six hex bolts in a square pattern. Loosen them evenly in a crisscross pattern to avoid warping the housing.
Lift out the piston assembly. Inspect the piston ring, the bumper at the bottom, and the cylinder walls. Replace any cracked O-rings, torn bumpers, or scored piston rings. Wipe the cylinder clean and apply a thin film of pneumatic grease before reassembly. Pros: a full rebuild kit costs little and restores the tool to like new. Cons: small parts and tight tolerances make this a patient job.
Lubrication: The Habit That Prevents Most Failures
Daily oiling is the single best habit for any pneumatic nailer. Air tool oil keeps the O-rings soft, the piston smooth, and the cylinder slick. Skip this step and seals dry out in months.
The routine takes ten seconds. Disconnect the air. Place three to five drops of pneumatic tool oil directly into the air inlet fitting. Reconnect the hose, point the nose at scrap wood, and fire five or six times. The air carries the oil through every internal surface.
Use only pneumatic tool oil. Do not use motor oil, WD 40, or 3 in 1 oil. Motor oil is too thick and gums up valves. WD 40 strips lubrication and dries out rubber. Pros: pennies per session and prevents almost every seal failure. Cons: oil mist can stain raw wood, so keep a rag handy and fire the first shots into scrap before working on a finished surface.
Replacing Worn O-Rings, Bumpers, and Driver Blades
When lubrication and unjamming do not solve the problem, parts wear is the cause. A complete rebuild kit for most popular brad nailers includes O-rings, the piston bumper, and sometimes a new driver blade. Kits are available from the original manufacturer and from third party suppliers.
Match the kit to your exact model number, which is stamped on the housing or magazine. Generic kits sometimes fit but the O ring thickness can vary by a fraction of a millimeter. That tiny difference causes leaks.
Lay out the old parts in the order you removed them. Take phone photos at each step. Install new O-rings with a thin coat of pneumatic grease, never dry.
Seat the bumper firmly at the bottom of the cylinder. Pros: a fifteen dollar kit can save a hundred dollar tool. Cons: if the cylinder wall is scored, no kit will create a proper seal and the tool may need professional repair or replacement.
Choosing the Right Brads to Avoid Future Jams
Cheap brads cause more jams than any other single factor. Low quality strips break apart, bend during feeding, and leave glue residue inside the magazine. Always match the gauge, length, and head style printed on your tool.
An 18 gauge nailer takes 18 gauge brads, full stop. Mixing 16 gauge or 23 gauge fasteners damages the driver blade and the magazine. Length matters too. Brads that are too long for your tool jam at the nose. Brads that are too short rattle in the channel.
Store brads in a dry place. Rust expands the strip and causes feed problems. Pros of using quality brads: smooth feeding, clean drives, and less wear on internal parts. Cons: name brand fasteners cost slightly more per box. That small upcharge pays for itself the first time you avoid a ruined trim board or a workshop trip to clear a stubborn jam.
When to Repair Yourself Versus Call a Pro
Most repairs are within reach of any DIYer with hex keys, needle nose pliers, and patience. Clearing jams, oiling, replacing O-rings, and swapping bumpers are all home shop tasks. A rebuild kit and an hour at the bench fix the majority of issues.
Some jobs deserve professional help. A cracked aluminum housing, a bent magazine rail, or a damaged trigger valve assembly often costs more in parts than the tool is worth. A pro shop has factory diagrams and the right press tools for tight fits.
Pros of DIY repair: low cost, faster turnaround, and you learn your tool inside out. Cons: small parts can launch across the shop, and some manufacturers void warranties for owner repairs. Pros of pro service: guaranteed work and proper testing. Cons: repair fees on a midrange brad nailer sometimes equal a new tool. Weigh the math before you commit.
Maintenance Routine to Keep Your Nailer Firing Smoothly
A simple weekly routine prevents almost every problem in this guide. Before each session, add three to five drops of pneumatic tool oil to the air inlet. Wipe the magazine clean with a dry cloth. Check the brad strip for bent fasteners.
After each session, blow out the magazine with low pressure compressed air. Wipe the nose and contact tip. Store the nailer in a dry case, never on a damp concrete floor.
Once a month, open the magazine fully and clean the feed track with a stiff brush. Inspect the driver blade tip for chips or mushrooming. Check all visible bolts for tightness.
Once a year, consider a full O ring replacement even if the tool runs fine. Pros of routine care: your nailer can last twenty years or more. Cons: it takes five minutes a day that some users skip until the tool fails. Do the five minutes.
Frequently Asked Questions
Why does my brad nailer fire only on the second pull of the trigger?
This usually points to low air pressure or a sticky trigger valve. The first pull does not build enough force to drive the blade. Increase your regulator by five PSI and oil the tool. If the issue continues, the trigger valve O-rings need replacement.
Can I use WD 40 to lubricate my air nailer?
No. WD 40 is a solvent, not a lubricant. It strips away protective oil and dries out rubber O-rings. Use only pneumatic tool oil designed for air tools. A small bottle lasts months and protects every internal seal.
How do I know if my driver blade is bent?
A bent driver blade leaves crooked or sideways brad impressions. You may also see the blade tip catch on the nose channel. Open the nose plate and look at the blade edge. If the tip is curled, chipped, or twisted, replace it.
What PSI should I set for an 18 gauge brad nailer?
Most 18 gauge brad nailers run best between 70 and 90 PSI for softwoods and 90 to 110 PSI for hardwoods. Always check the maximum PSI on the tool body. Start low, test on scrap, and bump up until brads sit flush.
Why does my piston not return after firing?
A piston that does not return points to a torn piston O ring, a worn bumper, or trapped debris. Disconnect the air, open the top cap, and inspect the piston assembly. A rebuild kit usually solves the issue for a small cost.
How often should I oil my brad nailer?
Oil it every day you use it, before the first shot. Three to five drops in the air inlet is enough. Tools with built in auto oilers in the air line need less direct oiling, but a few drops never hurts.

Hi, I’m Leah Ray — the voice behind CraftBench Vault. I’m a passionate woodworking enthusiast dedicated to reviewing the best wood cutting tools and woodworking products. Through honest research and hands-on experience, I help fellow crafters make smarter buying decisions. Welcome to my workshop!