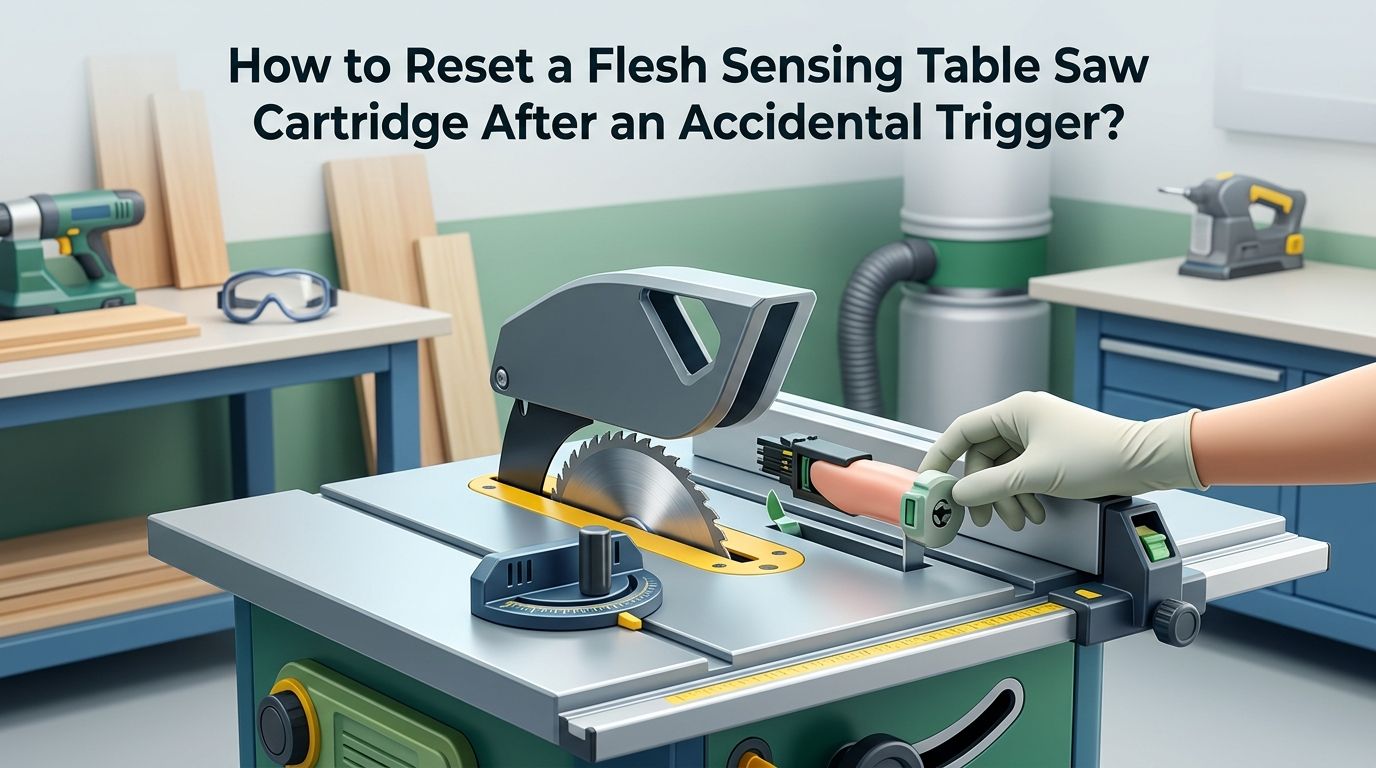
How to Reset a Flesh Sensing Table Saw Cartridge After an Accidental Trigger?
Your table saw just fired its brake cartridge and the blade dropped below the surface in a split second. The shop is quiet, the motor stopped, and now you are staring at a saw that will not start.
If this happened because of wet wood, a stray nail, or a random false trigger instead of actual skin contact, the frustration is real. You still have a project to finish, and every minute counts.
The good news is that getting your saw back to full operation is a straightforward process. You do not need a technician or a service call.
In a Nutshell
- The brake cartridge is a one time use component. Once it fires, the internal aluminum brake pawl locks into the blade teeth and cannot be reused. You must install a brand new cartridge every time the system activates, whether the trigger was real or accidental.
- Resetting the arbor block is the critical first step most people overlook. The spinning blade transfers its angular momentum into the arbor block during activation, causing it to drop out of its retraction bracket. You reset it by turning the elevation handwheel fully counterclockwise until the arbor block snaps back into its support mechanism.
- Your blade will likely need replacement or professional inspection. The brake pawl strikes the blade teeth with extreme force. This often breaks or pulls off one or more carbide teeth. Some woodworkers reuse the blade after a careful inspection, but the safest option is to replace it.
- Accidental triggers have common and preventable causes. Very wet or green wood, hidden metal like nails and staples, conductive coatings, and improper cartridge gap settings are the top culprits. Understanding these triggers lets you avoid burning through expensive cartridges.
- Bypass mode exists for a reason. If you suspect your material might cause a false activation, the bypass feature lets you make a test cut with the safety brake disabled. This can save you the cost of a cartridge and blade.
- The manufacturer may replace your cartridge for free. If the brake fired because of actual skin contact, you can ship the used cartridge to the manufacturer for data analysis. Verified skin contact activations qualify for a free replacement cartridge.
How to Tell if Your Cartridge Trigger Was Accidental?
The first thing you want to know after an activation is why it happened. If your fingers were nowhere near the blade, you are dealing with a false trigger. Several clues help confirm this.
Check the material you were cutting. Was the wood very wet, freshly milled, or pressure treated? Extremely moist wood conducts electricity and can mimic the signal that human skin sends to the detection system. If the cut surface sprays a visible mist, the wood was likely too wet for standard mode.
Look at the blade area. Did you hit a hidden nail, staple, or piece of metal? Metal objects are highly conductive and will fire the brake immediately. Also check if the material had any foil backing, metallic paint, or conductive adhesive.
Review your cartridge installation. If the brake gap between the cartridge and the blade was set too tight, vibrations from the motor can cause a false activation. The LED status lights on the switch box also provide error codes that can indicate what went wrong.
How to Power Down the Saw Safely Before Starting?
Never touch the blade, cartridge, or any internal component while the saw has power. This is the most important safety rule during the entire reset process.
Turn the main power switch to the OFF position first. Then locate the disconnect switch or unplug the saw from its power source entirely. Wait at least ten seconds for any residual electrical charge to dissipate. The LED status lights on the switch box should go completely dark.
Remove the throat plate to access the blade and cartridge area. Set aside any riving knife or splitter that may block access. Place your tools within reach so you are ready for the next steps.
This full power down protects you from accidental motor starts and also prevents the safety system from firing a new cartridge the moment you install one. Skipping this step can damage your replacement parts and create a genuine safety hazard.
How to Reset the Arbor Block After Activation?
The arbor block holds the blade and sits inside a spring loaded retraction bracket. During brake activation, the force of the stopping blade knocks the arbor block out of this bracket. Until you reset it, the blade cannot raise or lower properly.
Grab the elevation handwheel on the front of the saw. Turn it counterclockwise (the lowering direction) all the way until it hits the lower limit stop. You will feel a distinct click or snap as the arbor block re engages the retraction bracket. Now slowly turn the handwheel clockwise to raise the blade back up.
If the handwheel method does not work, you can manually reset the arbor block. Reach through the throat plate opening and grip the arbor bolt. Pull it sharply upward with a firm, quick tug. You should feel the block pop back into the bracket. This manual method works on PCS, ICS, CB, and JSS models.
Pro tip: if the arbor feels stuck or grinds when you turn the handwheel, do not force it. Check for brake pawl debris jammed in the mechanism first.
How to Remove the Spent Brake Cartridge?
With the arbor reset and the saw fully powered down, you can now remove the fired cartridge. The brake pawl will almost always be lodged in the blade teeth, so you will remove the blade and cartridge together.
Locate the cartridge locking key on top of the cartridge housing. Turn the key to the unlock or OFF position. Slide the cartridge straight out from its mounting slot. The blade will often come out attached to the cartridge because the pawl is wedged into the teeth.
If the blade is stuck to the pawl, hold the cartridge firmly and twist the blade gently to separate them. Wear thick work gloves because the damaged blade teeth can be sharp and jagged. Some users find that a flat head screwdriver helps pry the pawl away from the blade.
Pros of removing both together: faster and cleaner removal, less risk of damaging the arbor.
Cons of removing both together: slightly awkward to handle, requires a second hand or a vise to separate the parts.
Set the spent cartridge aside. Do not throw it away yet if you plan to send it in for data analysis.
How to Inspect and Evaluate the Blade?
Once the blade is separated from the cartridge, inspect every tooth carefully with a magnifying glass or bright shop light. The brake pawl strikes with tremendous force and speed. It commonly chips, cracks, or completely removes one or more carbide teeth.
Mark the area of contact with a piece of tape so you know which teeth to examine closely. Look for missing carbide tips, hairline cracks at the braze joint, or bent tooth bodies. Even a single cracked tooth can become a projectile at full RPM.
Pros of reusing an inspected blade: saves money, reduces waste, and high quality blades can sometimes be professionally repaired.
Cons of reusing an inspected blade: hidden micro cracks may not be visible, a thrown tooth creates serious injury risk, and the manufacturer recommends replacement.
If you choose to reuse the blade, have it professionally inspected by a saw blade sharpening service that can test for structural integrity. If multiple teeth are damaged, replacement is the only safe option.
How to Install a New Brake Cartridge?
Installing a fresh cartridge takes about 90 seconds. Make sure the saw is still completely powered off before you begin.
Slide the new cartridge into the mounting slot until it seats firmly against the stop. The cartridge should slide in smoothly without resistance. Turn the cartridge locking key to the ON or locked position. Give the cartridge a gentle tug to confirm it is seated and locked.
Now install your new or inspected blade onto the arbor. Tighten the arbor nut securely using the included wrench. Replace the throat plate and riving knife before you do anything else.
Check the gap between the brake cartridge and the blade. Most saws include a plastic feeler gauge for this purpose. The gap should be close but not touching. If the cartridge sits too close to the blade, it can cause false activations from vibration. If it sits too far away, the response time increases.
Reconnect the power source and turn on the main power switch. Watch the LED status lights on the switch box. A steady green light means the system is ready. Any blinking red light indicates a problem that needs attention.
How to Read the LED Status Codes on Your Saw?
The LED lights on the switch box are your diagnostic tool. They tell you exactly what the saw’s safety system needs before it will start. Understanding these codes saves you from guessing.
A solid green light means the system detects the blade, the cartridge is installed correctly, and the saw is ready to run. A solid red light with no green typically means the brake cartridge needs replacement or is not installed.
Alternating red and green flashing usually indicates the cartridge position needs adjustment. A slow blinking green with solid red often means the brake gap is too close. Each manufacturer model has a slightly different code chart, so keep your owner’s manual nearby.
If you see an error code after installing a new cartridge, power down the saw, remove the cartridge, reseat it, and check the gap again. Many error codes clear themselves once the cartridge is properly aligned and locked.
How to Prevent False Activations From Wet Wood?
Wet wood is the number one cause of accidental brake triggers. The flesh sensing system works by detecting changes in an electrical signal on the blade. Highly conductive materials like very green or soaked lumber can mimic human skin and trick the system.
Before cutting wet wood, test the material in bypass mode first. Bypass mode disables the brake mechanism for a single cut so you can check if the material triggers a warning. On most models, you activate bypass mode by holding the start paddle for several seconds until the red light flashes once.
Pros of using bypass mode: prevents costly false activations, lets you work with borderline materials safely.
Cons of using bypass mode: the brake will not fire during the bypass cut, so you lose protection for that pass.
If the saw blinks a warning during the bypass cut, the wood is too conductive for standard mode. Allow the wood to dry further, or continue all cuts in bypass mode while exercising extra caution and keeping hands well away from the blade.
How to Avoid Triggers From Hidden Metal in Wood?
Reclaimed lumber, pallet wood, and old barn boards often contain hidden nails, staples, screws, and wire fragments. These metal objects are extremely conductive and will fire the brake instantly on contact.
Use a handheld metal detector or a strong magnet to scan every board before cutting. Run the detector along the full length of the board, including edges where old fasteners tend to hide. Mark any suspicious spots with chalk or tape and remove the metal before cutting.
Pros of scanning with a metal detector: cheap, fast, prevents cartridge loss, and also protects your blade from damage.
Cons of scanning with a metal detector: adds a step to your workflow, very small fragments may not register on basic detectors.
If you work with reclaimed wood regularly, consider keeping a spare cartridge and blade in the shop at all times. This way, a surprise trigger does not shut down your project for days while you wait for parts.
How to Set the Correct Brake Cartridge Gap?
An improper gap between the cartridge and the blade is a common cause of false activations, especially after a cartridge swap. The gap must be close enough for fast response but far enough to avoid vibration triggers.
Every saw ships with a plastic feeler gauge specifically made for setting this gap. After installing the new cartridge and blade, slide the feeler gauge between the cartridge’s brake pawl and the blade body. Adjust the cartridge position until the gauge slides through with light resistance.
If you lost the feeler gauge, contact the manufacturer for a replacement. Do not use random shims or business cards as substitutes because the gap tolerance is very precise.
After setting the gap, power on the saw and watch the status lights. If the green light holds steady, the gap is correct. If you see an error code, power down and readjust. Getting this gap right is the single best thing you can do to prevent repeat false triggers.
How to Send Your Cartridge in for Free Replacement?
If the brake activated because of actual skin contact, the manufacturer will often send you a free replacement cartridge after verifying the activation data.
Every cartridge contains a small memory chip that records signal data during operation. When the brake fires, the most recent readings are saved. Ship the spent cartridge to the manufacturer’s service address with a brief note explaining what happened. They will download the data, analyze it, and determine exactly what caused the trigger.
You pay for shipping to the manufacturer. Analysis and data download are free of charge. If the engineers confirm skin contact caused the activation, a new cartridge arrives at no cost.
Even if your trigger was accidental, sending in the cartridge is valuable. The analysis tells you precisely what caused the false trigger, whether it was moisture, metal, electrical interference, or a gap issue. This information helps you prevent the same problem in the future.
How to Keep a Spare Cartridge and Blade Ready?
Every woodworker with a flesh sensing saw should keep at least one spare brake cartridge and one spare blade in the shop at all times. An activation without spares means your saw sits idle until parts arrive.
Store the spare cartridge in its original packaging in a cool, dry location. Moisture, dust, and extreme heat can degrade the cartridge electronics over time. Keep it away from metal shavings and solvents.
A standard brake cartridge costs around $119 USD and a dado cartridge costs around $139 USD. A quality 10 inch table saw blade ranges from $30 to over $100 depending on tooth count and quality. Compared to the cost of a hospital visit or lost work time, this small investment provides real peace of mind.
Label your spare parts with the purchase date. Cartridges do not have a published expiration date, but rotating stock every few years is a smart practice for any electronic safety component.
Frequently Asked Questions
How long does it take to reset a flesh sensing table saw after activation?
The complete reset process takes about five to ten minutes for someone doing it the first time. Experienced users can swap the cartridge and blade in as little as 90 seconds. The arbor block reset adds only a few extra seconds. Having a spare cartridge and blade already in the shop eliminates any waiting for parts.
Can I reuse the brake cartridge after it fires?
No. The brake cartridge is a single use component. The internal brake pawl deforms permanently when it engages the blade. The sealed housing cannot be opened, repaired, or recharged. You must install a new cartridge after every activation, whether the trigger was real or accidental.
Will the saw work without a brake cartridge installed?
The saw will not start without a properly installed brake cartridge. The safety system checks for the cartridge every time you power on the saw. If the cartridge is missing or improperly seated, the status lights will show an error code and the motor will not engage.
Does a false activation damage the saw itself?
No. The saw is engineered to absorb the full force of brake activation without sustaining structural damage. The arbor, motor, gears, and frame are all rated for repeated activations. The only components that need replacement are the expendable brake cartridge and potentially the blade.
How do I know if my blade is safe to reuse after activation?
Inspect every tooth with a magnifying glass under good lighting. Look for missing carbide tips, cracks, chips, or bent bodies. If you find any damage, replace the blade or send it to a professional sharpening service for evaluation. When in doubt, a new blade is always the safest choice.
What is bypass mode and when should I use it?
Bypass mode temporarily disables the brake activation system for a single cut. Use it when cutting materials that may be too conductive for standard mode, such as very wet wood or materials with metallic coatings. The brake will not fire during a bypass cut, so maintain maximum hand distance from the blade and use proper push sticks.

Hi, I’m Leah Ray — the voice behind CraftBench Vault. I’m a passionate woodworking enthusiast dedicated to reviewing the best wood cutting tools and woodworking products. Through honest research and hands-on experience, I help fellow crafters make smarter buying decisions. Welcome to my workshop!