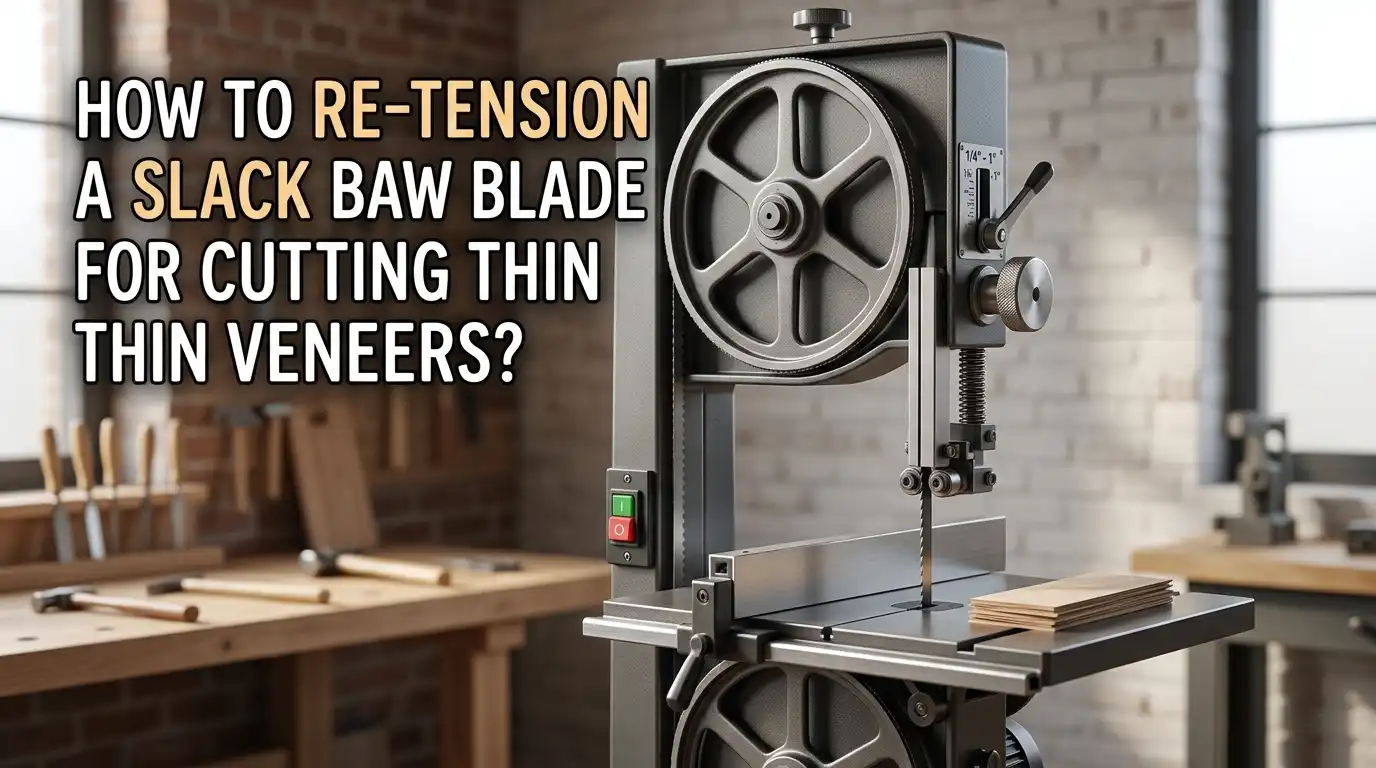
How to Re Tension a Slack Band Saw Blade for Cutting Thin Veneers?
Have you ever started a veneer cut on your band saw only to watch the blade wander, bow, or produce wavy slices that are too thick on one side and paper thin on the other? A slack band saw blade is the most common reason behind poor veneer cuts.
The blade loses its stiffness, drifts during the cut, and ruins expensive stock. The good news is that re tensioning your blade is a straightforward fix that any woodworker can handle in minutes.
This guide walks you through exactly how to diagnose a slack blade, set the right tension, and get back to producing clean, uniform veneers.
Key Takeaways
- A slack blade is the number one enemy of thin veneer cuts. Without proper tension, the blade lacks the beam strength to resist sideways deflection. This causes the blade to bow during resawing and creates uneven thickness across your veneers.
- Built in tension gauges on most band saws are not accurate. Consumer woodworking tests and expert reviews have confirmed that the tension scales on most machines read lower than the actual tension needed. You should use secondary methods like the flutter test, deflection test, or a dedicated tension meter to verify your setting.
- The recommended tension for veneer cutting is between 15,000 and 30,000 PSI depending on blade type. Standard carbon steel blades perform well at 15,000 to 20,000 PSI, while carbide tipped and bimetal blades need 25,000 to 30,000 PSI for best results.
- Always release blade tension after each use. Leaving a blade under full tension when the saw sits idle causes the blade to stretch permanently. It also weakens the weld joint and can stress the saw’s wheel shaft over time through metal fatigue.
- Blade tension alone will not fix all veneer cutting problems. You also need a sharp blade, properly set guides, a square fence, and a steady feed rate. Tension is one piece of a larger setup puzzle.
- Test your tension with a scrap piece before cutting good stock. A quick trial cut tells you immediately whether the blade is drifting, bowing, or cutting straight. Two minutes of testing can save you from wasting valuable wood.
Why Does a Band Saw Blade Go Slack
Band saw blades lose tension for several reasons. The most common cause is the tension spring weakening over time. Every band saw uses a spring mechanism to press the upper wheel upward and stretch the blade. As this spring ages, it delivers less force even at the same dial setting.
Heat also plays a role. During long resawing sessions, friction warms the blade. Steel expands when heated, and that expansion reduces the effective tension. If you tensioned the blade cold and then run it for 20 minutes, the tension drops.
Leaving the blade under tension overnight or for days at a time accelerates permanent stretch. Metal fatigue builds up in both the blade and the wheel shaft. The blade gradually elongates, and the spring must travel further to compensate.
Signs Your Blade Needs Re Tensioning
You can spot a slack blade quickly if you know what to look for. The first sign is blade flutter. Turn the saw on and watch the blade carefully. A slack blade will vibrate or shimmy visibly between the wheels.
The second sign shows up in your cuts. If the blade drifts to one side during resawing, or if the cut surface has a pronounced bow shape, tension is likely too low. Inconsistent veneer thickness from one end of the board to the other is a classic symptom.
You may also hear a difference. A properly tensioned blade produces a steady hum. A slack blade sounds uneven and sometimes makes a flapping noise. Push the blade sideways with the saw off. If it deflects more than a quarter inch with moderate finger pressure over a six inch span, it needs more tension.
Tools You Need for Re Tensioning
You do not need expensive specialty tools to re tension a band saw blade, though some tools improve accuracy. At minimum, you need your saw’s built in tensioning wheel or knob and a small ruler or straightedge to check deflection.
For better precision, a dial indicator mounted on a magnetic base or clamped to the blade gives you a direct reading of blade stretch. You can build a simple tension gauge from a cheap dial indicator and two spring clamps for under ten dollars.
A dedicated blade tension meter is the gold standard. These devices clamp directly to the blade and display tension in PSI on a dial. They cost around 135 to 350 dollars. Professional shops that resaw frequently find this investment pays for itself in blade life and material savings.
You also want a wrench set for guide adjustments and a square for checking fence alignment.
The Flutter Method for Setting Tension
The flutter method is one of the simplest and most reliable ways to set blade tension. Blade and saw manufacturers both recommend it. Here is how it works step by step.
First, unplug the saw for safety. Install the blade and move the upper and lower blade guides as far out of the way as possible. Remove the throat plate from the table. Center the blade on the wheels by adjusting tracking while turning the top wheel by hand.
Now plug in the saw and turn it on. Slowly release the tension by turning the tensioning wheel about a half turn at a time. Watch the blade closely. At some point, the blade will start to visibly flutter or vibrate.
Once you see flutter, gradually increase the tension until the fluttering just stops. Then give the tension wheel another quarter to half turn tighter. Power down the saw and reset your guides. This method gives you reliable tension without any gauges.
Pros: Free, requires no special tools, recommended by manufacturers.
Cons: Less precise than a meter reading, requires a trained eye to spot subtle flutter.
The Deflection Test for Quick Checks
The deflection test is another fast way to verify blade tension without a meter. It works by measuring how far the blade bows sideways under finger pressure. This method takes under a minute and gives you a reasonable estimate.
Set the upper blade guides about six inches above the table. With the saw unplugged, press the side of the blade with your index finger using moderate force. The blade should not deflect more than a quarter inch from its resting position.
If it moves more than that, the blade is too slack. Tighten the tension wheel and test again. The key word here is consistency. Push with the same pressure each time so you develop a reliable feel.
Pros: Very fast, no tools needed beyond your finger, good for quick checks between cuts.
Cons: Subjective, depends on how hard you push, not accurate enough for critical veneer work on its own.
Using a Tension Meter or Dial Indicator
For precise veneer cutting, a tension meter or homemade strain gauge delivers the most accurate results. Commercial tension meters clamp to the blade and measure deflection under a calibrated load. They display the result in PSI directly.
If you prefer a budget approach, you can clamp a dial indicator to the blade at one point and measure blade stretch over a known distance as you increase tension. The science is straightforward. Steel stretches proportionally to the stress applied. For every 3,000 PSI of tension, the blade elongates by one ten thousandth of its length.
If you measure over a 10 inch span, each 0.001 inch of stretch equals 3,000 PSI. For 25,000 PSI, you want about 0.008 inches of stretch over 10 inches. Write down these numbers and tape them to your saw for quick reference.
Pros: Highly accurate, repeatable, works for any blade width or type.
Cons: Requires purchasing a meter or building a gauge, takes a few extra minutes per setup.
How Much Tension Do You Need for Thin Veneers
Veneer cutting is one of the most demanding tasks for a band saw blade. The blade must resist deflection across the full height of the workpiece, which can be six inches or more of dense hardwood. This requires maximum or near maximum blade tension.
Standard carbon steel blades perform well at 15,000 to 20,000 PSI for general cutting. But for resawing veneers, you want to push closer to 20,000 PSI. Bimetal and carbide tipped blades are stronger and can handle 25,000 to 30,000 PSI.
The specific number depends on your blade type and your saw’s capacity. A 14 inch consumer band saw with a half inch blade may reach adequate tension by nearly compressing the tension spring fully. A larger 18 inch or bigger saw can deliver higher tension but also risks over tensioning, which can crack the blade or damage the wheel shaft. Always check manufacturer specs for your blade and machine.
Choosing the Right Blade Width and Type
Blade tension alone cannot produce good veneers. The blade itself matters just as much. A wider blade resists sideways deflection better because it has more beam strength. For veneer work, use the widest blade your saw can handle safely.
Most experts suggest a half inch to one inch wide blade with a low tooth count of 2 to 3 teeth per inch. Fewer teeth with larger gullets clear sawdust faster. During resawing, you produce far more sawdust than in a normal cut. If the kerf fills with packed sawdust, the blade will seek an easier path and wander.
Thin gauge blades are preferred because they remove less material per cut. A blade with a 0.025 inch thickness and a 0.035 inch kerf wastes less wood than a thick blade. Carbide tipped blades like the Lenox Woodmaster CT series last significantly longer and hold their sharpness through hundreds of feet of resawing.
Pros of carbide tipped blades: Long life, smooth cuts, consistent results.
Cons of carbide tipped blades: Higher upfront cost, require proper tension to perform.
Setting Up Guides and Fence for Veneer Accuracy
After you re tension the blade, you must reset your blade guides and fence before cutting veneers. The side guides should sit extremely close to the blade without touching it constantly. A folded piece of paper between the guide and blade is actually too much gap for precision veneer work.
The thrust bearing behind the blade should sit about 1 to 3 millimeters behind the blade body. It should only contact the blade during the heaviest part of the cut. If the blade runs against the thrust bearing all the time, heat builds up in the gullet area. This leads to cracks and eventual blade failure.
Your fence must be perfectly square to the table. Even a tiny misalignment gets magnified over a deep cut. Use a reliable square to check this. If your cuts consistently drift, check the natural cutting angle of the blade by making a freehand cut along a drawn line. Adjust the fence to match this angle.
Step by Step Process to Re Tension and Cut Veneers
Here is the complete process from start to finish. First, unplug the saw. Install a sharp blade suitable for resawing. A half inch to one inch wide blade with 2 to 3 TPI works well for most veneer work.
Second, set initial tension. Use your saw’s tension gauge as a starting point, but set it one width size higher than your actual blade. For a half inch blade, set the gauge to the three quarter inch mark. This compensates for the gauge’s known inaccuracy.
Third, verify tension. Use the flutter method, the deflection test, or a tension meter to confirm the setting. For veneer work, aim for the higher end of your blade’s recommended range.
Fourth, set the guides. Position side guides close to the blade gullet. Adjust the thrust bearing to sit just behind the blade. Fifth, check the fence for square. Make a test cut in scrap wood. Examine the cut face for bow, drift, or uneven thickness. Adjust tension or fence angle as needed. Then begin cutting your veneers.
Common Mistakes That Cause Blade Slack During Cutting
Several common errors cause a blade to lose effective tension during actual cutting. Feeding the wood too fast is one of the biggest offenders. Excess feed pressure pushes the blade backward against the thrust bearing. This shifts the tension from the tooth edge to the back of the blade, causing the teeth to lose stiffness and wander.
Stopping and starting during a cut also causes problems. Every time you pause, the blade flexes and leaves a mark on the wood. This creates a visible line on the veneer surface that requires extra sanding.
Using a dull blade forces you to push harder, which adds lateral stress the blade cannot handle at its current tension. Replace blades before they become dull. A standard carbon steel blade lasts about 1 to 5 hours of resawing before it needs replacement. Finally, forgetting to re track the blade after changing tension is a frequent oversight. Always check tracking after every tension adjustment.
How to Maintain Proper Tension Over Time
Blade tension is not a set it and forget it situation. You should check tension at the start of every session, especially if the blade has been sitting under tension or if the shop temperature has changed significantly.
Release tension after every use. If your saw has a quick release lever, use it. If not, develop a habit of backing off the tension wheel a specific number of turns, such as 10 turns, at the end of each day. When you return, simply tighten those same 10 turns to restore your setting.
Inspect your tension spring periodically. If you notice that the spring is nearly fully compressed during normal use, it may be weakening and losing its ability to deliver adequate force. Keep the blade and wheels clean. Sawdust buildup on the tires changes the effective wheel diameter and alters tracking and tension. Wipe the tires down regularly with a stiff brush.
When to Replace Instead of Re Tension
Sometimes re tensioning will not fix the problem because the blade itself has reached the end of its useful life. If a blade has been left under tension for extended periods, it may have permanently stretched beyond recovery.
Check the blade for visible signs of fatigue. Cracks in the gullet area are a clear warning sign. A blade with gullet cracks will break soon, often during a cut, which poses a safety risk. Dull teeth that no longer cut cleanly also signal replacement time.
If you have re tensioned the blade and it still flutters, drifts, or produces inconsistent cuts, the blade is likely done. Bent or twisted sections in the blade body cannot be corrected reliably. Most experienced woodworkers recommend replacing a damaged blade rather than trying to straighten it. A fresh, sharp blade with proper tension will outperform a tired blade every time, and the cost is small compared to wasted wood.
Frequently Asked Questions
How tight should a band saw blade be for cutting veneers?
For veneer cutting, you want the blade tensioned at the higher end of its recommended PSI range. Carbon steel blades should sit around 15,000 to 20,000 PSI. Carbide tipped and bimetal blades perform best between 25,000 and 30,000 PSI. The exact number depends on your blade manufacturer’s specifications. Always verify with a test cut in scrap wood before cutting your good stock.
Can I over tension my band saw blade?
Yes, over tensioning is a real risk. Excess tension causes premature blade breakage, cracks in the gullet area, and weld failure. It also stresses the saw’s wheel shaft. Metal fatigue can accumulate quickly because the shaft revolves millions of times during use. Stick to the manufacturer’s recommended PSI and avoid exceeding it, even if your cuts seem slightly imperfect. Address other factors like blade sharpness and guide setup first.
Why does my blade drift even after re tensioning?
Blade drift has several possible causes beyond tension. A dull blade will drift because the teeth cannot cut evenly. Misaligned wheels cause tracking problems that no amount of tension will fix. Your fence may not be parallel to the blade’s natural cutting angle. Try a freehand cut along a pencil line to identify the blade’s drift angle, then adjust your fence to match.
How often should I re tension the blade?
Check tension at the beginning of every work session. If you released tension after your last session, you need to restore it. During long resawing sessions, check tension again after 15 to 20 minutes of continuous cutting because heat causes the blade to expand and lose tension. Replace the blade when it no longer holds tension properly or shows visible signs of wear.
Is the flutter method accurate enough for veneer cutting?
The flutter method gives you a solid baseline tension that works for most band saw operations including veneer cutting. However, for the thinnest veneers or the most demanding hardwoods, you may want the extra precision of a tension meter or dial indicator gauge. Many experienced woodworkers use the flutter method as a starting point and then fine tune with test cuts to achieve ideal results.

Hi, I’m Leah Ray — the voice behind CraftBench Vault. I’m a passionate woodworking enthusiast dedicated to reviewing the best wood cutting tools and woodworking products. Through honest research and hands-on experience, I help fellow crafters make smarter buying decisions. Welcome to my workshop!