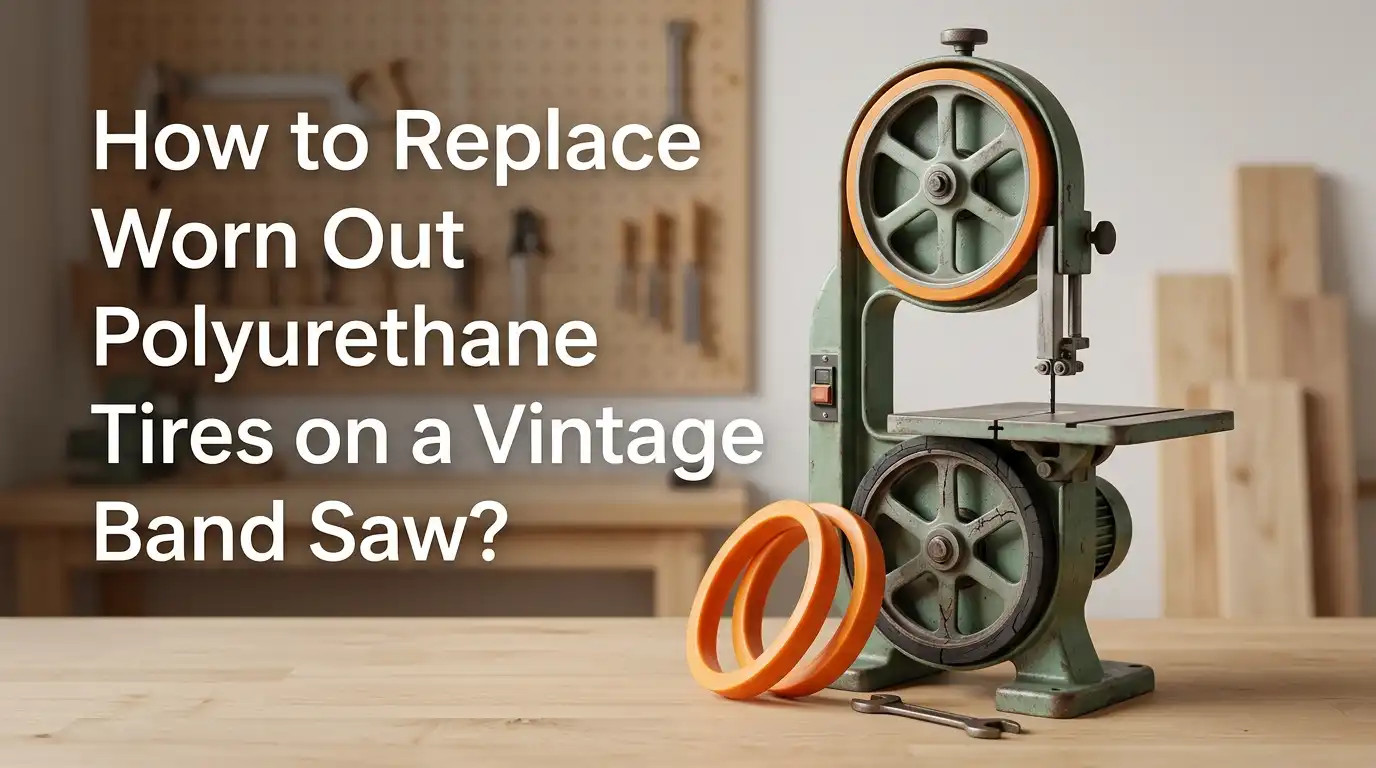
How to Replace Worn Out Polyurethane Tires on a Vintage Band Saw?
A vintage band saw can still work like a champ, but worn out polyurethane tires can ruin the whole experience. The blade may drift. The cut may wander. The saw may shake more than it should. Many owners blame the blade first, but the real problem often sits on the wheels.
The good news is that replacing polyurethane tires is a job most careful owners can do at home. You do not need fancy shop skills.
You do need patience, clean wheels, safe handling, and the right method for stretching and seating the new tire. If you rush, the tire may sit unevenly and create fresh tracking trouble. If you do it right, the saw will feel smoother, quieter, and easier to tune.
In a Nutshell
- Check the old tires before you buy anything. Deep cracks, shiny glazed spots, hard sections, ridges, missing chunks, and tracking trouble are strong signs that replacement is due. A dirty tire can cause problems too, so inspect closely before you assume the worst.
- Measure the wheel correctly. On many band saws, the replacement tire should be slightly smaller than the wheel so it grips tightly. That tight fit is normal. A loose tire is a bad sign. A very tight tire is usually the right starting point.
- Clean wheel surfaces matter more than many people think. Old glue, rubber dust, dried finish, and oily residue can stop the new tire from seating evenly. A smooth and clean rim gives you a better result and lowers the chance of wobble or uneven stretch.
- Heat makes polyurethane easier to install. Warm soapy water softens the tire enough for stretching. Very hot water is not better. Too much heat can damage the tire. Warm it, stretch it, seat it, and let it cool fully before blade installation.
- Do not glue polyurethane tires unless the maker says to do so. Most polyurethane tires are made to grip by tension alone. That keeps replacement simpler and cleaner. Rubber tires are a different case and often need adhesive, which adds more work and drying time.
- Test the saw after the tire cools. Spin the wheel by hand, check that the tire sits evenly, then install the blade and set tracking slowly. If the saw still vibrates, look at wheel balance, alignment, belt condition, and stand stability before blaming the new tires.
Why tire condition matters on a vintage band saw
A band saw tire does more than protect the wheel. It helps the blade track in the right spot and gives the wheel a surface that grips well. On an older machine, that job becomes even more important because age can magnify small setup errors. A worn tire can make a good saw feel broken.
If the tire has flat spots, ridges, or hard shiny areas, the blade may move in a way that feels random. That often leads to rough cuts and extra frustration. Some owners keep adjusting guides and tension, but the real fix starts at the wheel.
Vintage machines also deserve a gentle approach. Older cast parts can be strong, but they can also chip if you pry too hard or work too fast. Good tire replacement protects the saw and restores control. That is why this job is worth doing with care instead of force.
Signs your polyurethane tires are worn out
The easiest sign is visible damage. Look for cracks, missing bits, deep grooves, or a tire that has turned hard and slick. A glazed surface can reduce grip, and a ridged surface can leave the blade sitting in the same worn path over and over. That can make tracking harder than it should be.
Another clue is how the saw behaves. If the blade keeps drifting off line, slips during use, or starts to feel jumpy even after normal tuning, the tires may be the cause. Vibration can also point to uneven tire stretch or old tire damage.
Before replacement, clean the tires and inspect again. Pros: cleaning is fast and may solve a minor issue. Cons: cleaning will not fix deep cracks, brittleness, or missing material. If the tire structure is failing, replacement is the better answer.
Tools and supplies to gather before you start
This job goes smoother when everything is ready at the bench. You will need the new polyurethane tires, gloves, a small bucket or bowl, dish soap, warm water, a flathead screwdriver or putty knife, clean rags, and a safe solvent for residue removal. Denatured alcohol is useful for a final wipe. A clamp can also help hold one section of tire while you stretch the rest.
If your old tires are stuck hard, keep a utility knife nearby. Use it carefully and direct the blade away from the wheel surface. A stiff brush or scraper can help remove leftover bits.
Pros of a simple hand tool setup: low cost and easy control. Cons: hand work takes more time and grip strength. Do not skip gloves. Warm tires and solvents both call for safe handling, especially on an older machine with sharp edges inside the cabinet.
How to measure the wheel before buying replacement tires
A vintage band saw may not match modern labeling, so measure the wheel instead of trusting old stickers or faded paperwork. Remove the blade first, then measure the wheel diameter across the rim. Many guides recommend choosing a tire that is slightly smaller than the wheel for a tight stretch fit. That snug fit is what keeps polyurethane tires in place without glue.
Also look at wheel width and the shape of the rim. Some wheels need trimming if the tire is wider than the rim. Check both upper and lower wheels, because old saws sometimes have small differences after years of use or past repairs.
Pros of measuring yourself: better fit and fewer ordering mistakes. Cons: one rushed measurement can waste time and money. Measure twice and write it down. On a vintage saw, accuracy saves trouble later.
Safety steps before you remove anything
Unplug the saw first. Open the cabinet and clear out packed sawdust so you can see the wheels, tension parts, and guards. Release blade tension fully before touching the blade. Then remove the blade with steady hands and place it somewhere safe. A calm setup lowers the chance of cuts and bent parts.
If your saw allows easy wheel removal, you can take the wheels off and work on a bench. That often gives better access. If removal is awkward, you can usually change the tires with the wheels still on the machine. Choose the method that lets you work without strain.
Pros of leaving wheels on the saw: less disassembly and faster work. Cons: tighter access and more awkward stretching. Pros of bench work: better control and visibility. Cons: more time and a chance of misplacing hardware. Pick safety over speed.
How to remove the old tires without hurting the wheel
Start by slipping a flathead screwdriver or putty knife under the old tire and lifting gently. If the tire is brittle or glued down, cut it carefully with a utility knife and peel it away in sections. Do not dig into the metal wheel. A small nick can become a future trouble spot.
Older wheels deserve special care because some cast rims can chip if you pry too hard at one point. Work your way around the wheel and keep pressure even. Slow progress is good progress here. If old adhesive remains, scrape it off little by little instead of forcing one big pass.
Pros of prying: quick when the tire is loose. Cons: easy to slip and mark the wheel. Pros of cutting: better for stuck tires. Cons: more blade handling. Use the least aggressive method that gets the tire off cleanly.
Why wheel cleaning is the hidden key to a smooth result
Many replacement jobs fail because the new tire goes onto a dirty rim. Old glue, rubber crumbs, sawdust, oily film, and dried solvent residue can stop the tire from sitting flat. That can create uneven stretch and unwanted vibration. A clean wheel gives the tire a fair start.
Scrape off leftover material first. Then wipe the rim with the right cleaner for the residue you see. Finish with a clean wipe so the surface feels smooth and dry. Do not leave a greasy film behind. The goal is a clean rim, not a wet rim.
Pros of a deep clean: better seating, better balance, and fewer tracking issues. Cons: it takes extra time and patience. Still, this is one step you should never rush. A perfect tire on a dirty wheel can still behave badly. Clean metal helps the tire seat evenly all the way around.
How to warm polyurethane tires for easier stretching
Polyurethane tires are usually made slightly undersized, so they grip by tension after cooling. That means they can feel very stiff at first. The easiest fix is warm soapy water. Soak the tire for several minutes until it becomes more flexible. Warmth helps. Too much heat hurts.
A common safe target is warm water around 120 degrees. That is hot enough to soften the tire, but not so hot that it risks damage. Wear gloves when you remove the tire from the water. The tire will cool fast, so move to the wheel without delay.
Pros of the warm water method: simple, cheap, and effective. Cons: you need to work quickly once the tire comes out. Avoid boiling water. Boiling does not give you a better fit. It can distort the tire and create new problems before the saw even runs.
The best way to stretch and seat the new tire
Place one part of the warm tire onto the wheel first. Many people start at the top and hold that section with a clamp. Then stretch the rest around the rim with steady hand pressure. If the last section fights back, use a flat tool gently to guide it over the edge. Keep your focus on even stretch, not brute force.
Once the tire is on, slide your fingers around the rim and check that it is centered and fully seated. Some users move a tool under the tire around the wheel to balance tension. That small step can help remove uneven stretch.
Pros of using a clamp: better control and less slipping. Cons: one more tool in a tight space. Pros of hand stretching alone: faster and simpler. Cons: more strain on your hands. However you do it, the tire must sit evenly before it cools.
Let the tire cool, then inspect before blade installation
After the tire is seated, let it cool completely before you install the blade. This matters because the tire will tighten as it cools. If you rush and mount the blade too soon, you may miss a section that is still twisted or not fully seated. Cooling time is part of the installation, not dead time.
Spin the wheel by hand and watch the tire edge. It should look even all the way around. Check that the tire is not bunched on one side and that it does not rise or dip in one area. Small problems are easier to fix now than after full setup.
Pros of a patient inspection: fewer surprises during tracking. Cons: none, except waiting a bit longer. This is the moment to catch mistakes. A tire that looks calm and even by hand will give you a much better chance of smooth running later.
What to check after you reinstall the blade
Install the blade again and bring tension up slowly. Then set tracking in small steps. Rotate the upper wheel by hand before turning on the saw. Watch where the blade sits and make small adjustments until it stays stable. Do not jump straight to full speed without a hand test.
Next, check the guides and thrust bearings. Tire replacement can change how the blade sits on the wheel, so the guide setup may need a fresh look. This is normal on a vintage saw. Listen for rubbing, pulsing, or an uneven sound once the saw runs.
Pros of a full reset after tire work: cleaner tuning and better cut quality. Cons: it adds a few extra minutes. Those minutes are worth it. Good tracking and guide setup help the new tires do their job instead of fighting against the rest of the machine.
Common problems after replacement and how to fix them
If the blade still will not track well, first check whether the tire is seated evenly. An uneven stretch can change blade tension as the wheel turns. That may feel like random drift, but the problem is often one high spot on the tire. Hand spinning the wheel can reveal it.
If the saw vibrates more than before, do not blame the new tires right away. Look at wheel balance, motor mount movement, belt condition, and even how the stand sits on the floor. Some vibration comes from the machine, not the tire. Uneven support can make an old saw shake more than expected.
Pros of careful diagnosis: you fix the real issue. Cons: it takes patience. Replace guesswork with checks. A tire job can expose an older problem that was already there but hidden by the old setup.
Polyurethane versus rubber on a vintage machine
Many owners choose polyurethane because it installs without adhesive and usually lasts longer. That makes future replacement easier and cleaner. For many vintage saw owners, that is a big win. You warm it, stretch it, seat it, and let it cool.
Rubber still has a place. It can be easier to stretch in some cases and may suit owners who want a more traditional approach. But rubber often needs adhesive, drying time, and more cleanup during the next change. That extra work turns some people away.
Pros of polyurethane: no glue, simple removal later, long life. Cons: tougher initial stretch and more need for heat during install. Pros of rubber: easy stretch and familiar method. Cons: adhesive mess, more cleanup, and possible dry rot over time. For most home users, polyurethane is the simpler path.
Final checks that help your repair last longer
Once the saw runs smoothly, keep the repair healthy with a few habits. Brush out sawdust often, especially around the wheel area. Check tracking now and then. Inspect the tires during blade changes. A quick look now can stop a bigger repair later.
Avoid storing the saw in harsh heat or strong sunlight if possible. Age and poor storage can shorten tire life. If the saw will sit unused for a long time, release blade tension. That habit reduces stress on the machine and the tires. It also helps older frames and springs.
Pros of simple routine checks: better cut quality and fewer surprise failures. Cons: none beyond a little time. Vintage tools reward steady care. New polyurethane tires can last well, but only if the rest of the saw is kept clean, stable, and properly adjusted.
FAQs
Do polyurethane band saw tires need glue?
In most cases, no. Polyurethane tires are usually made to stay in place by tight stretch fit alone. That is one reason many users prefer them. If the tire maker gives a different instruction, follow that. Otherwise, glue is usually for rubber tires, not polyurethane tires.
Can I use boiling water to soften the tire?
No. Warm water is enough. Very hot water can harm the tire or change its shape. A safer approach is warm soapy water that softens the tire without stressing the material. Gentle heat helps. Extreme heat creates risk.
Should I replace both tires at the same time?
Yes, that is usually the better move. If one tire is worn, the other often has similar age and wear. Replacing both gives you a more even setup and saves time later. It also removes one more variable during tuning, which makes troubleshooting easier.
Why does my saw still vibrate after new tires?
The tire may be seated unevenly, but that is not the only cause. Check wheel balance, belt condition, motor movement, stand stability, and alignment. A new tire can reveal old machine issues that were already there. Work through each item one at a time.
Can I change the tires without removing the wheels?
Yes, many people do. It can be quicker and avoids extra disassembly. Still, some vintage saws are easier to service with the wheels on a bench. Use the method that gives you better control and safer access. Good access often leads to a cleaner result.

Hi, I’m Leah Ray — the voice behind CraftBench Vault. I’m a passionate woodworking enthusiast dedicated to reviewing the best wood cutting tools and woodworking products. Through honest research and hands-on experience, I help fellow crafters make smarter buying decisions. Welcome to my workshop!