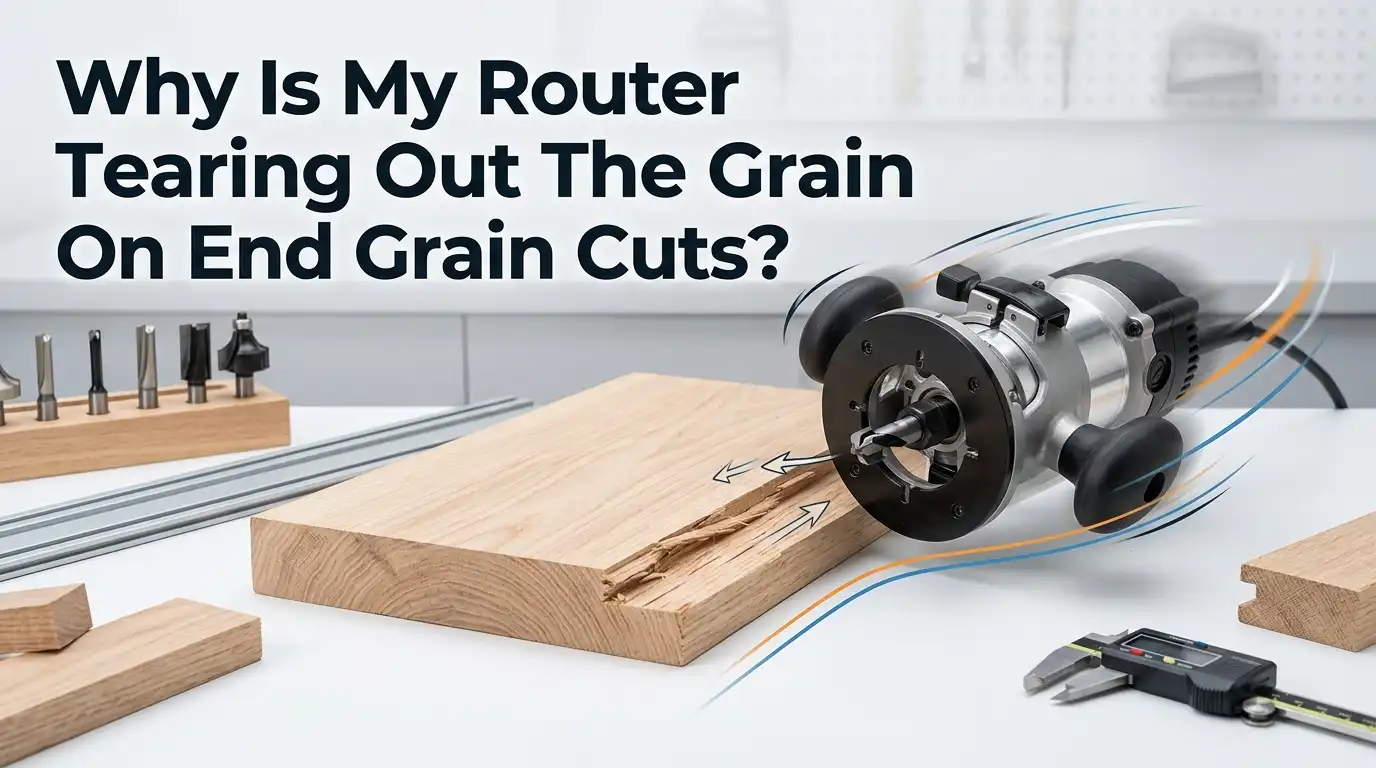
Why Is My Router Tearing Out The Grain On End Grain Cuts?
End grain tearout ruins clean projects fast. You make one pass with your router, and suddenly the edge looks like a beaver chewed it. Splintered fibers, ragged corners, and rough patches show up where you wanted smooth lines.
This problem frustrates beginners and experienced woodworkers alike. The good news is simple. Tearout is predictable, and it is fixable. Once you understand why end grain fights back, you can stop it before it happens.
This guide breaks down every cause and gives you clear steps to get crisp, clean cuts. Read on, and your next end grain pass will look the way you imagined it.
Key Takeaways
- End grain tears because the wood fibers are weak at the ends. The router bit hits loose fiber tips that have no support behind them, so they snap off instead of slicing clean.
- A sharp, clean bit fixes most problems. A dull or pitch covered bit drags fibers instead of cutting them. Sharpen or replace your bit and clean it often.
- Light passes beat heavy passes every time. Removing too much wood in one cut overloads the fibers. Take small bites of 1/16 inch or less per pass.
- Backer boards stop blowout at the corners. A scrap block clamped behind the cut supports the fibers so they cannot break away.
- Cut end grain first, then long grain. Routing the long grain edges last removes any small tearout left at the corners.
- Feed direction and a slight climb cut help. Moving the router the right way against bit rotation keeps fibers locked down during the cut.
What End Grain Tearout Actually Is
Tearout happens when wood fibers break away instead of getting sliced cleanly. End grain is the cross section of the wood, like the end of a log.
The fibers point straight at you instead of running flat. When your router bit spins into these fibers, it meets thousands of loose fiber ends with nothing holding them down.
On long grain, fibers lie flat and support each other. On end grain, each fiber stands alone. The bit pulls these fibers up and snaps them off before it can cut them clean.
This leaves ragged pits and rough spots. Understanding this difference is the first step to fixing it. Once you see end grain as weak, unsupported fiber, every solution below makes sense.
Why End Grain Is So Hard To Cut Clean
End grain gives your router a much harder job than face or edge grain. The bit faces a wall of fiber ends, not smooth lines. Picture a bundle of drinking straws standing on end.
Pushing a blade through the open tops crushes and splits them. That is exactly what your router does to end grain.
There are far more fiber ends to slice on end grain compared to long grain. Each cut means whacking many short, brittle fibers at once. Softwoods like pine tear worse because the fibers are weaker.
Hardwoods can tear too, especially open grained species like oak. The harder the wood, the cleaner the cut, but no wood is fully safe. Knowing why end grain resists helps you respect the cut and prepare for it.
Check Your Router Bit First
A bad bit causes most tearout, so start here. A dull bit cannot slice fibers, so it rips them instead. Run your finger near the cutting edge. If it feels rounded or nicked, the bit is worn. Sharp bits leave glassy smooth surfaces. Dull ones leave fuzzy, torn ones.
Pitch and resin buildup also cause problems. Sap dries on the bit and creates drag. The bit then drags the wood rather than cutting it. Clean your bit with a resin remover and a brass brush after heavy use. Replace bits that you cannot sharpen.
Pros of checking the bit first: it is cheap, fast, and solves many cases instantly. Cons: a quality sharp bit costs money, and resharpening carbide needs a special service.
Use The Right Type Of Router Bit
Bit design changes your results a lot. Spiral bits cut better than straight bits on end grain because they slice with a shearing action instead of chopping. A straight bit hits the fiber dead on. A spiral bit slices at an angle, which is gentler on the wood.
Spiral bits come in three types. Upcut bits pull chips up and out, but they can tear the top face. Downcut bits push chips down and keep the top clean. Compression bits combine both, slicing clean on top and bottom at once. For end grain edges, a compression or downcut bit works well.
Pros of spiral bits: cleaner cuts, less tearout, smoother edges. Cons: they cut slower than straight bits, and quality spiral bits cost more than basic straight ones.
Take Lighter Passes To Reduce Tearout
Greedy cuts cause damage. When you remove too much wood at once, the bit overloads the fibers and rips them free. Light passes give the bit a chance to slice cleanly. Each small bite reduces the force on the weak end grain fibers.
Set your bit so it removes only a small amount per pass. A good rule is to take 1/16 inch or less on each pass for end grain. For deep profiles, sneak up on the final shape over several passes. The last light pass cleans up the edge.
Pros of light passes: cleaner cuts, less strain on your bit and router, safer control. Cons: the work takes longer, and you must reset the bit height between passes, which adds steps.
Add A Backer Board Behind The Cut
Tearout is worst at the corners where the bit exits the wood. A backer board supports those weak fibers so they cannot break away. Clamp a piece of scrap wood tight against the back edge where the bit will exit. The scrap takes the blowout instead of your project.
This trick works on both handheld routers and router tables. On a router table, a push block with a backer face does the same job. Make sure the backer sits flush and tight, with no gap.
Pros of backer boards: they almost eliminate corner blowout, cost nothing, and work with any bit. Cons: you must set up scrap for each cut, and the backer can shift if it is not clamped firmly, so it needs attention.
Cut End Grain First, Then Long Grain
Order matters when you route all four edges of a board. Always rout the two end grain edges first. These cuts may leave small tearout at the corners. That is fine, because the next step cleans it up.
After the ends, rout the two long grain edges. The long grain pass slices off any tearout left at the corners from the end grain cuts. This simple sequence hides the damage and leaves crisp corners. It works because long grain cuts clean and removes the rough spots.
Pros of this method: free, fast, and it needs no extra tools. Cons: it only works when you route all four sides of a piece, so it does not help with a single end grain cut on its own.
Master Your Feed Direction
Feed direction controls how the bit meets the wood. You normally feed the router against the bit rotation. With a handheld router on an outside edge, this means moving counterclockwise. On a router table, you feed the wood right to left across the bit. This is the standard safe direction.
Wrong feed direction makes tearout worse and feels harder to control. Point your thumb down on a handheld router, and your curling fingers show the bit rotation. Feed opposite to that curl. Get this right and the bit slices fibers in the supported direction.
Pros: correct feed gives control and cleaner cuts at no cost. Cons: it takes practice to feel natural, and getting it backward on a router table can throw the work piece, which is a safety risk.
Try A Light Climb Cut
A climb cut moves the router in the same direction the bit spins. This goes against the normal rule, but it can reduce tearout when done carefully. In a climb cut, the bit slices fibers downward and locks them in place before the main cut. This leaves a cleaner edge on tough end grain.
Climb cutting is risky because the bit pulls the router forward. Take only a tiny amount of wood, hold the router with a firm grip, and never climb cut on a router table with small parts. Use it as a light first pass, then finish with a normal pass.
Pros: very clean edges on stubborn end grain. Cons: harder to control, real safety risk if rushed, and not safe for all setups.
Dial In Your Router Speed
Router speed affects cut quality, especially with larger bits. Big bits spin dangerously fast at full RPM and can burn or tear the wood. Most variable speed routers let you slow the bit down. Slower speeds suit large diameter bits, while small bits run fine at higher speeds.
If you see burning along with tearout, your speed and feed are out of balance. Slow the bit slightly and keep the router moving at a steady, even pace. Moving too slow burns the wood, and moving too fast tears it.
Pros of dialing in speed: cleaner cuts, less burning, longer bit life. Cons: not all routers have variable speed, and finding the right balance takes some trial and error on scrap wood first.
Dampen The End Grain Before Routing
A simple trick uses water to soften the fibers. Wiping the end grain with a damp rag makes the fibers more flexible. Soft fibers bend and slice instead of snapping off. This reduces tearout on woods that resist clean cuts, like pine and other softwoods.
Wet the surface lightly, not soaking, and route right away while it is still damp. This works best as a backup when other methods leave small tearout behind. Let the wood dry fully before sanding or finishing.
Pros of dampening: cheap, fast, and effective on stubborn softwoods. Cons: it can raise the grain, which means extra sanding later, and it does not work as well on dense hardwoods that already cut clean.
Sand Or Scrape To Clean Up Light Tearout
Sometimes a little tearout slips through, and that is okay. Sanding fixes minor rough spots fast. Start with a coarse grit like 80 or 120 to knock down the torn fibers. Then move to finer grits for a smooth finish. A belt sander or random orbital sander makes quick work of it.
A card scraper also cleans end grain well. Scrapers slice off torn fibers without the dust of sanding. They give a clean surface on flat areas.
Pros of sanding and scraping: they save a project that already has tearout and need no special skill. Cons: heavy tearout takes a lot of sanding, and over sanding can round your edges and change the shape you wanted.
Practice On Scrap Wood First
Testing saves your good material. Always make a test cut on a scrap piece of the same wood. This shows you how that species reacts before you risk your project. You can check your bit, speed, feed, and pass depth all at once.
Scrap testing helps you find the right settings without wasting a finished part. Use scrap from the same board so the grain and density match. Adjust one thing at a time until the cut comes out clean.
Pros of practicing on scrap: zero risk to your project, fast learning, and confidence before the real cut. Cons: it uses extra material and adds a few minutes, but those minutes are far cheaper than ruining a finished piece.
Putting It All Together For Clean End Grain
Clean end grain comes from stacking small wins. No single trick fixes everything, but combining them gives perfect results. Start with a sharp, clean bit. Pick a spiral or compression bit for the smoothest cut. Take light passes and clamp a backer board behind every cut.
Route your end grain first, then long grain, to hide any corner tearout. Feed the router the correct way, slow the speed for big bits, and test on scrap before you commit.
Layer these habits into your routine and tearout becomes rare. With practice, crisp end grain edges become your normal result, not a lucky accident.
Frequently Asked Questions
Why does my router tear out more on pine than on oak?
Pine is a softwood with weaker fibers that snap easily. Oak is denser and holds together better during the cut. Softer woods need sharper bits, lighter passes, and sometimes a damp rag to soften the fibers. The harder the wood, the cleaner the end grain usually cuts.
Can a dull bit really cause that much tearout?
Yes, a dull bit is one of the biggest causes. A worn edge cannot slice fibers, so it drags and rips them. This leaves rough, fuzzy end grain even with good technique. Sharpen or replace the bit, and you will often see an instant improvement in your cuts.
Is a climb cut safe for beginners?
Climb cutting works but carries real risk. The bit pulls the router forward, which can be hard to control. Beginners should take very light cuts, grip the router firmly, and avoid climb cutting small parts on a router table. Practice on scrap first until the motion feels steady and safe.
Do I always need a backer board?
You need one whenever the bit exits the end grain at a corner. That exit point is where blowout happens most. For cuts that do not pass through a corner, a backer may not be needed. When in doubt, clamp one on, since it costs nothing and prevents ragged corners.
Why does my end grain burn instead of tearing?
Burning means heat is building up during the cut. This happens when the bit is dull, the speed is too high, or you move too slowly. Slow large bits down, keep the router moving at a steady pace, and use a sharp bit. Balancing speed and feed stops both burning and tearing.
Will sanding fix tearout that already happened?
Sanding fixes light tearout well. Start with a coarse grit to remove torn fibers, then work up to fine grit. A card scraper also cleans end grain nicely. Deep tearout may need a lot of sanding, so prevention through sharp bits and light passes always beats fixing it after the fact.

Hi, I’m Leah Ray — the voice behind CraftBench Vault. I’m a passionate woodworking enthusiast dedicated to reviewing the best wood cutting tools and woodworking products. Through honest research and hands-on experience, I help fellow crafters make smarter buying decisions. Welcome to my workshop!