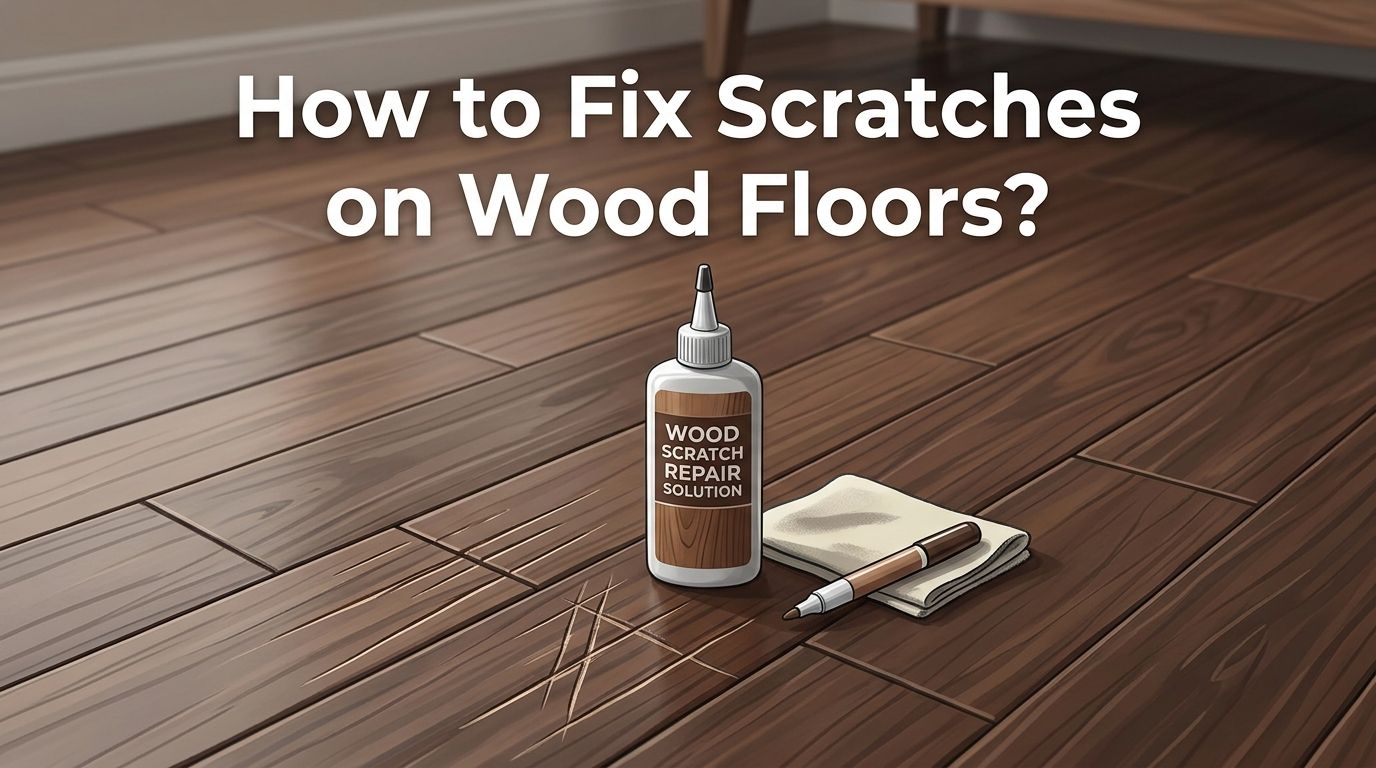
How to Fix Scratches on Wood Floors? A Complete Guide
You just noticed a long, ugly scratch running across your beautiful wood floor, and your heart sank. Maybe it was the dog. Maybe it was a piece of furniture you dragged without thinking. Whatever caused it, that scratch is now staring back at you every time you walk by.
The good news? Most scratches on wood floors are fixable at home. You do not need to call a professional for every scuff or scrape. Whether you are dealing with a light surface mark or a deep gouge that has cut into the wood grain, there is a practical solution waiting for you.
This guide walks you through every type of wood floor scratch and the exact steps to fix each one. You will learn simple DIY tricks, budget solutions using household items, and professional methods for serious damage.
Key Takeaways
- You can fix most wood floor scratches yourself without spending a fortune. Surface scratches that only affect the finish layer are the easiest to handle and often need nothing more than a soft cloth and a simple homemade solution.
- Medium scratches that reach the stain layer need a bit more effort, including stain markers or wax sticks. Deep scratches and gouges that cut into the wood itself call for wood filler, sanding, and stain matching.
- The walnut trick works for light scratches. The natural oils in a raw walnut can darken and mask minor surface marks on many hardwood types. It is not a permanent repair, but it is a fast and cheap fix that produces visible results.
- A vinegar and olive oil mixture helps with surface scuffs. Mixing equal parts of white vinegar and olive oil creates a gentle solution that can reduce the appearance of minor scratches while adding moisture to the wood.
- Prevention matters as much as repair. Felt pads on furniture legs, regular sweeping, and a no shoes policy can reduce floor scratches by up to 90% according to flooring experts.
- Full refinishing is the last resort, not the first step. Save sanding and refinishing for floors with widespread damage. Spot repairs handle most isolated scratches perfectly.
How to Identify the Type of Scratch on Your Wood Floor
Before you grab any tools, you need to figure out what kind of scratch you are dealing with. Not all scratches are the same, and using the wrong repair method can make things worse.
Run your fingernail across the scratch. If you cannot feel an indentation and the mark seems to sit on the surface, you have a surface scratch. These only affect the polyurethane or finish layer. They often appear as white or light marks on the floor.
If your fingernail catches slightly and you can see the color of the wood changing along the scratch line, you have a medium scratch. This type has gone through the finish and reached the stain layer.
Deep scratches and gouges are easy to spot. You can feel a clear dip in the wood when you run your finger over them. The raw wood underneath is visible, and the damage goes below the stain into the wood fiber itself.
How to Fix Light Surface Scratches with a Simple Buff
Light surface scratches are the most common type. They look worse than they actually are. A quick buff can often remove them completely.
Start by cleaning the scratched area with a damp microfiber cloth. Remove any dust, dirt, or debris. Dirt left behind can cause more scratches during the buffing process.
Apply a small amount of hardwood floor cleaner to the area. Use a clean, soft cloth and rub gently along the grain of the wood in smooth, even strokes. Avoid circular motions because they can create new marks on the finish.
Pros: This method costs almost nothing, takes less than five minutes, and works well on fresh surface scuffs. Cons: It only works on very light marks that sit on the surface finish. It will not help with scratches that have reached the wood.
For slightly stubborn surface marks, try buffing with a clean tennis ball attached to a broom handle. The felt on the tennis ball creates just enough friction to smooth out the finish.
How to Use the Walnut Trick to Hide Minor Scratches
This popular DIY hack has gone viral for a reason. Raw walnuts contain natural oils that can seep into wood and darken light scratches, making them blend with the surrounding floor.
Crack open a raw, unsalted walnut. Take the walnut meat and rub it directly along the scratch several times, pressing firmly. The oils will start to fill the scratch and darken it. After rubbing the walnut, use your fingers to massage the area gently so the oils spread evenly.
Let the oils sit for five to ten minutes. Then buff the area with a soft cloth.
Pros: It is completely natural, incredibly cheap, and takes just a few minutes. Many homeowners report visible improvement on light to medium toned hardwoods. Cons: The walnut trick only masks the scratch. It does not actually repair the wood or fill any gap. Results vary depending on the wood species and finish type. It tends to work best on darker woods and may leave residue on lighter floors.
How to Apply a Vinegar and Olive Oil Solution for Scratch Repair
This household remedy has been shared by homeowners for years. It works well on light to moderate surface scratches by adding moisture and color back to the wood.
Mix equal parts white vinegar and olive oil in a small bowl. Dip a soft cloth into the mixture and wring it out slightly. Rub the solution directly onto the scratch, following the direction of the wood grain. Let the mixture sit for one to two minutes.
Buff the area with a dry microfiber cloth until the surface feels smooth and looks even.
Pros: You likely already have these ingredients at home. The oil adds moisture and richness to dried out wood, and the vinegar gently cleans the surface. Cons: This is a temporary fix. The olive oil can attract dust over time if you use too much, and it does not work on deep scratches or gouges. Some flooring professionals caution against using vinegar on certain sealed finishes because the acidity can dull the coating with repeated use.
How to Fix Medium Scratches with Wood Stain Markers
Medium scratches cut through the finish and expose the stain or bare wood beneath. These need more than a simple buff. Wood stain markers are one of the fastest ways to address them.
Choose a stain marker that closely matches your floor color. Test it on a hidden area first, such as inside a closet or behind a piece of furniture. Shake the marker well, then apply it directly into the scratch with slow, steady strokes.
Let the marker dry for ten to fifteen minutes. Wipe away any excess color with a clean cloth. If the shade is too light, apply a second coat. Once the color matches, seal the area with a thin coat of clear polyurethane to protect the repair.
Pros: Stain markers are inexpensive and easy to use. They produce fast, visible results on medium scratches. Cons: Color matching can be tricky. The repair may look slightly different under certain lighting. Stain markers also fade over time and may need reapplication every few months in high traffic areas.
How to Repair Scratches with Wax Sticks and Filler Crayons
Wax sticks and wood filler crayons are designed to fill small scratches and blend them with the floor. They work well on medium to moderately deep scratches.
Select a wax stick that matches your floor color. Warm the tip of the wax slightly by holding it between your fingers for a moment. Press the wax into the scratch and drag it along the entire length. Use a plastic scraper or an old credit card to smooth the wax level with the floor surface.
Buff the repaired area with a soft cloth. The wax fills the scratch and adds a protective layer on top.
Pros: Wax sticks are great for quick spot repairs. They fill the gap and create a smooth surface. They are easy to find at any hardware store. Cons: Wax can wear away with foot traffic and cleaning. The repair is not permanent and needs regular touch ups. Wax also does not bond with the wood the way stain or filler does, so it may shift or collect dirt over time.
How to Fix Deep Scratches and Gouges with Wood Filler
Deep scratches and gouges call for a more serious approach. Wood filler is the best solution for damage that has cut past the stain and into the wood itself.
Clean the damaged area and remove any loose debris. Apply a stainable wood filler into the scratch or gouge using a putty knife. Press the filler firmly into the gap and scrape the surface flat. Let the filler dry completely, which usually takes two to four hours depending on the product.
Once dry, sand the area with fine grit sandpaper (220 grit works well). Sand in the direction of the wood grain until the surface feels smooth and level. Apply a matching wood stain over the repair and let it dry. Finish with a coat of polyurethane to seal everything in place.
Pros: Wood filler creates a durable, long lasting repair. It fills the gap and allows you to stain and seal the area for a close match. Cons: The process takes several hours from start to finish. Color matching requires patience and practice. The repaired area may still look slightly different from the rest of the floor if the stain does not blend perfectly.
How to Sand and Refinish a Single Board for Severe Damage
Sometimes a scratch or gouge is too severe for filler alone. In these cases, sanding and refinishing the individual board gives the best result.
Use painter’s tape to mark off the damaged board. Start with medium grit sandpaper (100 grit) and sand the entire board surface in the direction of the grain. Switch to fine grit sandpaper (150, then 220 grit) for a smooth finish.
Vacuum all dust from the area. Apply a wood stain that matches the rest of your floor. Let the stain dry fully. Then apply two thin coats of polyurethane, letting each coat dry before adding the next. Remove the painter’s tape once everything is dry.
Pros: This method fully restores the damaged board and produces a result very close to the original floor. Cons: It is time consuming and requires some skill. There is a risk of creating visible differences between the refinished board and the surrounding floor, especially if the rest of the floor has aged and darkened over time.
How to Decide Between DIY Repair and Hiring a Professional
Not every scratch needs a professional. But some situations are better left to an expert. Knowing the difference saves you time, money, and frustration.
DIY repair works well for isolated surface scratches, small scuffs, individual medium scratches, and localized gouges in one or two spots. If you are comfortable with basic tools and have patience for color matching, most repairs are doable at home.
Call a professional when the scratches cover a large area, the floor has deep damage in multiple spots, or you need a full refinish. Professional refinishing involves heavy sanding equipment and commercial grade finishes that produce a uniform, factory quality result.
A full professional refinish costs anywhere from $3 to $8 per square foot on average. Spot repairs from a pro usually run between $100 and $300 depending on the extent of the damage. Weigh these costs against the risk of a DIY mistake that could make the problem worse.
How to Prevent Future Scratches on Your Wood Floors
Fixing scratches is important, but preventing them saves you even more time and effort in the long run.
Attach felt pads to the bottoms of all furniture legs. This single step can prevent the majority of floor scratches in your home. Replace the pads every few months because they wear down and collect debris.
Sweep or vacuum your wood floors at least two to three times per week. Tiny grains of sand and dirt act like sandpaper under foot traffic and gradually wear away the finish. Place doormats at every entrance to catch dirt before it reaches the floor.
Trim your pet’s nails regularly. Dog and cat claws are one of the top causes of wood floor scratches. Keep them short and smooth. Consider using area rugs in high traffic zones and hallways where scratches are most likely to occur. Finally, enforce a no shoes policy indoors, especially for heels and hard soled footwear.
How to Choose the Right Repair Method Based on Your Floor Type
Different wood floors respond differently to repair methods. Solid hardwood, engineered wood, and laminate all have unique characteristics you need to consider.
Solid hardwood floors offer the most flexibility. You can sand, stain, fill, and refinish them multiple times because the entire board is real wood. Most DIY and professional methods work well on solid hardwood.
Engineered wood floors have a thin layer of real wood on top and plywood or fiberboard beneath. You can use stain markers, wax sticks, and wood filler on these floors. However, sanding must be done very carefully because the top veneer is thin. Over sanding can cut through the hardwood layer and expose the core material.
Laminate flooring is not real wood at all. It is a photographic image of wood covered by a protective layer. Wax sticks and specialty laminate repair kits work best for these floors. Sanding and staining are not options for laminate because there is no real wood to refinish.
How to Maintain Your Wood Floor After Making Repairs
Your repair work will only last if you take care of the floor going forward. A simple maintenance routine keeps your floors looking fresh and protects the repairs you have made.
Clean the floor weekly with a microfiber mop and a pH neutral hardwood floor cleaner. Avoid using excess water. Standing water can seep into repaired areas and cause the filler or finish to lift. Wring your mop thoroughly before use.
Recoat high traffic areas with a fresh layer of polyurethane every two to three years. This adds a protective barrier that absorbs scratches before they reach the wood. Apply the recoat in thin, even layers and allow proper drying time.
Inspect your floors every few months for new scratches or areas where previous repairs may be wearing down. Catching small scratches early means simpler repairs. Avoid using steam mops, ammonia based cleaners, or abrasive scrubbing pads on wood floors. These can damage the finish and undo your repair work.
Frequently Asked Questions
How do you fix scratches on wood floors without sanding?
You can fix light scratches with a walnut rub, a vinegar and olive oil solution, or a simple buff with a microfiber cloth and floor cleaner. Medium scratches respond well to wood stain markers and wax filler sticks. These methods skip sanding entirely and produce good results for scratches that have not deeply cut into the wood.
Does the walnut trick really work on wood floor scratches?
Yes, the walnut trick works on light surface scratches, especially on medium to dark toned hardwoods. The natural oils in the walnut darken the scratch and help it blend with the surrounding wood. However, it is a cosmetic fix and does not repair the scratch structurally. Results vary by wood type and finish.
Can you use olive oil on hardwood floors to remove scratches?
A mixture of equal parts olive oil and white vinegar can reduce the appearance of light surface scratches. The oil adds moisture and color back to the wood. Use it sparingly and buff the area dry afterward. Avoid applying too much oil because it can attract dust and create a slippery surface.
How much does it cost to have a professional fix scratches on wood floors?
Spot repairs from a professional typically cost between $100 and $300. A full floor refinish ranges from $3 to $8 per square foot. The exact cost depends on the severity of the damage, the type of wood, and your location. Minor scratches usually do not require professional help.
How do you prevent dog scratches on hardwood floors?
Keep your dog’s nails trimmed short and smooth. Place area rugs in spaces where your dog plays, runs, or rests frequently. Use protective mats near food and water bowls. You can also apply a durable polyurethane finish to your floors for extra scratch resistance against pet claws.
What is the best filler for deep scratches on wood floors?
Stainable wood filler is the best option for deep scratches and gouges. Choose an oil based filler that accepts stain so you can match it to your floor color. Apply it with a putty knife, let it dry, sand it smooth, and finish with stain and polyurethane for a durable, blended repair.

Hi, I’m Leah Ray — the voice behind CraftBench Vault. I’m a passionate woodworking enthusiast dedicated to reviewing the best wood cutting tools and woodworking products. Through honest research and hands-on experience, I help fellow crafters make smarter buying decisions. Welcome to my workshop!