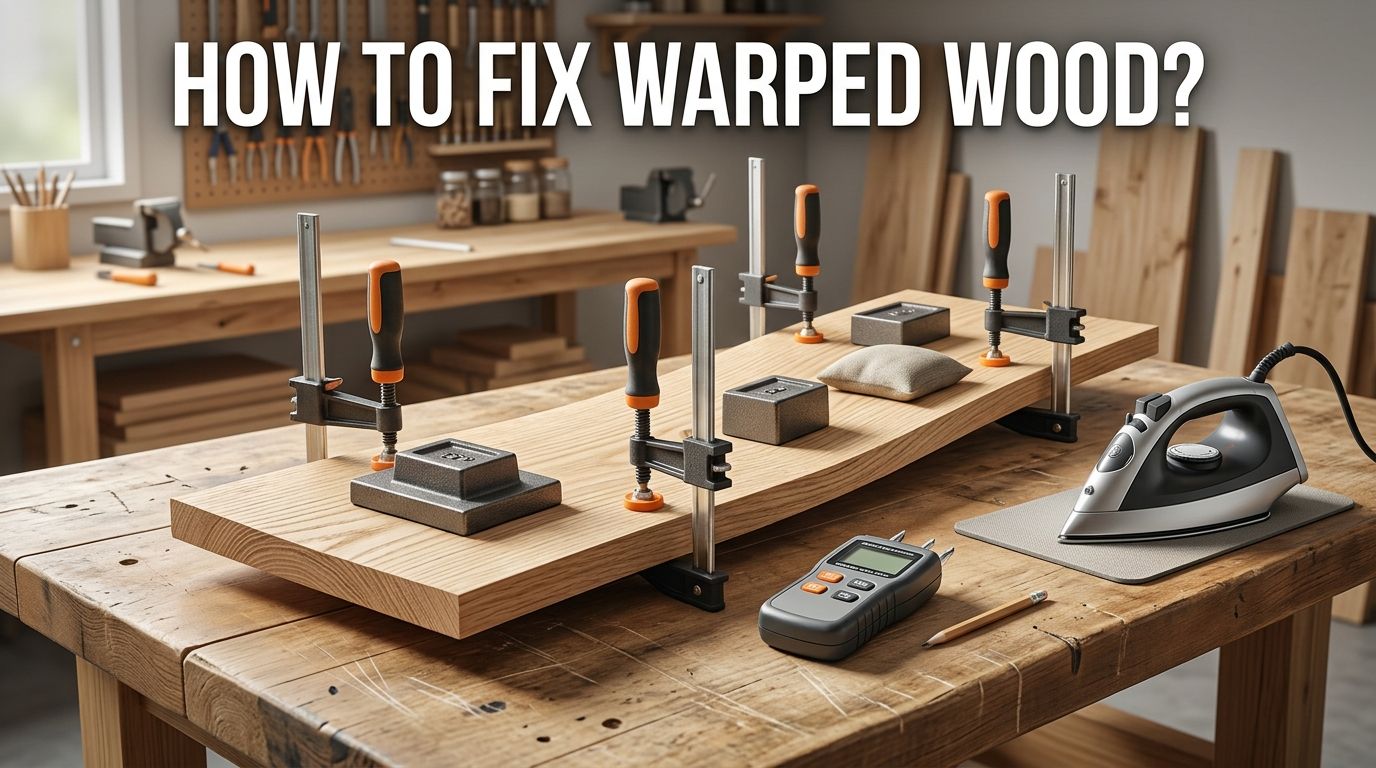
How to Fix Warped Wood? 7 Proven Methods
Have you ever pulled a board from your garage only to find it curved, twisted, or cupped beyond use? Warped wood is one of the most frustrating problems for DIYers, woodworkers, and homeowners.
The good news is that most warped wood can be saved. You do not need to throw it away or buy replacements. With the right technique, a few basic tools, and some patience, you can bring that lumber back to a flat, usable state.
Wood warps because of uneven moisture changes in its fibers. One side dries faster than the other, or one side absorbs more water, and the board bends. This can happen during storage, after a spill, due to humidity swings, or from direct sunlight exposure.
Key Takeaways
- Warping happens because of moisture imbalance. Wood fibers absorb and release water unevenly, which causes the board to bend, cup, twist, or bow. Controlling moisture is the key to both fixing and preventing warps.
- Identify the type of warp before you start. Cupping, bowing, twisting, and crooking each require a slightly different approach. Knowing what you are dealing with saves time and effort.
- The moisture and weight method works best for mild warps. Dampen the concave side of the board, place it on a flat surface, and add heavy weight on top. This is the simplest fix and requires no special tools.
- Heat methods like steam and ironing are effective for thin to medium boards. A household iron with wet towels or a steam box can relax wood fibers enough to flatten a board. These methods need close attention to avoid scorching.
- A jointer and planer provide the most permanent fix. Milling the board flat with power tools removes the warped material entirely. This is the most reliable solution but reduces the board’s thickness.
- Prevention is easier than correction. Store wood flat, keep it off the ground, seal end grain, and allow boards to acclimate to your workspace before using them. These habits will save you from dealing with warps in the first place.
What Causes Wood to Warp
Wood is a natural material that responds to its environment. It absorbs moisture from humid air and releases moisture in dry conditions. When one side of a board gains or loses moisture faster than the other, the board warps. This is the single biggest cause.
Temperature changes also play a role. Heat causes wood to dry out faster, and direct sunlight can dry one face while the other stays damp. Improper drying during the milling process leads to internal stress in the board. When you cut into that board later, the stress releases and the wood moves.
Poor storage is another common cause. Stacking boards without spacers, leaning them against a wall, or leaving them on damp concrete all invite warping. The grain pattern matters too. Flat sawn boards (cut tangent to the growth rings) tend to cup more than quarter sawn boards.
Types of Wood Warping You Should Know
Understanding the specific type of warp helps you pick the right fix. There are four main types of wood warping, and each looks different.
Cupping is a curve across the width of the board. The edges rise up while the center dips, forming a shallow U shape. This is the most common type and usually results from one face absorbing more moisture than the other.
Bowing is a curve along the length of the board’s face. Think of an archery bow. The board curves from end to end while remaining flat across its width.
Twisting means the board has a spiral distortion. If you set it on a flat surface, one corner will lift off the table. Twist is often the hardest type of warp to fix.
Crooking is a curve along the edge of the board. The board bends sideways like a river curving through a valley. A crook is usually fixed by ripping the board on a table saw.
Method 1: Moisture and Weight
This is the simplest and most accessible method for fixing warped wood. It works especially well on mild to moderate cups and bows.
Start by dampening the concave (hollow) side of the warped board. Use a wet cloth, damp paper towels, or a spray bottle to apply water evenly across the surface. Do not soak the wood. You want it damp, not dripping.
Place the board with the damp side facing down on a perfectly flat surface like a workbench or concrete floor. Stack heavy objects on top. Cinder blocks, bags of sand, or stacked books work well. Leave the board clamped under weight for 24 to 72 hours.
Check the board daily. Once it looks flat, let it dry completely while still under weight. Removing the weight too early may cause the board to spring back.
Pros: No special tools needed. Low cost. Works well on thin to medium boards.
Cons: Takes several days. May not fully correct severe warps. The board can warp again if moisture is not managed afterward.
Method 2: The Iron and Wet Towel Technique
A household steam iron can flatten warped wood, especially thinner boards and panels. This method uses heat and moisture together to relax the wood fibers so the board can be pressed flat.
Lay a damp towel or several wet paper towels over the concave side of the warped board. Set your iron to a medium or high steam setting. Press the iron down onto the towel and move it slowly across the surface. The steam penetrates the wood fibers and makes them pliable.
Work from one end of the board to the other. Repeat the process several times, checking the board’s flatness after each pass. Once the board starts to flatten, clamp it to a flat surface and let it cool and dry completely.
Pros: Quick results on thin wood. Uses common household items. Good for small boards and panels.
Cons: Risk of scorching if the towel dries out. Not effective on thick lumber. Requires hands on attention throughout the process.
Method 3: Sunlight and Heat
Sunlight can be a free and effective tool for correcting mild warps. This method works best on warm, sunny days when you can leave wood outside for several hours.
Place the warped board on a flat surface with the concave (cupped) side facing up toward the sun. The sun’s heat will dry the exposed side, causing it to shrink slightly and pull the board flat. Mist the bottom side lightly with water to speed up the process.
Monitor the board every hour. Wood can over correct if left too long, which creates a warp in the opposite direction. Bring the board inside once it looks flat and let it acclimate to your indoor environment before using it.
Pros: Completely free. No tools required. Works well on mild cups and bows.
Cons: Depends on weather. Hard to control precisely. Risk of over correction. Not suitable for thick boards.
Method 4: Steam Box Treatment
A steam box is a more advanced approach used by woodworkers and boat builders. It works well on thick boards and severe warps that other methods cannot fix.
Build or buy a steam box long enough to hold your board. A steam generator (or a large pot of boiling water connected by a hose) feeds steam into the enclosed box. Place the warped board inside and let it steam for approximately one hour per inch of thickness.
Once the wood is fully steamed and pliable, remove it quickly and clamp it flat on a sturdy surface. Use multiple clamps along the length of the board. Leave it clamped until it dries completely, which can take several days to a week.
Pros: Effective on thick and severely warped boards. Can fix twists and bows that other methods cannot. Professional quality results.
Cons: Requires building or buying a steam box. Time consuming setup. The board may spring back partially after drying.
Method 5: Using a Jointer and Planer
This is the most reliable and permanent way to fix warped wood. A jointer flattens one face of the board. A planer then makes the opposite face parallel. The result is a perfectly flat board every time.
Run the concave side of the board face down across the jointer. Take light passes until the entire face makes contact with the jointer table. Do not try to remove all the material in one pass. Multiple shallow passes produce better results.
Once one face is flat, run the board through the planer with the jointed face down. The planer will cut the opposite face parallel. You may also need to joint one edge and rip the other to remove any crook.
Pros: Produces perfectly flat and parallel boards. The fix is permanent. Fast once tools are set up.
Cons: Requires expensive power tools. Removes material, making the board thinner. Not suitable if you need to preserve the board’s full thickness.
Method 6: Clamping to a Straight Reference
If you have strong clamps and a straight reference board or surface, you can force a warped board flat and secure it in place. This works well for boards that will become part of a larger assembly.
Wet the concave side of the warped board lightly. Place it against a known flat surface like a thick MDF panel or a straight piece of lumber. Apply clamps every 6 to 12 inches along the length. Tighten the clamps gradually to avoid cracking the wood.
Leave the board clamped for at least 48 hours. For better results, leave it clamped for a full week. Some woodworkers combine this method with light steaming to make the wood more flexible before clamping.
Pros: Effective for moderate warps. Can be combined with moisture or steam methods. Good for boards that will be glued into panels.
Cons: Requires many clamps. Takes days. The board may spring back once unclamped if the internal stress is not fully relieved.
Method 7: Adding Support Battens or Cross Braces
Sometimes the best fix is structural rather than corrective. Attaching wooden battens or cross braces to the underside of a warped board can pull it flat and hold it there permanently.
Cut straight hardwood strips and screw or bolt them across the back of the warped board. Use the fasteners to draw the board flat against the battens. Slot the screw holes slightly to allow the wood to expand and contract with seasonal moisture changes.
This method is popular for table tops, shelves, and cabinet panels. It does not change the wood’s moisture content. Instead, it uses mechanical force to hold the board flat.
Pros: Permanent fix. No material removed from the board’s face. Works well for furniture and built in pieces.
Cons: Adds thickness to the back. Not suitable for boards that need to be flat on both sides. Requires drilling and fastening.
How to Fix Warped Wood Furniture
Fixing warped furniture requires a gentle approach because the wood is often finished, stained, or painted. Start by removing any drawers, hardware, or detachable parts to access the warped area.
For warped table tops, flip the table upside down and apply damp towels to the concave side. Place the table on a flat floor and stack weight on it. Leave it for 48 to 72 hours. For doors or panels, remove them from the frame and use the iron method or the clamping method.
If a finished surface is involved, protect it with a cloth barrier before applying moisture. Test any method on a small hidden area first. Refinishing may be needed after the board is flattened if the existing finish cracks or peels during the process.
Common Mistakes to Avoid
Many people make the repair worse by rushing the process or using the wrong method. Avoid these common errors to get the best results.
Do not apply moisture to the wrong side of the board. Always dampen the concave (hollow) side, not the convex (bulging) side. Wetting the wrong side will make the warp worse.
Do not remove weight or clamps before the board is fully dry. This is the number one reason boards spring back after treatment. Patience is critical. The wood needs time to equalize and hold its new shape.
Do not use excessive heat. Scorching the wood creates permanent damage that cannot be repaired. Keep irons on medium settings and always use a damp barrier between the iron and the wood.
How to Prevent Wood from Warping
Prevention saves time, money, and frustration. Proper storage is the most important factor. Store lumber flat on a level surface with spacer sticks (called stickers) between each board. This allows air to circulate evenly around all faces.
Keep wood away from direct sunlight and heat sources. Allow new lumber to acclimate to your shop or home for at least one week before cutting or assembling it. This lets the moisture content stabilize.
Seal the end grain of boards with wax or a commercial end sealer. End grain loses moisture up to 12 times faster than face grain, and this uneven drying causes warps. Applying a finish to all surfaces of a completed project also helps control moisture movement over time.
When Should You Replace Warped Wood Instead of Fixing It
Not every piece of warped wood is worth saving. If the warp is severe and the board has cracked or split, the structural integrity is compromised. Replacing it is the safer choice.
Very thin boards with extreme twists are also difficult to save. The amount of material you would need to remove with a jointer and planer may leave the board too thin to use. Cost matters too. If the lumber is inexpensive and the time to fix it exceeds the cost of replacement, buying new stock makes more sense.
However, valuable hardwoods, antique furniture pieces, and sentimental items are almost always worth the effort to repair. The time investment pays off when the alternative is losing an irreplaceable piece.
Frequently Asked Questions
Can you fix warped wood permanently?
Yes, you can fix warped wood permanently in many cases. The most reliable permanent fix is milling the board flat with a jointer and planer. Adding cross braces or battens to the back also provides a lasting solution. Moisture based methods can work long term if you seal all surfaces of the board afterward to prevent future moisture imbalance.
How long does it take to straighten warped wood?
The time depends on the method and the severity of the warp. The iron method can produce results in 30 minutes to an hour for thin boards. The moisture and weight method takes 24 to 72 hours. Steam box treatment requires several hours of steaming plus days of drying while clamped. Plan for at least two to three days for most methods.
Does wetting wood make it warp more?
Wetting wood can make it warp more if you apply water to the wrong side. To fix a warp, you should only wet the concave (cupped) side of the board. This causes that side to expand and flatten out. Wetting the convex side will increase the warp. Even moisture application and controlled drying are essential.
Can you fix warped plywood?
Plywood is harder to fix than solid wood because its layers resist bending in different directions. Mild warps in thin plywood can sometimes be corrected with the moisture and weight method. Thicker plywood may need to be clamped to a flat frame or replaced entirely. Prevention through proper storage is the best strategy for plywood.
What is the cheapest way to fix warped wood?
The cheapest method is the sunlight technique. Place the board with the cupped side facing the sun and mist the underside with water. This costs nothing and works for mild warps. The moisture and weight method is another low cost option that only requires water, a flat surface, and heavy objects you likely already have.
Will a warped board warp again after being fixed?
It can. Wood responds to its environment continuously. If the board is exposed to uneven moisture or heat after being fixed, it may warp again. To prevent this, seal all surfaces with a finish, store the board properly, and maintain stable humidity levels in your home or workshop. A moisture content between 6% and 8% is ideal for indoor wood.

Hi, I’m Leah Ray — the voice behind CraftBench Vault. I’m a passionate woodworking enthusiast dedicated to reviewing the best wood cutting tools and woodworking products. Through honest research and hands-on experience, I help fellow crafters make smarter buying decisions. Welcome to my workshop!