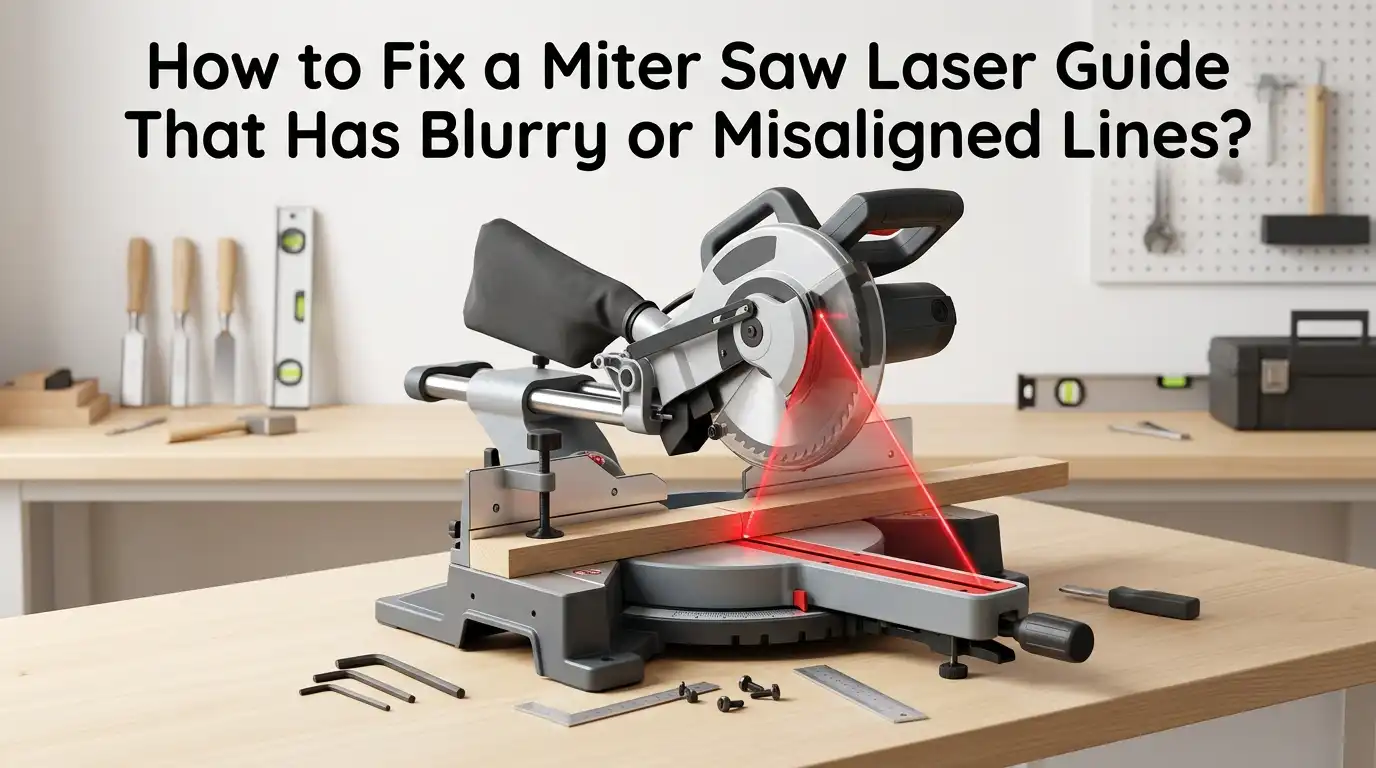
How to Fix a Miter Saw Laser Guide That Has Blurry or Misaligned Lines?
A miter saw laser guide should give you a sharp, straight line that matches your blade path. When the line goes blurry, fuzzy, or drifts off the cut mark, your accuracy drops fast.
You waste boards, ruin trim, and lose trust in the tool. The good news is that most laser problems have simple fixes you can do at home in under thirty minutes.
This guide walks you through every common cause, from dirty lenses to loose mounts and weak batteries. You will learn how to clean, align, calibrate, and replace parts safely.
Key Takeaways
- Dirty lenses cause most blurry lines. A soft cloth and a drop of lens cleaner often solves the issue in two minutes. Sawdust buildup is the number one enemy of laser clarity.
- Weak batteries make lasers dim and fuzzy. Replace the cells with fresh ones of the correct voltage before you try anything else. Old batteries also flicker and shift the line slightly.
- Loose laser mounting screws cause drift. A simple tightening of the bracket screws can bring the line back to center.
- Calibration uses a test cut as the reference. Always align the laser to a real blade kerf, not to the blade body itself. This gives you the most accurate cut line every time.
- Bright shop lights wash out laser lines. Dim the area or shade the work to see the beam clearly during use.
- Some lasers cannot be repaired and must be replaced. If the diode is dead or the line splits in two, swap the whole unit for a new one.
Why Your Miter Saw Laser Goes Blurry or Off Track
A laser guide is a small light module bolted near the blade. It sends a thin red beam onto the wood to show where the blade will cut. Anything that blocks, shifts, or dims that beam will hurt the line. Common causes include sawdust on the lens, loose screws, weak batteries, vibration damage, or a dying laser diode.
Heat from long cutting sessions can also warp the plastic housing. Drops or knocks can shift the internal mirror. Even a slight bump moves the line by several millimeters. Knowing the exact cause saves you time and money. Start with the simplest fixes first, then move to deeper repairs only if needed.
Tools and Supplies You Need Before You Start
Gather your tools before you open the saw. Having everything ready makes the repair smooth and safe. You will need a small Phillips screwdriver, a flat head screwdriver, a soft microfiber cloth, a cotton swab, lens cleaning fluid or rubbing alcohol, fresh batteries, a square, a sharp pencil, and a scrap board for test cuts.
Safety gear matters too. Wear safety glasses, unplug the saw from power, and never look straight into the laser beam. A laser pointed at the eye can damage vision in seconds. Work on a flat, well lit bench. Keep a small parts tray nearby so screws do not roll away. A magnetic tray works best for tiny laser bracket screws.
Step One: Clean the Laser Lens for a Sharp Line
Sawdust, resin, and pitch coat the laser lens during normal use. This buildup scatters the light and makes the line look fuzzy or split. Cleaning the lens is the first thing you should try. Unplug the saw and let the blade stop fully.
Find the small glass or plastic window on the laser housing. Wipe it with a dry microfiber cloth first to remove loose dust. Then dampen a cotton swab with lens cleaner or pure rubbing alcohol. Gently swirl the swab on the lens until it shines clear. Avoid pushing hard or using paper towels, which can scratch the surface. Let the lens air dry for a minute before testing.
Pros: This method is free, fast, and fixes most blur problems. Cons: It will not help if the laser diode itself is failing or the lens is cracked.
Step Two: Replace the Laser Batteries
Many miter saws use small button cells or AA batteries to power the laser. Weak batteries cause a dim, flickering, or fuzzy line. Find the battery cover on the laser housing. It usually slides off or unscrews with one small screw.
Pop out the old cells and check the type printed on them. Common sizes include LR44, AAA, or AA. Always replace with the same voltage and size. Insert fresh batteries with the plus and minus sides matching the diagram inside. Close the cover and turn the laser on. The line should now look brighter and steadier.
Pros: New batteries restore full brightness in minutes. Cons: Some sealed laser units have built in batteries that you cannot swap, which means you may need a full replacement.
Step Three: Check and Tighten the Laser Mounting Screws
Vibration from cutting loosens the small screws that hold the laser bracket. A loose bracket lets the laser tilt or shift each time the saw moves. This shows up as a line that drifts during cuts or sits off center on the wood.
Locate the laser module on your saw. It usually sits on the blade guard, the motor housing, or near the handle. Use a small Phillips driver to check every screw. Turn each screw snug but do not over tighten, or you may crack the plastic housing. Then power up the laser and watch the line. It should hold steady when you tap the saw lightly.
Pros: Quick fix with no parts needed. Cons: Stripped screw holes may need a thread repair or epoxy patch to hold again.
Step Four: Align the Laser to the Blade Kerf
Once the laser is clean, powered, and tight, you can align it. The most reliable method uses a real cut as the reference, not the blade itself. Clamp a scrap board on the saw table. Make a clean cut about halfway through.
Lift the blade and leave the board in place. Switch on the laser. Look at where the red line falls compared to the kerf you just cut. The laser should sit exactly on one edge of the kerf, matching the side you marked your pencil line on. If it drifts left or right, you need to adjust the laser screws, which we cover in the next section.
Pros: Uses your actual cut path, so it is highly accurate. Cons: Wastes a small piece of scrap wood and takes a few minutes of setup.
Step Five: Adjust the Laser Alignment Screws
Most laser units have one or two tiny set screws that move the beam left, right, up, or down. These screws are usually hidden under a small rubber plug or near the lens. Check your owner manual to find the exact spots for your model.
Use a small flat head or Allen key. Turn the screw a quarter turn at a time. Watch the laser line shift on your test board after each turn. Keep adjusting until the line sits right on the edge of the kerf. Lock the screws by holding them firm while you tighten any lock nut.
Pros: Gives you fine control over the line position. Cons: Easy to over adjust, and some budget saws lack adjustment screws at all, leaving you with a fixed laser.
Step Six: Fix a Split or Doubled Laser Line
A laser line that looks split into two beams or shows a double image points to a damaged lens or shifted internal mirror. This often happens after the saw is dropped or knocked hard. Sometimes a deep crack in the lens causes the beam to bend twice.
First, clean the lens again to rule out smudges. If the split stays, open the laser housing carefully. Look inside for a tiny mirror or prism that may have come loose. Press it gently back into its slot if you can see the seat. If the diode itself looks cloudy or chipped, the unit is beyond home repair.
Pros: Saves the cost of a new unit if the part is just loose. Cons: Opening the housing voids any warranty and can break delicate wires inside.
Step Seven: Deal With Bright Shop Lights and Sunlight
Sometimes the laser is fine, but you cannot see it well. Bright overhead lights and direct sunlight wash out the red beam. This makes the line look weak, blurry, or hard to follow on light colored wood.
Try dimming your shop lights or moving the saw to a shaded spot. Place a small piece of dark cardboard behind the cut to give the laser more contrast. Green laser modules are easier to see in bright rooms than red ones. If your saw lets you swap the laser, a green unit may be worth the upgrade. Some users add a simple shade hood over the laser to block stray light.
Pros: Free or low cost ways to boost line visibility. Cons: Green laser swaps cost more and may not fit every saw model.
Step Eight: Calibrate the Blade and Fence First
A laser can only be as accurate as the saw itself. If your blade or fence is out of square, no laser fix will give you straight cuts. Always check these before you blame the laser.
Place a square against the blade and the fence. The blade must sit at ninety degrees to the table when set to zero bevel. The fence must run flat across the back of the table. Adjust any saw screws or bolts until both parts are dead square. Now redo the laser alignment using the kerf method. The line will track true on every cut.
Pros: Solves cutting problems that the laser alone cannot. Cons: Takes more time and may need extra tools like a dial gauge.
Step Nine: Replace the Whole Laser Unit
Some lasers are simply done. If the diode is burnt out, the housing is cracked, or no adjustment helps, a full swap is the answer. Many saws use a clip on or screw on laser pod that lifts off in seconds.
Order a replacement that matches your saw brand and model. Universal aftermarket lasers also exist, and some clip onto the blade washer. Remove the old unit, plug or screw in the new one, and run through the alignment steps from Step Four. A fresh laser often gives a sharper line than the original factory part.
Pros: Solves any laser problem in one move and often improves quality. Cons: Costs more than a simple repair and may not match the original housing perfectly.
Step Ten: Switch to a Shadow Line Guide if Lasers Keep Failing
Some woodworkers give up on lasers and use shadow line systems instead. A shadow line uses an LED above the blade to cast a sharp shadow of the blade on the wood. The shadow shows the exact kerf, with no batteries or alignment needed.
You can buy aftermarket shadow line kits that mount near the blade. Some saws come with this feature built in. Shadow lines never go out of alignment because the blade itself makes the line. They also stay clear in bright light, where lasers fade.
Pros: Always accurate, never needs adjusting, and works in any lighting. Cons: Costs more than a laser fix, requires a power source, and the LED bulb may need replacing after years of use.
Step Eleven: Maintenance Tips to Keep the Laser Sharp
Once your laser works again, simple care keeps it that way. Wipe the lens with a soft cloth after every long cutting session. This stops sawdust from baking onto the glass.
Check the mounting screws every few months and snug them up if loose. Store the saw in a dry place to stop moisture from fogging the lens. Remove the batteries if you will not use the saw for several months, since old cells can leak and ruin the unit. Avoid bumping or dropping the saw, and always carry it by the base or handle, not the laser housing.
Pros: Free habits that extend laser life by years. Cons: Takes a small amount of regular time to keep up with.
Frequently Asked Questions
Why is my miter saw laser line fuzzy even after cleaning?
A fuzzy line after cleaning usually means weak batteries or a failing diode. Try fresh batteries first. If the line stays blurry, the laser unit itself is wearing out and may need replacement.
Can I adjust the laser without making a test cut?
You can, but it will be less accurate. A test cut shows the true blade path, while eyeballing the blade leaves room for error. Always use a kerf alignment for the best results.
How long do miter saw laser batteries last?
Most button cell batteries last between twenty and forty hours of laser use. Heavy users may need new cells every few months. Light hobby users can go a year or more on one set.
Why does my laser line shift after every cut?
A shifting line points to loose mounting screws or a damaged bracket. Tighten all screws and check the housing for cracks. If the shift continues, the internal parts may be loose and need replacement.
Is a green laser better than a red one?
Yes, green lasers show up better in bright light and on light wood. The human eye sees green wavelengths more easily than red. They cost more but make a real difference in well lit shops.
Can I use any laser on any miter saw?
No, lasers are often model specific. Universal clip on lasers exist, but they may not fit every blade guard or arbor. Always check size and mounting style before you buy.

Hi, I’m Leah Ray — the voice behind CraftBench Vault. I’m a passionate woodworking enthusiast dedicated to reviewing the best wood cutting tools and woodworking products. Through honest research and hands-on experience, I help fellow crafters make smarter buying decisions. Welcome to my workshop!