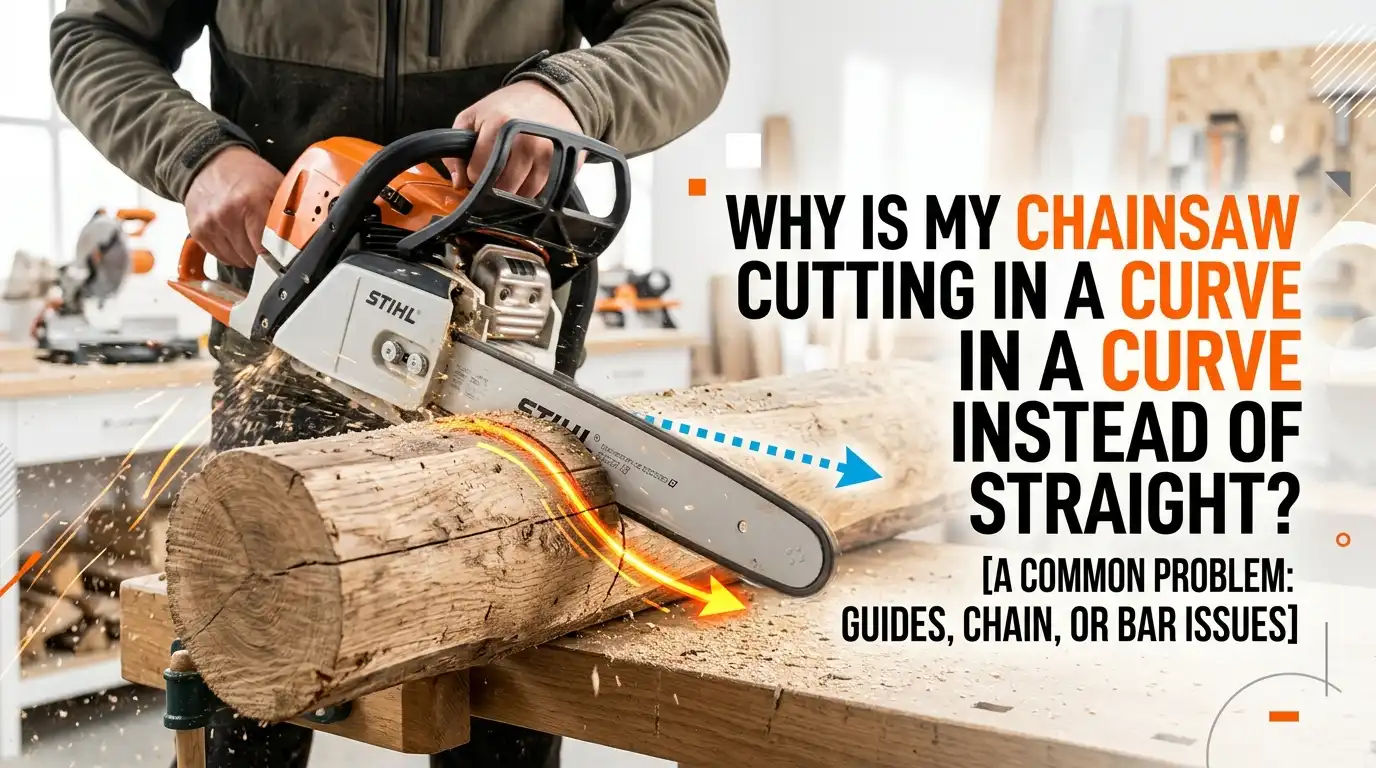
Why Is My Chainsaw Cutting In A Curve Instead Of Straight?
Your chainsaw should slice through wood in a clean, straight line. But sometimes it drifts sideways and leaves a curved, angled cut.
This problem feels frustrating and even a little scary. A curved cut wastes your wood. It also makes the saw harder to control and less safe to use.
The good news is simple. A chainsaw that cuts in a curve almost always has a fixable problem. Most causes come down to the chain, the guide bar, or your cutting technique. You do not need to be a mechanic to solve this. You just need to know where to look.
Key Takeaways
- Uneven chain teeth are the number one cause. When the cutters on one side are sharper or longer than the other, the saw pulls toward the dull side. Even sharpening fixes this fast.
- A worn guide bar is the second biggest culprit. Bar rails that wear unevenly let the chain lean over, which forces an angled cut. Dressing or flipping the bar often solves it.
- Poor sharpening technique creates the problem. Filing both sides at different angles or depths makes the chain bite harder on one side. Use a guide and count your file strokes.
- Wrong chain tension and a worn sprocket matter too. A loose chain wobbles in the groove and tracks crooked. Check tension before every job.
- Your cutting technique can be the real issue. Twisting or pushing the saw sideways warps the bar over time. Let the saw do the work.
- Most fixes are cheap and quick. You can solve many curved cut problems in under thirty minutes with basic tools.
What A Curved Chainsaw Cut Actually Means
A curved cut means your chainsaw is removing more wood on one side of the kerf than the other. The kerf is the slot the chain carves into the log. When both sides cut evenly, the saw tracks straight. When one side bites harder, the saw drifts toward the weaker side.
Think of it like rowing a boat with one strong arm and one tired arm. You will always turn in circles. The same physics applies to your chainsaw. The cutting force must be balanced left to right.
You usually notice this most on thick logs. Thin branches hide the problem because the cut ends too soon. A long, slow drift across a big trunk tells you something is out of balance.
Reason One: Uneven Or Dull Chain Teeth
The most common cause of a curved cut is uneven cutting teeth. Your chain has cutters that face left and cutters that face right. If one set is sharper or longer than the other, the saw pulls toward the dull side. This happens when one side hits a rock, a nail, or hard dirt. That side goes dull while the other stays sharp.
Check your chain closely. Look at the cutters on both sides under good light. Compare their length and the shine on their edges. A bright, worn tip means a dull tooth. A sharp, crisp edge cuts clean. If the two sides look different, you found your problem. Uneven teeth force the chain to steer like a misaligned car.
Pros of inspecting the chain first: It costs nothing and takes only a minute. Cons: Tiny differences are hard to spot by eye, so you may need a caliper or a magnifier to be sure.
Reason Two: Incorrect Sharpening Technique
Sometimes you create a curved cut yourself during sharpening. Filing each side at a different angle or depth throws off the balance. Many people press harder on one side without noticing. Over a few sharpenings, that side ends up shorter and weaker. The saw then drifts toward it.
Fix your technique with a few simple habits. Use the same file size for the whole chain. Hold the same angle on every tooth, usually around thirty degrees for crosscutting. Count your file strokes and apply the exact same number to each cutter. Consistency is the real secret here.
A filing guide or a roller guide helps a lot. It locks the angle so both sides match.
Pros of using a guide: It removes guesswork and produces even teeth every time. Cons: A guide slows you down a little and adds a small cost. Still, the straight cuts are worth it for most users.
Reason Three: A Worn Or Damaged Guide Bar
The guide bar holds the chain upright and on track. Over time, the metal rails on the bar wear down. If one rail wears lower than the other, the chain leans to one side.
A leaning chain cuts at an angle, which gives you that frustrating curve. This is the second most common cause after the chain.
Inspect the bar carefully. Remove the chain and look down the bar groove. Set a straightedge or a small square against the rails. One rail sitting lower than the other confirms uneven wear. Also check for a bent bar or a spread groove. A groove that is too wide lets the chain wobble and tip.
A worn bar creates a nasty cycle. The leaning chain wears the bar more, and the worn bar tips the chain further. Catching this early saves both parts.
How To Dress And Flip The Guide Bar
You can often save a worn bar instead of replacing it. Dressing the bar means filing the rails flat and even again. Clamp the bar in a vise. Run a flat file across the top of both rails until they sit level and square. Remove any burrs along the edges. This restores a flat surface for the chain to stand on.
Flipping the bar also helps. Most bars are symmetrical, so you can turn them over to spread the wear evenly. Do this every time you replace the chain. It doubles the life of the bar and keeps both rails wearing at the same rate.
Pros of dressing and flipping: Both methods are cheap and extend the bar life. Cons: A badly worn or bent bar cannot be saved this way. If filing does not level the rails, you need a new bar.
Reason Four: Wrong Chain Tension
Chain tension affects how straight your saw cuts. A loose chain sags and wobbles inside the bar groove. When it wobbles, the cutters do not bite evenly, and the saw can wander. A chain that is too tight strains the bar and motor and wears parts faster.
Set the tension correctly before every job. Pull the chain up at the middle of the bar. The drive links should stay in the groove but lift slightly.
You should be able to pull the chain around the bar by hand with light resistance. A cold chain needs slightly less slack than a warm one because metal expands with heat.
Check tension again after a few minutes of cutting. New chains stretch fast at first.
Pros of checking tension: It is free, fast, and prevents several problems at once. Cons: None really, though over tightening by mistake can cause new issues, so adjust gently.
Reason Five: A Worn Drive Sprocket
The drive sprocket spins the chain. It sits behind the clutch near the engine. When the sprocket teeth wear into deep grooves, the chain no longer rides smoothly. This can cause vibration, uneven chain speed, and poor tracking that adds to a curved cut. People often overlook this part.
Inspect the sprocket when you remove the chain. Look for worn, hooked, or grooved teeth. A sprocket worn deeper than about half a millimeter needs replacing. A good rule is to fit a new sprocket with every second chain you install. This keeps the whole drive system balanced.
The sprocket, bar, and chain work as a team. If one part wears out, it stresses the others.
Pros of replacing the sprocket on schedule: It protects your chain and bar and keeps cuts clean. Cons: It needs a few tools and some basic disassembly, which can feel tricky the first time. Many users handle it after one practice run.
Reason Six: A Mismatched Bar And Chain
Your chain must match your guide bar exactly. The chain gauge must equal the bar groove width. The gauge is the thickness of the drive links. If the chain gauge is too thin for the groove, the chain rocks side to side and cuts crooked. If it is too thick, it will not fit at all.
Check the numbers stamped on your bar and chain. Match the pitch, the gauge, and the drive link count. Common gauges include 0.050, 0.058, and 0.063 inches. A mismatch is easy to make when you buy parts in a hurry. Always confirm the specs before fitting a new chain.
Using the right pairing keeps the chain standing straight in the groove.
Pros of matching parts: It removes a hidden cause of wobble and curved cuts. Cons: You must record your saw specs and shop carefully, which takes a little extra attention.
Reason Seven: Poor Cutting Technique
Sometimes the saw is fine and your technique causes the curve. Twisting the bar or pushing it sideways during a cut bends the rails over time. Using the bar as a lever to pry wood apart warps it too. These habits create the very bar damage that leads to crooked cuts.
Improve your form with a few rules. Start and finish each cut in a straight line. Let the chain pull itself into the wood. Do not force the saw or lean on it. Keep the powerhead close to the log for big cuts so you have more control. Avoid prying or rocking the bar to free a stuck cut.
Good technique protects your bar and gives cleaner results.
Pros of better technique: It costs nothing and prevents future damage. Cons: Old habits take time to break, and you may need to slow down at first.
Step By Step: Diagnose Your Curved Cut
Follow this order to find your problem fast. Start with the cheapest and easiest checks first. This saves time and money. Work through each step until the curve disappears.
First, inspect the chain teeth for uneven length and sharpness. Second, check chain tension and adjust it. Third, swap in a fresh, sharp chain and test cut a log. If a new chain cuts straight, your old chain was the problem. Fourth, if the curve remains, inspect the guide bar rails for uneven wear. Fifth, dress or flip the bar and test again.
Sixth, check the sprocket and bar chain match. Test cutting a thick log between each step. A thick log shows the drift clearly. This simple process points to the exact cause without guessing.
How To Sharpen Both Sides Evenly
Even sharpening solves most curved cut problems. Secure the bar so it cannot move. Pick the correct round file size for your chain pitch. Set your file at the marked top plate angle, usually thirty degrees.
File each cutter from the inside out with smooth strokes. Count the strokes and use the same number on every tooth.
Sharpen all the left facing cutters first, then turn around and do all the right facing ones. This keeps your angle steady. Check the depth gauges too. Lower them with a flat file if the cutters can no longer reach the wood.
Pros of careful hand sharpening: It is cheap and works anywhere. Cons: It takes practice to keep angles even, and a rushed job can make the curve worse. An electric sharpener speeds things up but costs more and can overheat teeth if used carelessly.
When To Replace The Chain Or Bar Completely
Sometimes repair is not worth it. Replace the chain when the cutters are filed down to the wear marks or cannot be sharpened evenly. A chain with cracked or missing teeth is unsafe and should go in the bin. A heavily worn chain will never cut straight again no matter how you file it.
Replace the bar when dressing the rails no longer levels them. A bent bar, a cracked nose, or a badly spread groove means the bar is finished. A new bar paired with a fresh chain restores straight cutting instantly. Replace the sprocket at the same time if it shows deep wear.
Pros of replacing parts: New components cut clean and run safely. Cons: Parts cost money, and you must match the specs exactly. Still, for badly worn gear, replacement is the only real fix.
Simple Habits To Prevent Curved Cuts
Prevention beats repair every time. Sharpen your chain often and evenly before it gets badly dull. A sharp chain cuts straight and protects the bar. Flip your guide bar each time you fit a new chain to spread the wear.
Keep the bar oiler working so the chain stays lubricated. A dry chain wears fast and unevenly. Clean the bar groove regularly to clear packed sawdust. Check chain tension before every cutting session and again once the saw warms up. Avoid hitting dirt, rocks, and metal, since one strike can ruin one side of the chain.
These small habits keep your saw cutting straight for years.
Pros of regular maintenance: It saves money and keeps every cut clean and safe. Cons: It takes a few minutes before and after each job, but that time pays off fast.
Frequently Asked Questions
Why does my chainsaw cut to the right instead of left?
Your chainsaw cuts to the right because the left side cutters are duller or shorter than the right side. The saw pulls toward the weaker, less aggressive side. Sharpen the left cutters more or even out both sides. Also check the guide bar rails, since uneven rail wear can tip the chain and steer the cut.
Can a brand new chain still cut crooked?
Yes. A new chain can still cut crooked if your guide bar is worn unevenly. The fresh chain leans over in the damaged groove or on uneven rails. A worn sprocket or a mismatched chain gauge can cause this too. Always inspect the bar and confirm the chain matches your bar specs before blaming the chain.
How often should I sharpen my chainsaw chain?
Sharpen your chain whenever it stops producing clean wood chips and starts making fine sawdust. For regular users, this often means after every one or two hours of cutting. Sharpen sooner if you hit dirt or hard material. Frequent light touch ups keep both sides even and prevent the curved cuts that come from uneven wear.
Is it safe to keep using a chainsaw that cuts in a curve?
It is not ideal. A saw that cuts in a curve is harder to control and more likely to bind or kick back. This raises your risk of injury. It also wastes wood and stresses your bar and chain. Stop and fix the cause before continuing heavy work. Straight cutting is both safer and faster.
Will flipping the guide bar really fix crooked cutting?
Flipping the bar helps in many cases. It evens out rail wear so the chain stands straight again. This works best when the wear is mild and the bar is still straight. Flipping will not fix a bent bar, a cracked nose, or a badly spread groove. In those cases you need to dress the rails or replace the bar.

Hi, I’m Leah Ray — the voice behind CraftBench Vault. I’m a passionate woodworking enthusiast dedicated to reviewing the best wood cutting tools and woodworking products. Through honest research and hands-on experience, I help fellow crafters make smarter buying decisions. Welcome to my workshop!