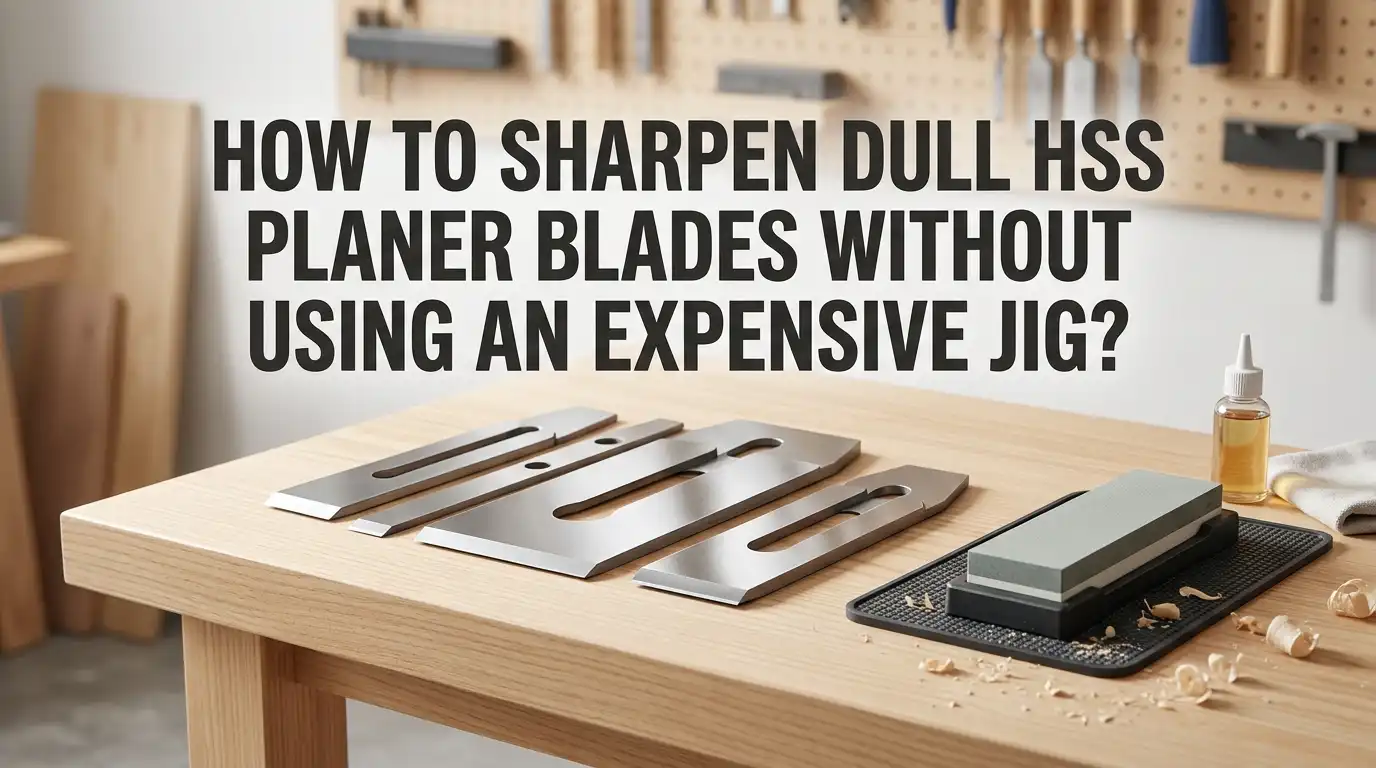
How to Sharpen Dull HSS Planer Blades Without Using an Expensive Jig?
Dull planer blades ruin good wood. They tear fibers, leave fuzzy surfaces, and burn the timber instead of slicing it clean.
Most woodworkers think a fancy sharpening jig is the only fix. That belief costs people hundreds of dollars and stops many hobbyists from keeping their tools sharp.
This guide walks you through every method step by step, weighs the trade offs, and shows you how to get clean shavings again without spending money on store bought fixtures.
Key Takeaways
- HSS blades respond well to hand sharpening. High Speed Steel is hard but not brittle, so flat abrasives can renew the edge without chipping the metal.
- Flatness matters more than fancy gear. A piece of float glass, a granite tile, or a thick steel plate gives you the dead flat reference surface needed for a true edge.
- Grit progression is the secret. Start coarse around 220 grit, then move through 400, 800, 1500, and finish near 2000 grit for a mirror polish.
- The bevel angle for most planer blades sits between 25 and 30 degrees. Stay close to the factory grind to avoid weakening the edge or losing cutting performance.
- Heat is the enemy of HSS. Even though HSS handles heat better than carbon steel, blueing the tip during grinding ruins the temper and softens the edge.
- A homemade wooden guide beats nothing. A simple block cut at the right angle replaces a costly jig and keeps your bevel consistent every pass.
Why HSS Planer Blades Go Dull in the First Place
Planer blades take a beating. Every pass through hardwood drags thousands of wood fibers across the cutting edge at high speed. Over time, the fine tip rolls over, micro chips appear, and resin builds up on the bevel.
Hidden grit in reclaimed lumber and trapped sand in rough sawn boards speed up this wear. Even clean kiln dried stock contains silica that abrades the steel slowly. HSS holds an edge longer than carbon steel, but no metal stays sharp forever.
You will notice the signs early if you watch for them. The planer pushes harder, the motor strains, and the surface looks shiny rather than freshly cut. Burn marks on cherry or maple are another warning. Once you spot these, it is time to sharpen, not later.
Understanding the Bevel Angle Before You Touch the Blade
Knowing the bevel angle keeps your work accurate. Most HSS planer knives ship with a primary bevel between 25 and 30 degrees. Some industrial blades sit closer to 40 degrees for tougher hardwoods.
Check your blade with a simple angle gauge or a printed protractor before you start. Lay the bevel flat against the paper and mark the line. This angle becomes your target for every stroke you make on the abrasive.
Going too steep makes the edge weaker and prone to chipping. Going too shallow creates a long, fragile edge that dulls fast. Match the original angle within a degree or two, and the blade will perform exactly as the maker intended.
The Scary Sharp Method Using Sandpaper and Glass
The Scary Sharp system is the cheapest reliable way to sharpen HSS blades. You stick wet/dry sandpaper to a flat sheet of glass and rub the bevel across it. The flatness of the glass guarantees a flat bevel.
Start by cleaning a piece of quarter inch float glass or a granite floor tile with alcohol. Cut sheets of automotive sandpaper in 220, 400, 800, 1500, and 2000 grit. Spray a light mist of water on the glass, lay the paper down, and smooth out the bubbles.
Hold the blade bevel down at the marked angle. Push it forward across the paper with even pressure, lift, and repeat. Move through each grit until you feel a tiny burr along the back edge. The whole process takes around twenty minutes per blade.
Pros: low cost, very flat results, easy to learn. Cons: paper wears out fast, you must replace sheets often, and large blades need a long glass plate.
Building a Simple Wooden Angle Block as a Free Jig
You do not need to buy a jig when ten minutes of shop time gives you one. Cut a small block of hardwood with one face angled at 25 or 30 degrees. Clamp the planer blade to the angled face with the bevel facing out.
Now the block sits flat on your sandpaper, and the blade meets the abrasive at the perfect angle every stroke. Glue a strip of fine sandpaper to the bottom of the block if it slides too easily.
This trick removes wobble, which is the main reason hand sharpening goes wrong. Beginners get repeatable results from the very first try with this setup. The block costs nothing, lasts for years, and you can build different angles for different tools.
Pros: zero cost, repeatable angle, friendly for new woodworkers. Cons: the clamp can mark soft blades, and the block needs rebuilding if it warps from shop humidity.
Using a Diamond Plate for Faster HSS Sharpening
HSS is hard, and aluminum oxide sandpaper wears out quickly on it. A diamond plate cuts faster and lasts much longer. A single double sided plate with coarse and fine grits handles most planer blade work.
Wet the plate with plain water or a drop of dish soap. Lay the blade flat, bevel down, against the surface. Use long, slow strokes from heel to tip. Diamond grit removes metal aggressively, so check your progress every few strokes.
Move from coarse, around 300 grit, to fine, around 1200 grit. Finish on a leather strop loaded with green compound for a polished edge. The plate stays flat for years if you rinse it after each session.
Pros: cuts HSS quickly, stays flat forever, works on any hard steel. Cons: higher upfront cost than sandpaper, and very coarse plates leave deep scratches that take time to remove.
The Flat Stone and Honing Compound Approach
Traditional oil stones and water stones still work beautifully on HSS. A combination India stone with a coarse and fine side handles the heavy lifting. Soak water stones for ten minutes before use, or apply honing oil to oil stones.
Place the blade bevel flat on the stone. Move it in a figure eight pattern across the full surface to wear the stone evenly. Keep the pressure light and the angle constant. Heavy pressure rounds the bevel and ruins the edge.
After the coarse side, switch to the fine side and repeat. Finish on a hard felt wheel or leather strop with chromium oxide compound. The result rivals factory grinding when done with care.
Pros: stones last for decades, give a clean edge, work without electricity. Cons: stones dish out and need flattening, and very hard HSS can take longer than on diamond plates.
How to Remove the Burr Properly After Sharpening
A burr is the thin curl of metal that forms on the back of the blade as you sharpen. Removing it correctly is what separates a sharp blade from a truly razor sharp blade. Skip this step and the edge folds over the first time you use the planer.
Lay the blade back flat on your finest grit. Pull the blade gently across the abrasive with no pressure. Flip and make one light pass on the bevel side. Repeat until the burr breaks off and the edge feels clean to the fingernail test.
Some woodworkers strop the back on leather with polishing compound for a final mirror finish. This tiny step doubles edge life in real world planing. Never force the burr off, or you will tear small pieces from the cutting edge.
Keeping Both Blades Matched in Length and Height
Most planers use two or three blades. They must all reach the same height in the cutter head, or only one blade does the cutting. Sharpening uneven amounts off each blade ruins this balance.
Mark each blade with a number before removing them. Sharpen them as a set, counting your strokes, so each loses the same amount of metal. Use a caliper to confirm the widths match within a few thousandths of an inch.
When you reinstall, check the height with a wooden stick or a magnetic blade setting jig. Spin the cutter head by hand and watch the stick move equally as each blade passes. Equal projection means equal cutting and clean, flat boards every time.
Avoiding Heat Damage on High Speed Steel
HSS earns its name from its ability to work at high speed without losing hardness. Even so, grinding heat above 600 degrees Fahrenheit will draw the temper. The tip turns straw colored or blue, and the metal becomes soft.
Hand sharpening on sandpaper or stones rarely creates this heat. The danger lies with bench grinders. If you must use a grinder for a chipped blade, dip the edge in water every two seconds. Never grind a dry pass longer than a quick touch.
A wet grinder, like a Tormek style machine, eliminates the risk entirely. If you only have a dry grinder, take small bites and let the blade cool between passes. Patience here saves the blade from permanent damage.
Cleaning the Blades Before You Sharpen
Pitch and resin build on planer blades after a few hours of use. This sticky layer fills the bevel and stops sharpening abrasives from cutting cleanly. Always clean the blades first.
Soak each blade in a mix of warm water and oven cleaner for ten minutes. Scrub gently with a brass brush or a nylon pad. Rinse, dry, and wipe with a light coat of WD 40 to prevent flash rust.
A clean blade sharpens in half the time of a dirty one. You will also see the bevel clearly, which makes angle holding much easier. Skipping this step wastes sandpaper and leaves a poor edge.
Testing the Edge Before You Reinstall
Once you finish sharpening, test the edge before putting the blade back in the planer. The simplest test is the thumbnail test. Drag the cutting edge gently across your thumbnail. A sharp blade catches and bites, while a dull blade slides off.
Another good test is the paper slice. Hold a sheet of regular printer paper by the corner and slice down with the blade. A properly sharpened blade cuts cleanly without tearing. Any rough spots tell you which area needs more work.
For the final check, shave a thin curl off the end grain of a soft pine block. Clean end grain shavings prove the edge is ready. If the grain crushes instead of cutting, return to the finest grit for a few more passes.
Storing Your Sharpened Blades the Right Way
Fresh sharpened blades dull fast if stored carelessly. Bumping into other tools rolls the edge instantly. Oxidation also pits the steel and creates weak spots that fail under load.
Wrap each blade in oiled paper or a clean shop rag with a light coat of camellia oil or 3 in 1 oil. Store them flat in a wooden case or a magnetic strip away from other metal tools. Label the case with the sharpening date so you can track edge life.
Keep the storage area dry. A small silica gel packet inside the case absorbs moisture during humid months. Treated this way, sharpened blades stay ready for service for many months.
When to Sharpen Versus When to Replace
Even careful sharpening has limits. Each session removes a tiny amount of steel, and after enough cycles the blade becomes too narrow to clamp safely in the cutter head. Most HSS planer blades survive eight to twelve sharpenings before retirement.
Look for cracks, deep nicks that exceed a sixteenth of an inch, or warping. A cracked blade is a safety hazard at planer speeds and must be replaced. Bent blades cannot be straightened reliably and should also be retired.
If your blade still has plenty of width and shows only normal wear, sharpening is the smart choice. New HSS blades cost real money, and a well sharpened old blade often outperforms a fresh budget replacement.
Frequently Asked Questions
How often should I sharpen my HSS planer blades?
Sharpen them when you notice tear out, burning, or extra motor strain. For a hobby shop, that usually falls between every twenty and forty hours of use. Heavy hardwood work shortens the interval, while soft pine work extends it.
Can I use a regular kitchen whetstone on planer blades?
Yes, a fine kitchen whetstone works for the final honing step. It will not handle heavy edge repair, but it polishes the bevel nicely after coarser abrasives. Make sure the stone stays flat by rubbing it on sandpaper laid over glass.
Is it safe to sharpen disposable double sided planer blades?
Disposable carbide blades are not made for sharpening. They are designed to be flipped once and then thrown away. Trying to sharpen them rarely improves cutting and often chips the brittle carbide edge.
What angle should I aim for on a benchtop planer?
Most benchtop planer blades use a 30 degree primary bevel. Check your owner manual for the exact figure. Match the factory angle as closely as you can to keep cutting performance and edge strength balanced.
Do I need to sharpen both edges if my blades are double sided?
Many HSS planer blades have only one cutting edge. If yours has two, sharpen only the edge currently in use. Keep the unused edge protected so it stays factory sharp until you flip the blade later.
Will hand sharpening match factory grinding quality?
With careful work, hand sharpening can match or beat factory results. Factories grind for speed, not perfection. A patient woodworker using progressive grits and a strop produces an edge sharper than most new blades from the box.

Hi, I’m Leah Ray — the voice behind CraftBench Vault. I’m a passionate woodworking enthusiast dedicated to reviewing the best wood cutting tools and woodworking products. Through honest research and hands-on experience, I help fellow crafters make smarter buying decisions. Welcome to my workshop!