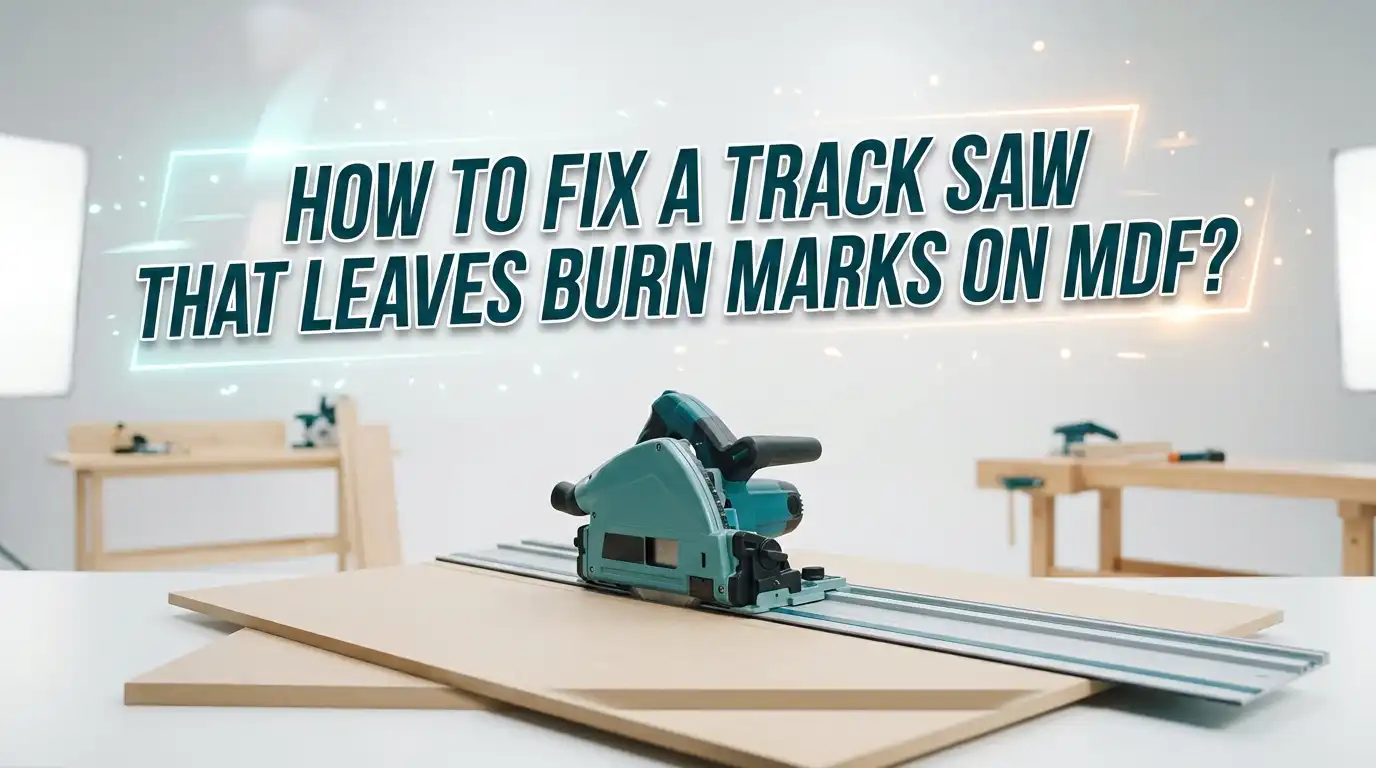
How To Fix A Track Saw That Leaves Burn Marks On MDF?
MDF should give you clean, smooth edges every single time. But sometimes your track saw leaves ugly brown scorch lines along the cut. These burn marks look bad, weaken glue joints, and waste good material.
The good news is that you can fix this problem at home. You do not need expensive tools or special skills. You just need to find the real cause and apply the right fix.
In this guide, you will learn why your track saw burns MDF and how to stop it for good. We will cover blade problems, alignment issues, feed rate mistakes, and support tricks.
Key Takeaways
- A dirty blade is the most common cause. Resin and MDF glue build up on the teeth, create friction, and burn the edge. Clean your blade first before doing anything else.
- Blade alignment matters a lot. If your blade sits even 1 to 2 degrees off from the track, the rear teeth drag against the wood and scorch one side of the cut.
- Feed rate is a balance. Going too slow burns the MDF because the teeth rub instead of cut. Going too fast bogs the saw down. Steady and smooth wins every time.
- The right blade changes everything. A clean MDF cut needs a sharp carbide blade with the correct tooth count, usually a triple chip grind design.
- Good support stops pinching. If the MDF sags during the cut, it squeezes the blade and creates heat. Full and even support under the board solves this.
- MDF dust is fine and sticky. Strong dust extraction keeps the kerf clear, reduces heat, and gives you a cleaner edge.
Why Does A Track Saw Leave Burn Marks On MDF?
Burn marks come from one thing: too much heat and friction in the cut. MDF is made of fine wood fibers pressed together with glue and resin. When the blade rubs instead of slicing, that heat scorches the fibers and glue. The result is a dark brown line along your edge.
Several different problems can cause this rubbing. A dull or dirty blade is the top reason. A misaligned blade is the second. Slow feed rate, poor support, and the wrong blade type also play a role.
The tricky part is that more than one cause can happen at the same time. So you may need to check a few things to fully solve it. The next sections walk you through each cause and its fix in order.
Cause 1: A Dirty Blade Full Of Resin And Pitch
A dirty blade is the number one reason your track saw burns MDF. As you cut, the glue and resin inside MDF melt slightly and stick to the teeth. This sticky layer builds up fast.
It dulls the cutting edge and adds friction. Even a brand new blade can get dirty after just a few cuts in MDF.
Look closely at your blade. If you see a dark, gummy coating on the teeth or the body, that is your problem. The buildup is often worse on one side, which causes burn marks on one side of your cut.
The fix is simple and cheap. You just need to clean the blade. A clean blade slices cleanly and runs cooler. This single step solves burning for many people.
How To Clean Your Track Saw Blade Properly
Cleaning a blade takes about 15 minutes and costs almost nothing. First, remove the blade from the saw and unplug the tool for safety. Lay the blade flat in a shallow tray.
Spray it with a dedicated blade cleaner, or use a simple home option. Many woodworkers soak the blade in warm water with dish soap. Others use denatured alcohol or oven cleaner for tough buildup.
Let the blade soak for 5 to 30 minutes so the resin softens. Then scrub each tooth gently with a brass brush or an old toothbrush. Brass will not scratch the carbide. Rinse the blade, dry it fully, and add a light coat of dry lubricant or paste wax to slow future buildup.
Pros: Cheap, fast, and very effective. Often fixes burning completely.
Cons: You must repeat it regularly with MDF. Strong cleaners need gloves and ventilation.
Cause 2: A Dull Or Worn Out Blade
A dull blade cannot slice MDF cleanly. Instead, it pushes and rubs through the fibers, and that rubbing creates heat. MDF is famous for dulling blades fast because of the glue inside it.
A blade that cut well last month may be dull today. So even a quality blade wears down with heavy MDF use.
Run your finger carefully along a tooth. A sharp tooth feels crisp. A dull tooth feels rounded. You may also notice the saw works harder, makes more noise, or slows down in the cut.
If cleaning the blade did not stop the burning, the blade is likely dull. You can either sharpen it or replace it. Carbide blades can be sharpened several times by a professional service.
Pros of sharpening: Saves money and extends blade life.
Cons: Takes time, and very worn blades may not be worth sharpening.
Cause 3: Blade Alignment Is Off From The Track
This is a big one, and many people miss it. If your blade does not run perfectly parallel to the track, the rear half of the blade drags through the MDF.
This dragging burns one side of your cut, usually the keeper piece. The off cut often looks fine, while the good piece shows scorch marks.
The clue is clear: burn marks only on one side point straight to alignment. Even a tiny error of 1 to 2 degrees causes this. Most track saws have adjustment screws on the base plate that let you fix the blade angle relative to the track.
Loosen them, set the alignment, and tighten again. Some saws are built with a slight toe out angle on purpose, so the rear teeth clear the wood. Check your manual for the correct setup.
How To Check And Adjust Track Saw Blade Alignment
Start by unplugging the saw and placing it on the track. Look at where the blade meets the track edge. The front and rear of the blade should line up the same way with the splinter guard. If the rear teeth sit closer to the wood, the blade is toed in, and that causes burning.
Find the base plate adjustment screws. Loosen them slightly, nudge the saw body, and retighten. Make a test cut in scrap MDF after each change.
Repeat until the burn marks disappear. Take your time here, because small moves make a big difference. Many users report that this fix alone ended their burning problem completely.
Pros: Permanent fix once set correctly. Improves cut quality overall.
Cons: Needs patience and several test cuts. Process varies by saw brand.
Cause 4: Feeding The Saw Too Slowly Or Too Fast
Feed rate is the speed you push the saw along the track. It matters more than people think. When you go too slow, the teeth rub the same spot too long and build heat.
This burns the MDF edge. Slowing down to be careful often makes burning worse, not better. This surprises many beginners.
But going too fast is also bad. A rushed cut bogs the motor down and the blade cannot clear the dust. The trick is a smooth, steady, and consistent push from start to finish.
Do not pause in the middle of a cut. A pause near the end, when reaching for a clamp, often leaves a burn spot right there. Listen to the motor. If it sounds strong and steady, your speed is good.
How To Master The Right Feed Rate And Cutting Technique
Good technique stops many burn problems. Plant your weight behind the saw and push with your whole body, not just your wrist. This keeps the saw moving straight and steady.
Think of it like guiding, not forcing. A wobbly wrist pushes the blade sideways into the MDF and creates friction.
Use both hands when the saw allows it. Keep your eyes over the top of the saw so you move in a straight line. For thick MDF, try two passes.
Set the blade to half the material depth for the first pass, then cut all the way through on the second. This lets the blade clear dust and run cooler. Practice on scrap until your motion feels smooth and natural.
Pros: Costs nothing and improves every cut you make.
Cons: Takes practice to build muscle memory. Two pass cutting takes longer.
Cause 5: Using The Wrong Blade For MDF
The blade you use changes your results a lot. MDF needs a blade built for clean, fine cuts. A blade made for rough framing or laminate will struggle and burn. Tooth count and tooth shape both matter here. The wrong geometry pushes through the fibers instead of slicing them.
For clean MDF edges, many woodworkers choose a triple chip grind (TCG) blade. This tooth shape is durable and handles the abrasive glue in MDF very well. A tooth count around 40 to 60 gives a smooth, chip free edge on 3/4 inch MDF.
Higher tooth counts leave finer finishes but can clog with dust if you cut too fast. Carbide tipped blades hold their edge far longer in MDF than steel blades. Match the blade to the job for the best results.
Best Blade Choice For Clean MDF Cuts
Picking the right blade is easier once you know what to look for. Carbide tipped is a must because MDF dulls steel fast.
A triple chip grind handles the abrasive material and resists wear. For a track saw cutting standard 3/4 inch MDF, a 48 to 60 tooth blade usually gives clean edges with little tearout.
More teeth mean smoother cuts but slower dust clearing. So if you cut thick MDF and see burning, a slightly lower tooth count clears dust faster and runs cooler.
Keep your good blade clean and store it carefully. A high quality blade cuts better, lasts longer, and burns far less than a cheap one.
Pros of a good TCG blade: Clean edges, long life, less burning.
Cons: Higher upfront cost. Still needs regular cleaning with MDF.
Cause 6: Poor Support That Pinches The Blade
If your MDF sags during the cut, it squeezes the blade and traps it. This pinching creates heavy friction and burns the edge.
MDF is heavy and flexible, so a large sheet will bend if it is not supported well. This is a common hidden cause that people overlook. The cut starts fine, then burns where the board sags.
The fix is full and even support under the whole sheet. Foam insulation boards work great as a cutting surface. You set the MDF on the foam, then cut right into it. The board stays flat and supported on both sides of the cut.
Sawhorses with extra cross supports also help. Make sure both the keeper piece and the off cut stay supported so neither side drops and pinches the blade.
Cause 7: Weak Dust Extraction Causing Heat Buildup
MDF makes a huge amount of fine, sticky dust. If that dust stays in the kerf, it adds friction and heat. The trapped dust also packs onto the blade and speeds up resin buildup.
So poor dust collection makes burning worse in two ways at once. Good extraction keeps the cut clean and cool.
Connect your track saw to a vacuum or dust extractor if your saw supports it. Strong suction pulls dust away as you cut. One handy tip is to tape over the small arbor bolt window on the saw.
This seals the dust chamber and lets the vacuum pull harder. Better airflow through the cut keeps the blade cooler and your MDF cleaner. It also makes your shop healthier, since MDF dust is fine and easy to breathe in.
Pros: Cleaner cuts, cooler blade, healthier air.
Cons: Needs a vacuum or extractor, which is an added cost.
How To Remove Existing Burn Marks From MDF
Sometimes you already have burn marks and want them gone. Light burns sand out easily. Use a sanding block with medium grit paper, around 120 grit, and sand along the edge.
Follow up with finer grit to smooth it. Sand evenly so you do not change the shape of the edge. For glue joints, removing burns matters a lot, because glue does not stick well to scorched fibers.
For deeper burns, you may need to make a thin cleanup cut. Trim a hair off the edge with a properly set up saw and a clean blade. This removes the burned layer fully.
A card scraper or block plane can also shave light marks on a straight edge. Whatever method you choose, fix the root cause too, so the burns do not come back on your next cut.
Frequently Asked Questions
Why does my track saw only burn one side of the MDF?
Burning on one side almost always means blade alignment is off. The rear teeth drag against the keeper piece as the saw moves. Check and adjust your blade so it runs parallel to the track. A dirty buildup on one side of the blade can also cause this.
Will cleaning my blade really stop the burning?
In many cases, yes. A dirty blade is the most common cause of burning in MDF. The glue and resin create friction and heat. Cleaning the teeth often restores clean cuts right away. If cleaning does not fully fix it, check your blade sharpness, alignment, and feed rate next.
What tooth count is best for cutting MDF cleanly?
A 48 to 60 tooth carbide blade with a triple chip grind works well for 3/4 inch MDF. More teeth give smoother edges. If you cut thick MDF and see burning, a slightly lower tooth count clears dust faster and runs cooler.
Should I cut MDF slowly to avoid burning?
No. Cutting too slowly usually causes more burning, not less. The teeth rub the same spot and build heat. Use a smooth, steady, and consistent feed rate. Listen to the motor and keep it sounding strong without bogging down.
Can I prevent burns just by changing my technique?
Often, yes. Steady feed, full body weight behind the saw, and good support stop many burns. Add a clean sharp blade and proper alignment, and most MDF burning disappears. Technique and tool setup work together for the best results.

Hi, I’m Leah Ray — the voice behind CraftBench Vault. I’m a passionate woodworking enthusiast dedicated to reviewing the best wood cutting tools and woodworking products. Through honest research and hands-on experience, I help fellow crafters make smarter buying decisions. Welcome to my workshop!