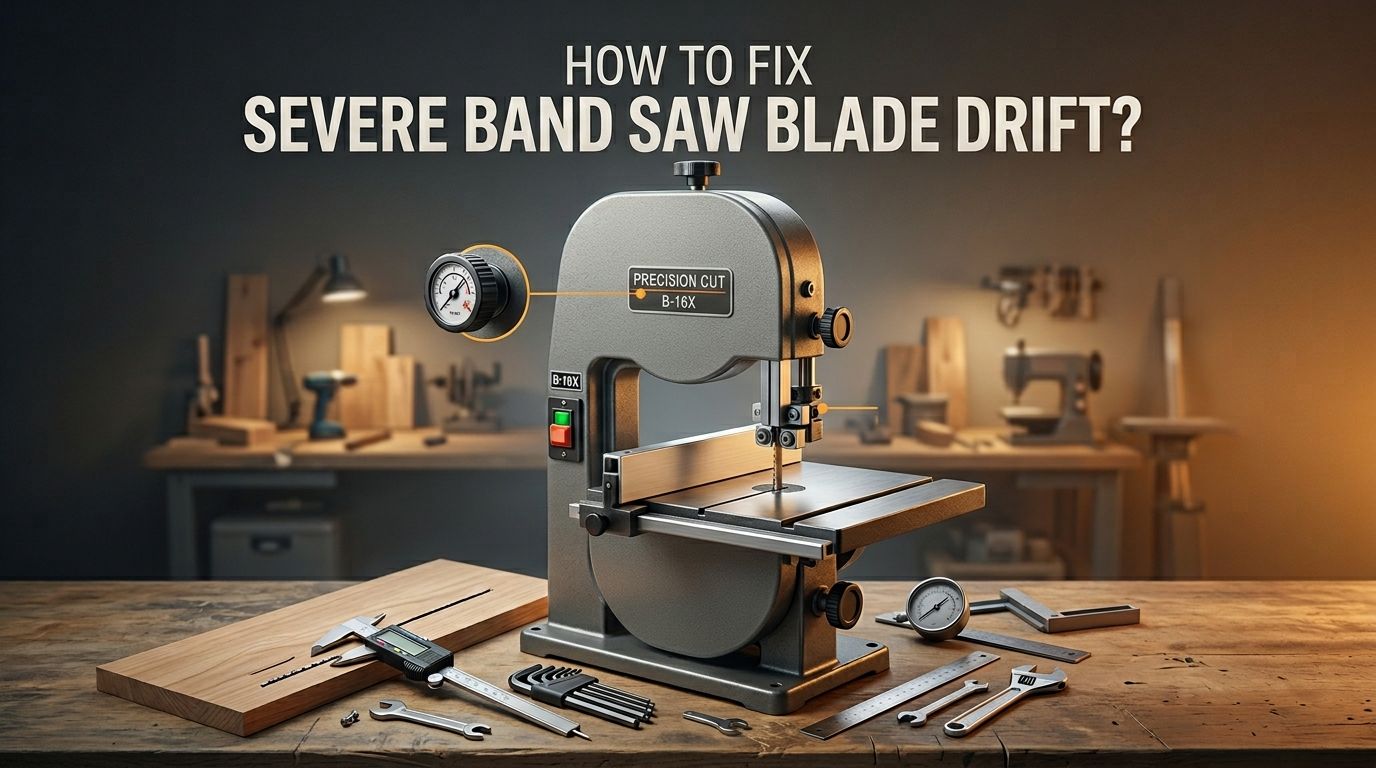
How to Fix Severe Band Saw Blade Drift?
Band saw blade drift is one of the most frustrating problems any woodworker or machinist can face.
You set up a straight cut, feed your stock carefully, and the blade wanders off the line like it has a mind of its own. Your boards come out uneven, your resaws look like roller coasters, and your patience runs thin.
The good news? Severe blade drift is almost always fixable. The cause is usually a combination of blade condition, tension, guide setup, or wheel alignment.
In a Nutshell
- A dull or unevenly sharpened blade is the most common cause of drift. If one side of the blade has more tooth set than the other, or the teeth are worn down, the blade will follow the path of least resistance and veer off course. Replacing or properly sharpening the blade fixes this immediately in most cases.
- Blade tension plays a critical role in cut accuracy. An under tensioned blade flexes sideways during cutting, which leads to drift. Most band saws need significantly more tension than many users apply, especially for resawing thick stock.
- Blade guides must be properly adjusted to support the blade during a cut. Both upper and lower guide bearings or blocks need to sit close to the blade without touching it during idle operation. Misaligned guides give the blade room to wander.
- Wheel alignment, also called coplanarity, determines whether the blade tracks straight. If the upper and lower wheels are not in the same plane, the blade will twist slightly, leading to drift.
- Choosing the correct blade width, tooth count, and tooth profile for your material makes a measurable difference. A narrow blade or a blade with too many teeth per inch can cause packing in the gullets and push the blade sideways.
- If drift is minor and persistent, you can compensate by angling your fence to match the drift angle. This is a workaround, not a true fix, but it can save a project in the short term.
What Is Band Saw Blade Drift and Why Does It Happen
Band saw blade drift refers to the tendency of a blade to cut at an angle rather than following a straight line parallel to the fence. You push your stock into the blade expecting a clean, straight cut, but the wood curves left or right as it moves through.
The root cause is almost always an imbalance in cutting forces. If one side of the blade cuts more aggressively than the other, the blade follows the path of least resistance. This can result from uneven tooth set, dull teeth, poor blade tension, or misaligned guides and wheels.
Drift can also come from feed rate and material issues. Pushing wood too fast into a blade with small gullets creates sawdust buildup that forces the blade sideways. Understanding this basic principle helps you diagnose and fix the problem quickly.
Check Your Blade Condition First
The simplest and most likely fix for severe drift is a blade replacement. A dull blade is the number one cause of band saw drift. When teeth wear down, they lose their ability to cut evenly. One side may dull faster than the other, creating an imbalanced cut that pulls the blade off course.
Examine your blade closely under good light. Look for chipped teeth, rounded cutting edges, and uneven tooth set. If the teeth on one side have a wider set than the opposite side, the blade will steer in the direction of the wider set.
Pros of replacing the blade: Immediate improvement in cut quality, low cost, fast to implement.
Cons: Does not fix underlying mechanical issues like guide or wheel misalignment. A new blade on a poorly tuned saw will still drift eventually.
A fresh, sharp blade with a proper tooth set is the first thing you should try. Many woodworkers report that a new blade eliminates drift completely, especially if they were cutting with worn teeth.
Set the Correct Blade Tension
Blade tension is arguably the most important factor in band saw performance. An under tensioned blade lacks the stiffness needed to resist lateral forces during a cut. It flexes sideways and drifts, especially during resaw cuts through thick stock.
Most band saws have a built in tension scale on the upper wheel adjustment. However, these built in gauges are often inaccurate. A better method is the flutter test. Release the upper blade guides, tension the blade, and then run the saw. Increase tension until the blade runs without any visible flutter or vibration.
For resawing, many experienced woodworkers recommend tensioning well beyond the factory recommendation. Some professionals set tension at 15,000 to 25,000 PSI for metal cutting blades and proportionally higher for wide wood cutting blades.
Pros of proper tensioning: Dramatic improvement in cut straightness, reduced blade wander, better resaw results.
Cons: Over tensioning can fatigue the blade faster and may damage saw bearings over time. You need to find the right balance for your specific saw.
Adjust Your Upper and Lower Blade Guides
Blade guides keep the blade tracking straight during a cut. If your guides are too far from the blade or improperly positioned, the blade has room to wander. Both the upper and lower guide assemblies need attention.
Start with the upper guides. The side guide bearings or blocks should sit just behind the blade gullets, not on the teeth. They should be close enough that a piece of paper barely fits between the guide and the blade. The thrust bearing behind the blade should sit about 1/64 inch away from the back of the blade and only spin when the blade is under cutting load.
Repeat the same process for the lower guides. Lower guides are often neglected, but they are equally important. The blade passes through both sets of guides, and a loose lower guide setup can cause just as much drift as a loose upper setup.
Pros of guide adjustment: Free fix, significant improvement in cut accuracy, reduces blade wear.
Cons: Requires patience and precision. Guides set too tight can overheat the blade or cause premature wear.
Verify Wheel Coplanarity
Coplanarity means the upper and lower wheels of your band saw sit in the same plane. If the wheels are not coplanar, the blade develops a twist as it travels between them. This twist causes the blade to cut at an angle, producing drift.
To check coplanarity, remove the blade and place a long straightedge across both wheel rims. The straightedge should contact both wheels evenly. If there is a gap on one side, you need to shim the wheel or adjust the wheel tilt to bring them into alignment.
Most band saws allow you to adjust the upper wheel tilt. Some also provide adjustment for the lower wheel. Use thin metal shims behind the wheel hub if needed. This process takes time, but it can completely eliminate persistent drift that no blade change fixes.
Pros: Addresses a fundamental mechanical cause of drift, long lasting fix.
Cons: Can be time consuming. Requires removing the blade and carefully measuring with a straightedge.
Inspect and Replace Worn Tires
The rubber or urethane tires on your band saw wheels affect blade tracking directly. Worn, cracked, or uneven tires cause the blade to track unpredictably. If one tire has a worn spot or flat area, the blade will shift as it passes over that section.
Remove the blade and inspect both tires closely. Look for cracks, hardened rubber, flat spots, or areas where the tire has peeled away from the wheel. A crowned tire (slightly raised in the center) helps the blade self center, but a worn crown no longer performs this function.
Replacing tires is a straightforward job on most band saws. Aftermarket tire kits are available for nearly every model. Once you install fresh tires, retension and retrack your blade before testing.
Pros of tire replacement: Restores proper blade tracking, affordable fix, improves overall saw performance.
Cons: Requires removing wheels on some models, which can be labor intensive.
Choose the Right Blade Width and TPI
Blade selection matters more than many users realize. A blade that is too narrow for the task will flex and drift under load. For resawing thick stock, use the widest blade your saw can handle. A 1/2 inch or 3/4 inch blade provides much more beam strength than a 1/4 inch blade.
Teeth per inch (TPI) also plays a major role. A blade with too many teeth per inch creates small, shallow gullets. When you cut thick material, these gullets fill with sawdust faster than they can clear it. The packed sawdust pushes sideways against the kerf walls and forces the blade off line.
For resawing, use a 3 or 4 TPI blade with large gullets. This allows efficient chip removal and keeps lateral pressure to a minimum. For thinner stock, a higher TPI blade works fine because the gullets do not fill up as quickly.
Pros of proper blade selection: Reduces drift at the source, improves cut quality, extends blade life.
Cons: You may need to buy multiple blades for different tasks, which adds cost.
Match Tooth Profile to Your Material
Beyond TPI, the tooth profile affects how aggressively the blade cuts and how much drift it produces. Hook tooth blades have a 10 degree positive rake angle that pulls the blade into the material. They work well for thick hardwoods and resawing because they maintain feed pressure.
Skip tooth blades have a zero degree rake and wider spacing. They are excellent for softer woods and materials that produce long, stringy chips. Regular tooth blades provide the smoothest finish but are least aggressive. They work best on thin stock and softer materials.
Using the wrong tooth profile creates a mismatch between cutting force and material resistance. A regular tooth blade on thick hardwood will struggle, heat up, and drift. A hook tooth blade on thin softwood may cut too aggressively and cause the blade to grab and wander.
Pros: Better matching improves cut accuracy and blade longevity.
Cons: Requires understanding your material and keeping different blades on hand.
Slow Down Your Feed Rate
Feed rate is the speed at which you push material into the blade. Feeding too fast overloads the blade and causes it to flex and drift. The teeth cannot clear chips fast enough, and the packed material pushes the blade sideways.
The fix is simple. Slow down and let the blade do the work. You should feel steady, moderate resistance as you feed the stock. If you have to push hard, you are feeding too fast.
However, feeding too slowly creates its own problems. The blade rubs against the wood without cutting efficiently, which generates heat. Heat buildup can warp the blade and also cause drift. Find the sweet spot where the blade cuts smoothly and produces consistent sawdust without excessive effort.
Pros of proper feed rate: Immediate improvement, requires no tools or adjustments.
Cons: Too slow causes heat buildup and burning. Finding the right speed requires practice and experience.
Square Your Table to the Blade
A table that is not square to the blade will produce angled cuts that look like drift. Use a small machinist’s square or a reliable combination square to check the angle between the blade body and the table surface.
Place the square against the flat body of the blade (between the teeth) and against the table. If you see a gap, adjust the table tilt until it reads perfectly square. Most band saws have a stop bolt or set screw under the table trunnion that controls the 90 degree stop.
This is a quick check that many people overlook. Even a small tilt of one or two degrees can create visible drift over the length of a cut. Make this check part of your regular saw maintenance routine.
Pros: Fast and easy to check, produces immediate improvement.
Cons: Does not fix true blade drift caused by blade or guide issues. Only addresses the table angle component.
Use the Drift Angle Fence Method as a Workaround
If you cannot completely eliminate drift, you can compensate for it. The drift angle fence method involves setting your rip fence at the same angle the blade naturally drifts. This way, the blade’s drift and the fence angle cancel each other out, producing a straight cut relative to the stock.
To find the drift angle, draw a straight line on a piece of scrap wood. Cut freehand along the line for several inches. Stop the saw and do not move the wood. Trace the angle of the wood relative to the miter slot or table edge. This is your drift angle.
Set your fence to match this angle and clamp it in place. Some woodworkers also use a single point fence (a tall, rounded block clamped to the table) that allows the stock to pivot slightly during the cut.
Pros: Saves a project when you cannot tune out drift completely. Works well for resawing.
Cons: This is a compensation technique, not a true fix. The drift angle changes with every new blade.
Check for Structural Issues on the Saw
Sometimes severe drift points to a deeper problem with the saw itself. Worn bearings on the wheel shafts, a bent frame, or a damaged blade guard can all contribute to blade wander.
Grab each wheel and try to wiggle it side to side. Any play indicates worn shaft bearings that need replacement. Check the frame and column for cracks or signs of stress. On older saws, the column can develop a slight bow that throws off alignment.
Guide post alignment is another area to check. The post that holds the upper blade guide should be perfectly vertical. If it leans, the upper guides will not support the blade properly, and drift will result.
Pros of addressing structural issues: Fixes the root cause, restores the saw to like new performance.
Cons: Can be expensive. Bearing replacement and frame repair may require professional help.
Develop a Regular Maintenance Routine
Prevention is always better than troubleshooting. A regular maintenance schedule keeps your band saw cutting straight and extends the life of your blades and machine. Set a routine to inspect your blade, guides, tires, and tension every time you change a blade.
Clean sawdust from the guide assemblies and wheel tires after each use. Sawdust buildup on tires affects tracking. Check blade tension before every cutting session, especially if the saw has been sitting unused. Blades can lose tension over time due to metal fatigue and temperature changes.
Keep a log of blade hours if you do a lot of cutting. Blades dull gradually, and drift often creeps in so slowly that you do not notice until it becomes severe. Changing blades on a schedule, rather than waiting for visible problems, keeps your cuts accurate.
Pros: Prevents problems before they start, extends blade and machine life.
Cons: Requires discipline and time. Easy to skip during busy work periods.
Frequently Asked Questions
What is the most common cause of severe band saw blade drift?
The most common cause is a dull or unevenly sharpened blade. When teeth wear down unevenly or the tooth set becomes imbalanced, the blade follows the path of least resistance and veers to one side. Replacing the blade with a fresh, sharp one fixes this issue in the majority of cases. If a new blade still drifts, the problem lies with blade tension, guide setup, or wheel alignment.
Can blade tension alone fix band saw drift?
Proper blade tension can fix drift in many cases, especially during resawing. An under tensioned blade flexes sideways under cutting load, which causes it to wander. Increase tension beyond the factory scale setting and use the flutter test to confirm adequate stiffness. However, tension alone cannot fix drift caused by dull blades or misaligned wheels.
How do I know if my band saw wheels are coplanar?
Remove the blade and place a long straightedge across both wheel rims. The straightedge should contact both wheels evenly with no gaps on either side. If you see a gap, the wheels need adjustment. Shim the wheel hub or adjust the tilt mechanism until both wheels sit in the same plane.
Should I angle my fence to match blade drift?
Angling the fence to match the drift angle is a useful workaround, but it should not be your permanent solution. The drift angle changes every time you install a new blade. Use this method to save a project in the short term, but invest time in proper saw setup to eliminate drift at its source.
How often should I replace my band saw blade to prevent drift?
There is no universal timeline because blade life depends on material, usage, and blade quality. Inspect your blade regularly for dull or chipped teeth. If you notice increased cutting effort, rougher surface finish, or slight wandering, it is time for a new blade. Many active woodworkers replace blades every 50 to 100 hours of use.
Does blade width affect drift?
Yes. A wider blade resists lateral deflection much better than a narrow blade. For resawing or straight ripping, use the widest blade your saw accepts. Save narrow blades for curves and detail work where a wide blade cannot follow the cut line.

Hi, I’m Leah Ray — the voice behind CraftBench Vault. I’m a passionate woodworking enthusiast dedicated to reviewing the best wood cutting tools and woodworking products. Through honest research and hands-on experience, I help fellow crafters make smarter buying decisions. Welcome to my workshop!