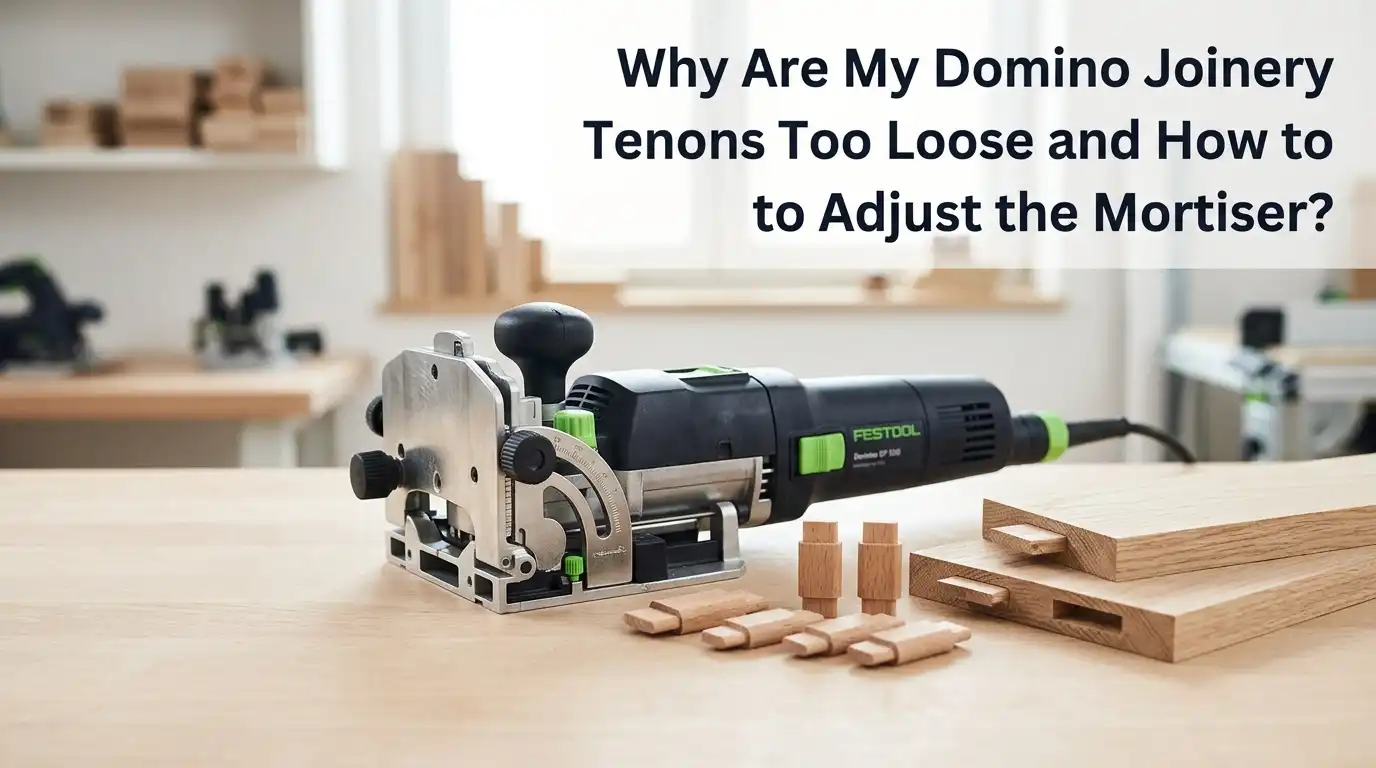
Why Are My Domino Joinery Tenons Too Loose and How to Adjust the Mortiser?
You sat down at the bench, lined up your boards, plunged your Domino, and slipped in a tenon. It wiggled. Maybe it even fell out. That sinking feeling is real, and you are not alone.
Loose Domino tenons are one of the most common frustrations woodworkers face with this otherwise brilliant machine. The good news? Most causes are simple to find, and the fixes take only a few minutes once you know where to look.
This guide walks you through every reason a Domino mortise turns out oversized, plus practical steps to tighten things up. By the end, you will know exactly how to adjust your mortiser, refine your technique, and rescue tenons that already feel sloppy.
Key Takeaways
- Check the width selector dial first. The green knob on top of the Domino has three settings, and a loose tenon almost always means the dial sits on the wider setting instead of the narrow tight position.
- Worn or dull cutters cause oversized mortises. A bit that wobbles or chatters cuts a wider slot than the tenon, so replacing the cutter often solves the problem instantly.
- Plunge speed matters a lot. Pushing the tool forward too fast makes the cutter flex sideways, which carves a sloppy mortise. Slow and steady plunges give crisp results.
- Humidity changes tenon size. Beech Domino tenons shrink in dry shop conditions and swell in damp ones, so storage and seasonal moisture affect fit.
- Loose mortises can be saved. You can shim with veneer, wrap with thin wood, soak the tenon, or use thicker glue to recover joints that already feel loose.
- Routine calibration prevents future issues. A quick monthly check of the fence, depth stop, and cutter condition keeps your mortiser cutting tight, repeatable joints.
Understanding Why Domino Tenons Sometimes Feel Loose
The Domino mortiser cuts a slot using a side to side oscillating bit. That oscillation gives the mortise its oval shape, and the width of the swing is what determines how snug your tenon sits. When the cutter, dial, or technique drifts off, the swing becomes wider than the tenon thickness, and you feel slop.
A loose fit is not always a defect. Festool actually designs the mortiser to cut three different mortise widths on purpose, so you can correct for layout errors.
+The problem starts when you cut on the wrong setting by accident, or when wear, speed, or moisture changes the geometry. Knowing this baseline helps you diagnose the real cause quickly.
Check the Width Selector Dial First
The single most common reason for loose tenons is a misread width selector knob. The Domino DF500 has three positions, often called narrow, medium, and wide. Only the narrow position gives a tight, glove like fit. The medium and wide settings purposely cut oversized mortises to give you side to side adjustment during assembly.
Look at the top of the machine and find the green dial. Make sure it points to the smallest mortise icon before you cut. If you cut on medium and only meant to widen one mortise per joint, the rest of the slots will feel sloppy.
Pros: This fix takes two seconds and costs nothing.
Cons: You may need to recut a few mortises if you already made them at the wrong setting. Never turn the dial while the cutter is stopped, since this can damage the internal mechanism.
Inspect the Cutter for Wear or Damage
A dull or chipped Domino cutter creates an oversized mortise even when every other setting is correct. The carbide tips wear over time, and once they lose their edge, the bit chatters sideways inside the slot. This chatter widens the mortise by a fraction of a millimeter, which is enough to make a tenon rattle.
Remove the cutter and inspect the tips under a bright light. Look for chipped edges, glazing, or burn marks. Also check the shank for bends or rust. If anything looks off, replace the bit. Festool cutters should be considered consumables, not lifetime tools.
Pros: A fresh cutter restores factory tight fits and improves cut quality across the board.
Cons: Replacement bits cost money, and you may need to keep spares on hand. Always handle carbide gently, since dropping a cutter often cracks the tips even if the damage is invisible.
Slow Down Your Plunge Speed
Many woodworkers plunge the Domino too aggressively, and this directly causes loose mortises. When you push the tool forward fast, the spinning, oscillating cutter cannot keep up. It deflects sideways inside the wood, and the resulting slot ends up wider and slightly out of round.
Festool trainers recommend a slow, firm and steady plunge that lets the cutter chew through the fibers at its own pace. Imagine pressing a hot knife through butter rather than stabbing it. Hold the front knob firmly, keep the base flat against the workpiece, and count two to three seconds for a full plunge.
Pros: Slower plunging requires zero new tools and produces cleaner, tighter, more consistent mortises every time.
Cons: It feels slower at first, and rushing a big project becomes harder. The tradeoff is well worth it because your assembly time drops when joints fit right.
Consider Wood Species and Density
The Domino performs differently depending on the wood you cut. Soft species like pine, poplar, and cedar crush slightly under the cutter, so the mortise sometimes feels tight at first but loosens after a few test fits. Hard species like maple, oak, and walnut hold their shape better and give the truest fit.
If you are working in softwood and the tenon feels loose, try cutting your mortise on the same setting in a piece of hardwood scrap. If the hardwood mortise fits well, your machine is fine, and the softwood is the cause. Adjust by using slightly larger tenons or by gluing in oversize tenons and trimming them flush.
Pros: This diagnostic test is free and clears up confusion fast.
Cons: You cannot fully change the behavior of softwood. Some species simply will not hold a tight Domino joint without help from glue or pins.
Check the Fence Alignment and Squareness
A fence that has drifted out of square can also create loose feeling joints. If the fence tilts even one degree, the cutter enters the wood at an angle, and the resulting mortise becomes slightly trapezoidal instead of straight. The tenon then rocks inside the slot, which feels like looseness.
Use a small engineer square to check the fence against the cutter. The face should sit exactly ninety degrees to the bit. If it does not, loosen the fence lock, square it up using the square as a reference, and lock it again. Then make a test cut in scrap and check the tenon fit.
Pros: Squaring the fence restores tight, accurate joints and improves overall machine performance.
Cons: Repeated checks are needed, especially if you transport the tool between job sites. Bumps and drops knock the fence out of true quickly.
Account for Humidity and Tenon Storage
Beech Domino tenons are highly sensitive to moisture. In a dry winter shop, the tenons shrink, and a previously snug fit suddenly feels loose. In a humid summer shop, the same tenons swell and feel tight. This seasonal shift surprises many woodworkers.
Store your loose tenons in a sealed plastic bag or airtight container with the original packaging. Keep them away from radiators, sunny windows, and damp basements. If your shop runs very dry, you can briefly hold a tenon in a steamy environment, like over a kettle, to swell it slightly before glue up.
Pros: Proper storage costs almost nothing and prevents one of the sneakier causes of loose fits.
Cons: Climate control in a workshop is hard for many hobbyists. Tenons that swelled and then dried again may never return to their original size.
Rescue Loose Tenons Already Cut
Sometimes you only notice the loose fit after the mortise is already cut. Do not panic. Several proven tricks save the joint without recutting anything. The simplest method is to glue a thin strip of veneer or paper to one face of the tenon. Trim it flush after the glue dries, and the tenon thickens just enough to fit snugly.
You can also wet the tenon with a damp cloth and let it swell for ten minutes before glue up. Polyurethane glues, such as Gorilla Glue, foam and expand inside the slot, which fills small gaps and adds strength. Epoxy works similarly and bonds reliably even in loose joints.
Pros: These fixes recover damaged work without scrapping parts.
Cons: They take extra time and can be messy. Polyurethane glue stains skin and squeezes out unpredictably, so wear gloves and keep a wet rag close.
Calibrate the Depth Stop and Cut Height
Loose feeling joints sometimes come from a tenon that bottoms out before the shoulders close. The shoulder gap then makes the joint appear loose even when the mortise is the right width. Check the depth stop on top of the machine. Set it to give roughly two millimeters of clearance beyond your tenon length so the tenon never touches bottom.
Also verify the cut height by measuring from the fence to the center of the cutter. It should match exactly half your stock thickness for centered mortises. A miscentered cut leaves uneven shoulders that look like looseness even when the mortise fits well.
Pros: Proper depth and height settings dramatically improve joint appearance and structural strength.
Cons: Setting depth correctly takes a small mental adjustment for every new tenon size, and forgetting one increment leads to mistakes.
Test Cuts Before Every Project
The Domino changes behavior subtly between projects, between woods, and even between batches of tenons. Smart woodworkers always make a test cut in scrap of the same species before drilling into real project parts. This habit catches loose fits before they ruin your work.
Cut one mortise on each setting in a scrap piece, then test a tenon in each. Pick the setting that gives the fit you want for that wood. Mark the scrap with the date and settings, and keep it near the tool as a reference for future jobs.
Pros: Test cuts catch every issue at once, including dull bits, wrong dial position, fence drift, and wood density problems.
Cons: Test cuts use a bit of extra wood and time. Skipping this step causes far more wasted material and rework later.
Adjust the Width Knob Correctly and Safely
The width knob on the Domino must be turned only while the motor is running. This rule exists because the internal mechanism that swings the cutter side to side engages only when the bit is spinning. Turning the dial cold can damage the gears or jam the swing arm.
To change the width, hold the trigger, let the motor reach full speed, and then rotate the green dial to the position you want. Release the trigger only after the dial is set. If you find you cannot turn the dial smoothly, stop and check for sawdust or debris inside the housing.
Pros: Following this rule keeps the mortiser running for years without internal damage.
Cons: It feels counterintuitive to adjust a setting while the tool is live, and new users sometimes forget. Build the habit early to avoid expensive repairs.
Routine Maintenance to Prevent Future Looseness
A clean, well kept Domino almost never cuts loose mortises. Sawdust collects around the cutter and inside the oscillation mechanism, and over time this buildup throws the cut off. Blow out the housing with compressed air after each session, and wipe the fence rails clean.
Check the cutter bolt for tightness every few uses, since vibration can loosen it slowly. Lubricate the depth and height adjustment rods lightly with a dry lubricant, never with sticky oil that traps dust. Once a year, take the tool to an authorized service center for a full inspection.
Pros: Regular care keeps the mortiser cutting at factory accuracy and extends its useful life well past a decade.
Cons: Maintenance takes time and a small kit of basic supplies. Many woodworkers skip it, then blame the tool when results drift.
When to Call Festool Service
If you have tried every adjustment and the mortises still cut loose, the problem may sit inside the tool itself. Bearings wear out, the oscillation gear can develop slop, and dropped tools sometimes bend the spindle. These issues need professional repair, and home fixes can make things worse.
Contact Festool service directly, and have your serial number ready. The machines carry a strong warranty, and certified technicians can diagnose internal issues quickly. Describe exactly which width settings produce loose fits, what cutter you are using, and how the tool behaves during a plunge.
Pros: Professional service brings the tool back to factory specification and often comes with warranty coverage.
Cons: Shipping the tool means downtime, and out of warranty repairs can be pricey. Still, a properly fixed Domino outperforms a fudged one every time.
Frequently Asked Questions
Should a Domino tenon fit tight or loose by default?
A Domino tenon should fit snug but not crushing on the narrow width setting. You should feel light resistance when you slide it in by hand, with no rattle or wiggle. If you have to hammer it, the fit is too tight. If it falls out, the fit is too loose.
Why does my Domino cut a loose mortise even on the tight setting?
The most common reasons are a worn cutter, a fast plunge, or a dirty width mechanism. Replace the bit, slow your plunge, and clean the tool with compressed air. If the problem continues, the internal swing arm may have developed wear and need service.
Can I make a loose Domino tenon tight again?
Yes. Glue a thin veneer to one face of the tenon, soak it briefly to swell the wood, or use polyurethane or epoxy glue that fills small gaps. These rescues work well for one off mistakes but should not replace fixing the root cause.
Does the Domino DF700 have the same loose tenon issues as the DF500?
Yes, the DF700 shares the same basic design and the same possible causes of loose fits. The fixes are identical: check the width dial, inspect the cutter, slow your plunge, and keep the tool clean and square.
How often should I replace my Domino cutter?
There is no fixed schedule, but most woodworkers replace cutters after several hundred mortises or sooner if cut quality drops. Watch for tear out, burning, or oversized slots as signs that your bit has reached the end of its life.

Hi, I’m Leah Ray — the voice behind CraftBench Vault. I’m a passionate woodworking enthusiast dedicated to reviewing the best wood cutting tools and woodworking products. Through honest research and hands-on experience, I help fellow crafters make smarter buying decisions. Welcome to my workshop!