How to Fix a Drill Press Chuck That Keeps Falling Out?
You lower the quill, start drilling, and suddenly the chuck drops right out of the spindle. It hits the workpiece, bounces off the table, or worse, flies across your shop. This is one of the most common and frustrating drill press problems, and it happens more often than you might think.
A loose or falling drill press chuck is not just annoying. It is a safety hazard that can damage your work, ruin drill bits, and cause serious injury.
The good news is that this problem almost always comes down to the taper connection between the chuck and the spindle. The fix is usually simple and costs little to nothing.
In a Nutshell
- A dirty or oily taper is the number one reason a drill press chuck falls out. Grease, dust, and metal shavings prevent the taper surfaces from gripping each other. A thorough cleaning with acetone or denatured alcohol often solves the problem completely.
- Burrs and dings on the taper surfaces break the seal between the chuck arbor and the spindle bore. Even a tiny raised spot can stop the taper from seating properly. You can remove these with fine emery cloth or a small stone.
- The chuck must be seated with a sharp impact, not gentle pressure. Many people simply push the chuck into the spindle by hand. This does not create enough friction to hold. You need a firm blow from a mallet or a press fit using the drill press quill itself against a wood block.
- A worn or damaged taper may need lapping or full replacement. If the taper has seen years of use and repeated fallouts, the surfaces may be too worn for a simple cleaning to work. Lapping compound can restore the fit in moderate cases.
- A drawbar provides the most permanent fix for chucks that will not stay seated. A drawbar is a threaded rod that pulls the chuck tightly into the spindle from above. This is the standard solution used on milling machines and heavy duty drill presses.
- Loctite or retaining compound is a quick fix but should be used carefully. A thin coat of blue or green Loctite on the taper can add grip without making future removal impossible. Red Loctite works too, but removal becomes much harder.
How to Understand the Taper System on Your Drill Press
The chuck on a drill press does not screw on or bolt in place. It is held by a taper fit, which is a precision cone shape that locks through friction alone. The male taper on the chuck arbor slides into the female taper inside the spindle bore.
There are two main taper types you will encounter. Morse tapers (MT1, MT2, MT3) connect the arbor to the spindle. Jacobs tapers (JT1, JT2, JT3, JT33, JT6) connect the chuck body to the arbor. Many drill presses use both: a Jacobs taper on the chuck end and a Morse taper on the spindle end.
The taper angle is very precise, usually around 1.5 degrees per side for Morse tapers. This shallow angle creates a self holding friction fit. A clean, properly seated taper can hold hundreds of pounds of force. But any contamination, damage, or improper seating will cause it to fail.
How to Identify Why Your Chuck Keeps Falling Out
Before you grab tools, you need to figure out what is actually causing the problem. There are several common causes, and each one requires a different fix.
Oil or grease on the taper is the most frequent culprit. Many new drill presses ship with a protective oil coating on the taper surfaces. If you do not clean this off before first use, the chuck will never seat properly.
Burrs or dings from previous removal attempts can raise metal on the taper surface. These high spots prevent full contact. Rust or corrosion can also form on machines stored in damp shops. Finally, a worn or mismatched taper may mean the arbor and spindle are no longer a good fit.
Check for all of these before you start any repair. Pull the chuck out, inspect both surfaces under good light, and run your fingernail across them to feel for raised spots.
How to Clean the Taper Surfaces Properly
Cleaning is the first and most important step. Most drill press chuck problems go away with a proper cleaning alone. You need a solvent, clean rags, and a few minutes of careful work.
Start by removing the chuck and arbor from the spindle. Use acetone, denatured alcohol, or brake cleaner to wipe down the male taper on the arbor. Remove every trace of oil, grease, and grime. Do the same for the inside of the spindle bore. You can wrap a clean cloth around a dowel to reach inside.
Do not use WD 40 as a final cleaner. WD 40 leaves an oily film that will actually make the problem worse. Use it only as a degreaser in the first pass, then follow up with acetone for a completely dry, oil free surface.
Both surfaces should feel slightly rough and completely dry to the touch. This clean metal on metal contact is what creates the friction grip that holds the chuck in place.
Pros: Free, fast, and solves the majority of cases.
Cons: Will not fix worn or damaged tapers.
How to Remove Burrs and Dings From the Taper
If cleaning alone does not solve the problem, inspect both taper surfaces for burrs, dings, or raised spots. These are common on machines that have had the chuck removed and reinstalled multiple times.
Use 600 grit emery cloth or a fine India stone to carefully remove any high spots. On the male taper (arbor), wrap the emery cloth around the taper and rotate it in the direction around the circumference. Do not sand up and down along the length of the taper. Lengthwise scratches create channels that reduce friction and can let the chuck slide out.
For the female taper (inside the spindle), wrap fine emery cloth around a dowel and work it gently inside the bore. Again, rotate rather than stroke up and down. After removing the burrs, clean both surfaces again with acetone to remove all grit and metal particles.
Pros: Effective for minor damage and costs almost nothing.
Cons: Requires care to avoid changing the taper geometry. Aggressive sanding can make things worse.
How to Seat the Chuck Correctly Every Time
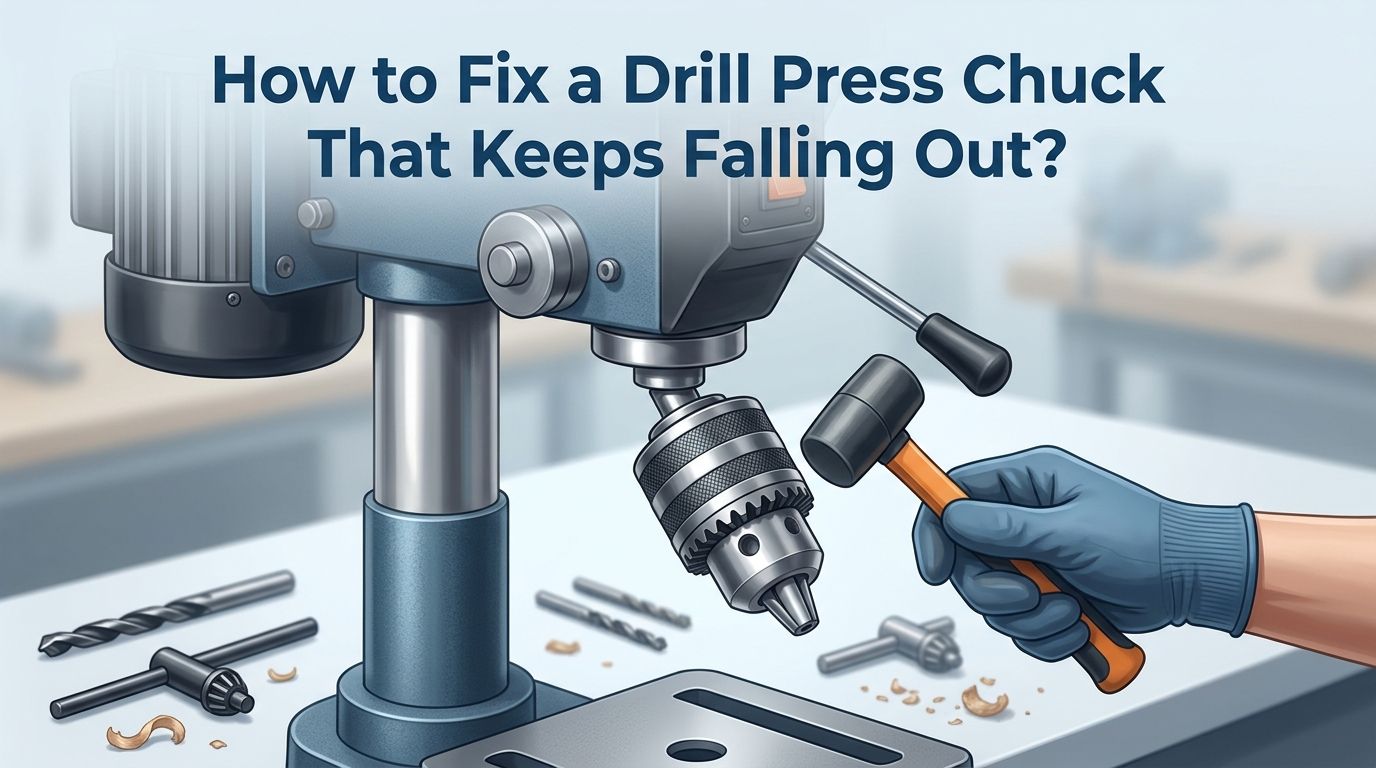
Many drill press owners make the mistake of simply sliding the chuck into the spindle by hand. This light pressure is not enough to create a proper taper lock. The chuck must be seated with a firm, sharp impact.
Here is the correct method. First, retract the chuck jaws fully so they are inside the body. This protects them from damage. Clean both taper surfaces as described above. Slide the arbor into the spindle bore by hand until it feels snug.
Now, place a solid block of hardwood on the drill press table. Lower the quill so the closed chuck jaws press firmly against the wood block. Push down hard on the feed handle. Some machinists prefer to use a dead blow mallet or a soft faced hammer to give the top of the spindle a sharp tap while the chuck is supported from below.
The goal is a single firm impact that drives the taper home. You should feel a solid “thunk” when it seats properly.
Pros: Simple and requires no special tools.
Cons: Too much force can damage the chuck or spindle on lighter machines.
How to Use Lapping Compound to Restore a Worn Taper
If the taper surfaces are worn smooth from years of use, cleaning and reseating may not be enough. Lapping compound can restore the micro texture that gives tapers their grip.
Apply a thin, even coat of fine valve grinding paste (around 600 grit) to the male taper. Insert the arbor into the spindle and rotate it back and forth by hand with light pressure. Do this for about 30 seconds to one minute. The compound will remove a tiny amount of material from both surfaces, creating a matched, uniform fit.
After lapping, clean both surfaces extremely well with acetone. Any remaining compound will act as an abrasive and wear the taper further during use. Some machinists follow up with a final wipe of isopropyl alcohol.
Pros: Restores grip on moderately worn tapers and creates a custom matched fit.
Cons: Removes material permanently. Over lapping can damage the taper geometry. Should only be done once or twice in a taper’s lifetime.
How to Apply Loctite or Retaining Compound for Extra Grip
For chucks that still slip after cleaning and proper seating, a retaining compound can provide the extra holding force you need. This is a popular fix among home shop machinists.
Blue Loctite (242) is the most commonly recommended option. Apply a thin coat to the clean, dry male taper. Insert the chuck and seat it firmly using the wood block method. Let the Loctite cure for at least 24 hours before heavy use.
Green Loctite (680 or 620) is a retaining compound designed for press fit joints. It works well for this application and allows future removal with heat. Red Loctite (271) creates the strongest bond but makes removal very difficult without significant heat, usually above 500°F.
A few drops is all you need. Do not coat the entire taper heavily. A thin film fills microscopic gaps without creating a thick layer that can actually reduce grip.
Pros: Inexpensive and very effective. Easy to apply.
Cons: Makes future chuck removal harder. Red Loctite can be nearly permanent. Must be applied to perfectly clean surfaces.
How to Install a Drawbar for a Permanent Fix
A drawbar is the most reliable way to keep a chuck in the spindle permanently. It is a threaded rod that passes through the top of the spindle and screws into the back of the chuck arbor. When tightened, it pulls the chuck firmly into the taper from above.
Many higher quality drill press chucks and arbors come with a threaded hole in the top of the arbor for exactly this purpose. Check your arbor for a threaded hole. If it has one, you simply need a long threaded rod of the correct size, a washer, and a nut.
Feed the rod down through the top of the spindle, thread it into the arbor, and tighten the nut on top. This creates a positive mechanical lock that no amount of drilling force can break. Milling machines use drawbars as standard equipment for this exact reason.
Pros: The most secure and permanent solution. Eliminates the problem entirely.
Cons: Not all arbors have a threaded hole. Requires access to the top of the spindle, which some drill press designs make difficult.
How to Check If Your Taper Is the Wrong Size or Mismatched
Sometimes the chuck falls out because the arbor and spindle tapers do not match. This happens when someone has installed the wrong arbor or replaced a chuck with an incompatible model.
Morse tapers come in numbered sizes: MT1, MT2, and MT3 are the most common for drill presses. Jacobs tapers also come in several sizes: JT1, JT2, JT3, JT6, and JT33. The arbor must have the correct Morse taper on one end to fit your spindle and the correct Jacobs taper on the other end to fit your chuck.
You can measure the taper diameter with calipers and compare it to published taper dimension charts. The large end diameter of an MT2 is 0.700 inches, while an MT3 is 0.938 inches. If your arbor measures between these numbers, it may be the wrong size or a damaged taper. Check your drill press manual for the correct taper specification.
How to Know When the Chuck or Arbor Needs Full Replacement
Sometimes the taper is too damaged to repair. Deep gouges, heavy corrosion, or significant wear can make a taper unusable. If you have cleaned, deburrd, lapped, and tried retaining compound without success, it is time to replace the arbor or the chuck itself.
Arbors are inexpensive and widely available. You just need to know the Morse taper size for your spindle and the Jacobs taper size for your chuck. Most benchtop drill presses use an MT2 spindle with a JT33 chuck. Larger floor models often use MT3.
When buying a new arbor, look for one with a threaded drawbar hole in the top. This gives you the option to install a drawbar later if needed. A new chuck is also worth considering if the internal Jacobs taper is damaged. Quality chucks from reputable manufacturers will hold the taper far better than cheap imports.
How to Prevent the Chuck From Falling Out in the Future
Prevention is easier than repair. A few simple habits will keep your drill press chuck seated firmly for years.
Never leave oil or cutting fluid on the taper. After any machining operation that involves coolant, pull the chuck and wipe the taper clean. Store your drill press in a dry environment to prevent rust from forming on the taper surfaces.
Avoid using the drill press for side loading operations like sanding drums or large hole saws without proper support. These create lateral forces that work the chuck loose over time. If you need to remove the chuck frequently, consider keeping a drawbar setup so you can secure it each time.
Finally, never use a pry bar or screwdriver to remove the chuck. This damages the taper surfaces and creates the burrs that cause future problems. Use the proper chuck removal wedge or tap the arbor out through the spindle opening.
How to Troubleshoot Other Related Drill Press Chuck Problems
A falling chuck is not the only taper related issue you may face. Runout, which is wobble in the chuck or drill bit, can also result from a dirty or damaged taper. If your drill bits wobble even when the chuck feels tight, clean and reseat the taper as described above.
A chuck that spins on the arbor during heavy drilling is a different problem. This means the Jacobs taper (between the chuck and arbor) is failing, not the Morse taper (between the arbor and spindle). The fix is the same: clean, deburr, and reseat.
If your quill does not return upward after drilling, the problem is with the return spring, not the taper. And if the chuck jaws do not grip drill bits tightly, the internal mechanism of the chuck may need rebuilding or replacement. Each of these is a separate issue from the taper connection.
Frequently Asked Questions
How Do You Fix a Drill Press Chuck That Wobbles After Reseating?
A wobbling chuck usually means there is still contamination on the taper surface. Remove the chuck, clean both tapers with acetone, and check for burrs with your fingernail. If the wobble continues, the arbor may be bent. Roll it on a flat surface like a piece of glass or a granite plate. A bent arbor will rock visibly and needs replacement.
How Do You Remove a Stuck Drill Press Chuck Without Damaging It?
Most drill presses have a slot or window in the spindle for a tapered wedge. Insert the wedge and tap it with a hammer to push the arbor downward. If no slot exists, you can sometimes open the chuck jaws wide and tap a wooden dowel upward through the chuck body. Never use a metal hammer directly on the chuck.
How Do You Know What Size Taper Your Drill Press Uses?
Check your drill press owner’s manual first. If you do not have the manual, measure the large end diameter of the spindle bore with calipers. An MT1 measures about 0.475 inches, an MT2 about 0.700 inches, and an MT3 about 0.938 inches. You can also search your drill press model number online to find specifications.
How Do You Fix a Drill Press Chuck That Falls Out on a Brand New Machine?
New machines almost always have a protective oil coating on the taper surfaces from the factory. This must be completely removed before first use. Clean both tapers with acetone, then seat the chuck firmly using a wood block and the quill feed. This solves the problem on new drill presses in nearly every case.
How Often Should You Clean and Reseat a Drill Press Chuck?
If you do not remove your chuck frequently, you may never need to reseat it. A properly seated taper on a clean surface can hold for decades. However, if you swap chucks or accessories regularly, clean and reseat the taper every time you reinstall the chuck. Prevention takes 60 seconds and saves you from a dangerous flying chuck.

Hi, I’m Leah Ray — the voice behind CraftBench Vault. I’m a passionate woodworking enthusiast dedicated to reviewing the best wood cutting tools and woodworking products. Through honest research and hands-on experience, I help fellow crafters make smarter buying decisions. Welcome to my workshop!