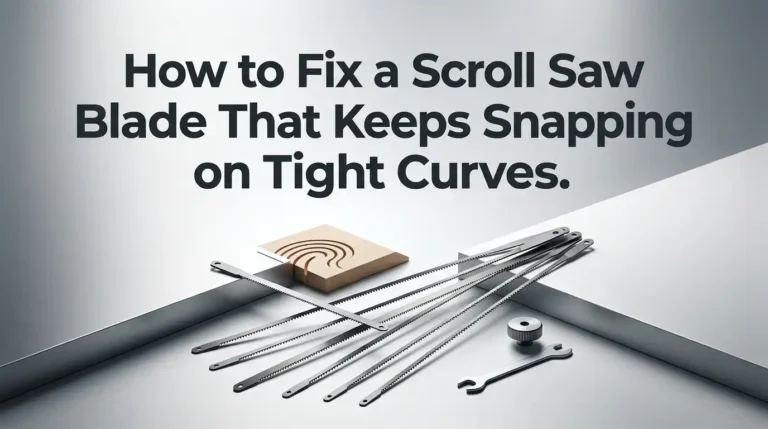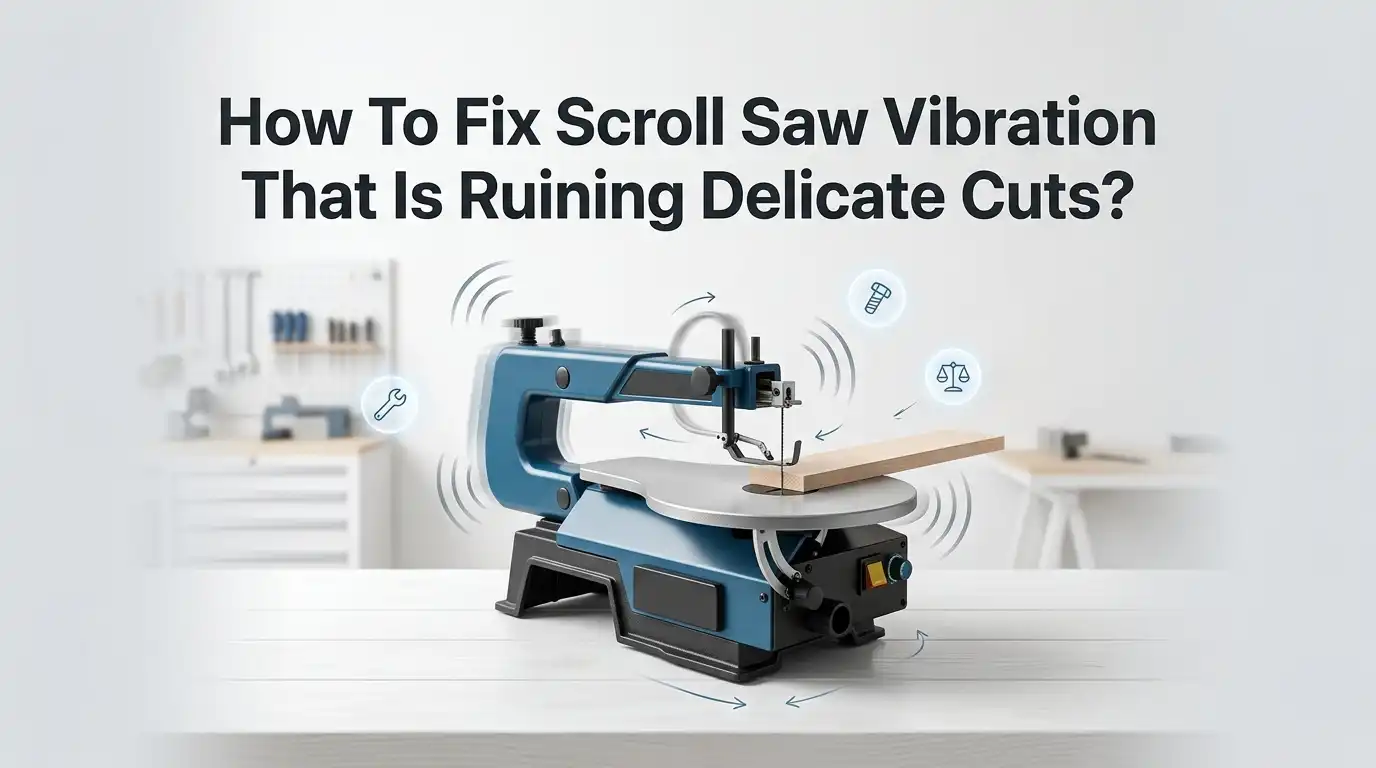
How To Fix Scroll Saw Vibration That Is Ruining Delicate Cuts?
A scroll saw should feel smooth, steady, and easy to guide. When the saw starts shaking, your hands get tense, the blade wanders, and tiny inside turns become messy.
Delicate cuts suffer first. Thin stock chatters. Fine blades twist. Corners lose shape. Soon, a simple pattern feels harder than it should.
The good news is that scroll saw vibration usually has a clear cause. In many cases, the fix is simple. The saw may need a tighter mount, better blade tension, a flatter stand, less speed, or a quick cleaning.
Key Takeaways
- Start with the base, not the blade. Many vibration problems come from a loose mount, a light bench, or an uneven stand. If the saw moves under load, the blade cannot stay on line. A solid base often gives the fastest improvement.
- Check blade tension and blade fit early. A blade that sits crooked, loose, or bent will make the saw feel rough. A properly fitted blade tracks better and feels calmer in the cut. If the blade slips in the clamp, your cut quality will drop fast.
- Use slower settings for thin and delicate work. Higher speed can help on thicker stock, but it can also increase shake. Thin wood, veneers, plastics, and fine fretwork usually respond better to a more controlled pace. Smooth control matters more than fast feed.
- Clean and lubricate the saw on a routine schedule. Dust builds up around clamps, pivots, and moving parts. That extra friction can turn a small issue into a noisy one. A clean saw often sounds better before it even cuts better.
- Watch for signs of wear. If your saw still vibrates after basic setup, look for worn bushings, loose linkages, arm play, or motor mounting issues. These problems often show up with new noise, blade breakage, or left to right arm movement.
- Your hands matter too. Pushing too hard, forcing tight turns, or using the wrong blade for the wood can create extra chatter. Good technique and good setup work together. When both improve, delicate cuts become much easier.
Why Vibration Happens Before You Make A Fix
Scroll saw vibration comes from motion that is not under control. The blade moves up and down by design, but extra movement should not travel into the table, stand, wood, and your hands.
That extra movement usually starts in one of five places. The saw is mounted poorly, the blade is installed badly, the stand is weak, moving parts are dirty or worn, or the cutting setup is wrong for the material.
A lot of users chase the wrong cause first. They blame the blade alone, even when the bench is wobbling or the mounting bolts are loose. That wastes time. A good diagnosis saves effort and prevents random adjustments that make the saw worse.
Think of vibration like a chain. The motor drives the arms. The arms drive the blade. The blade meets the wood. If one link is loose, the whole cut suffers. Start with the machine, then move to the blade, then finish with your cutting method. That order makes the fix much easier.
Start With A Simple Vibration Check
Before changing anything, run a quick test. Turn the saw on without wood and listen. Then place a scrap on the table and make a slow straight cut.
Notice when the vibration gets worse. Does it happen at all speeds, or only near one speed range? Does the table buzz, or does the whole stand shake? Does the blade look straight, or does it flick sideways?
Next, place one hand lightly on the table and the other on the stand. This helps you feel where the movement starts. Do this carefully and keep clear of the blade. If the stand shakes more than the table, your support is likely the main problem. If the table and upper arm feel rough, blade setup or worn arm parts may be involved.
Pros of this method: it is fast, free, and often points you to the real cause. Cons: it does not fix anything by itself, and beginners may miss subtle clues. Still, this first check gives you a clear path instead of random trial and error.
Tighten The Mounting Points First
A loose scroll saw mount causes a surprising amount of trouble. Even slight movement at the base can multiply at the blade.
That means rough entry points, chatter marks, and poor corner control. Check every mounting bolt, washer, and nut that holds the saw to the bench or stand. Then check motor mounting hardware if your saw design allows access.
Many manuals and troubleshooting guides stress this basic step for a reason. A firmly mounted saw moves less and cuts cleaner. If abnormal vibration suddenly appears, this is one of the first places to inspect. Tighten hardware evenly. Do not crank one side down hard while the others stay loose, because that can twist the base.
Pros of firm bolting: strong stability, better control, and low cost. Cons: if the bench itself is light or hollow, bolting the saw down can pass vibration into the whole structure.
In that case, the fix is still correct, but the bench also needs work. Tight mounting helps most saws, yet it performs best on a heavy and stable support.
Fix An Unstable Bench Or Stand
A scroll saw can only be as stable as the surface under it. A thin bench top, weak stand, or floor that rocks under pressure will turn normal machine motion into annoying shake.
If the stand has loose joints, bent legs, or bad welds, the vibration will keep returning no matter how carefully you adjust the blade.
Check whether all feet sit flat on the floor. Push lightly on each corner of the stand. If one foot lifts, the stand is not sitting true. Add leveling feet, shim the low point, or move the saw to a flatter spot. If the bench top is thin, strengthen it with a thicker top or added bracing underneath.
Pros of a heavier stand: strong improvement, better feel, and less noise. Cons: extra weight makes the setup harder to move. A simple pad under the feet can help a little, but a solid stand usually helps more than any quick add on. For delicate cuts, stable support is one of the biggest wins you can get.
Check Blade Tension And Blade Fit
Blade tension affects control more than many users realize. A blade that is too loose can twist, catch, and wander. A blade that is too tight can break early and make the saw feel harsh. The goal is a firm, stable blade that stays straight in the clamps and responds with control during the cut.
Start by removing the blade and checking both clamps. Clean out dust. Look for burrs, clamp spread, or screws that no longer grip well. Reinstall the blade so it sits straight and centered.
On many saws, the blade should be snug in the clamp without being crushed. If the blade slips, bends, or sits off center, your cut quality will suffer right away.
Pros of proper tension: better tracking, cleaner turns, and fewer surprises in thin stock. Cons: it takes a little practice, and each blade size feels slightly different. Do not rush this step. Many delicate cut problems improve the moment the blade is fitted correctly and tensioned with care.
Match Blade Size To Material
Sometimes the saw is not the real problem. The blade is simply wrong for the wood. If the blade has too many teeth for the thickness, dust cannot clear well.
Heat rises, the cut gets jumpy, and the blade may grab. If the blade is too large for a delicate pattern, tight curves feel clumsy and the workpiece can chatter.
A good rule is simple. You want several teeth in the wood during the cut, but not so many that the gullets cannot clear dust.
Thin wood often needs a finer blade, but very fine blades also demand light feed pressure and good tension. Blade choice changes how much vibration you feel at the workpiece. A poor match can make a good saw feel bad.
Pros of changing blade type: cheap, quick, and easy to test. Cons: it takes some trial and error, and blade performance changes with wood species and thickness. If delicate cuts are tearing or jumping, try a more suitable blade before blaming the machine alone.
Set The Right Speed For Thin And Delicate Work
More speed does not always mean better cutting. In fact, delicate work often improves when you slow down. Many scroll saw manuals recommend lower speed for hard woods, plastics, very thin stock, and fine control work. High speed can raise vibration, especially if the saw is lightly mounted or the blade is thin.
Start in the middle range and test on scrap. If the wood chatters or the line feels hard to follow, lower the speed and reduce feed pressure.
If your saw allows stroke changes, a shorter stroke can help very thin material feel smoother and easier to guide. The best setting is the one that gives clean control, not the one that sounds strongest.
Pros of slowing down: more control, less chatter, safer turns, and better surface quality. Cons: cutting takes longer, and thick stock may feel slower than needed. For fretwork and fine inside cuts, calm motion beats fast motion almost every time.
Adjust The Hold Down Foot And Table Alignment
The hold down foot and table angle have a direct effect on delicate cuts. If the hold down foot sits too high, thin pieces can bounce. If it presses too hard, the work may drag and feel awkward. Adjust it so it just contacts the surface and helps prevent lifting during the cut.
Now check the table for square. If the table is slightly off, straight cuts may look acceptable at first, but tiny parts and inside corners will reveal the problem.
Use a small square against a tensioned blade, or make a test cut in scrap and verify the cut face. Even a small table error can make delicate work feel harder than it should.
Pros of proper foot and table setup: better workpiece control, cleaner edges, and more accurate entry cuts. Cons: small adjustments matter, so this step takes patience. If the blade rubs the table slot or does not run true, alignment needs attention before you chase other fixes.
Clean Dust And Lubricate Moving Parts
Dust is not harmless. It packs into clamps, collects around switches, and builds up near pivots and bearings. Over time, that buildup increases friction and can make a smooth saw feel rough. A dirty saw also hides problems. You cannot inspect hardware or worn parts well if everything is coated in fine dust.
After each session, vacuum around the saw and blow dust from the clamps and tight corners. Wipe the table clean and keep the surface slick so the workpiece slides with less effort.
Some manuals also recommend regular oil on specific pivot points, while others call for light lubrication on bushings or moving bolts. Always follow the guidance for your saw design.
Pros of routine cleaning: low cost, easy habit, and strong long term payoff. Cons: it does not solve damaged parts by itself. Still, many rough running saws improve after a serious cleaning and proper lubrication. Release blade tension during long breaks if your saw manual recommends it.
Inspect Worn Bushings Bearings And Linkages
If your saw still vibrates after basic setup, look deeper. Worn bushings, arm pivots, linkages, tension rods, or motor mounts can create extra motion that no blade change will fix. A common clue is new noise, blade breakage near the ends, or side to side arm movement when the blade is removed.
Unplug the saw and test the arms gently by hand. You are checking for looseness, not forcing anything.
If the upper or lower arm shifts more than it should from left to right, wear may be present. Also inspect the quick lock area, tension parts, and blade clamp alignment. Mechanical wear often shows up as vibration plus loss of blade control.
Pros of finding worn parts early: prevents bigger damage and restores accurate cutting. Cons: repair may take time, money, or service help. If the saw knocks, rattles, or keeps breaking blades near the clamps, stop using it until you inspect the moving system more closely.
Reduce Vibration From The Floor And Room
Sometimes the saw is fine, but the room makes it feel worse. Wooden floors can pass movement back into the stand. A light table in a corner may buzz against the wall.
Shelves near the saw can rattle and make the machine sound rougher than it really is. That noise adds stress and can trick you into pushing harder.
Try moving the saw a short distance and cut the same scrap again. Remove loose items from the bench. Check for anything touching the stand, wall, or power cord that might buzz.
Some users add dense pads or rubber feet under the stand. These can help in the right setup, though results vary. Pads reduce transmitted vibration, but they do not replace a solid base.
Pros of pads and room changes: simple, fast, and often useful in small shops. Cons: too much softness can let the saw move more. Use isolation as a finishing step, not your first fix. Stable mass should come before soft padding.
Use Better Cutting Technique To Stop Self Caused Shake
A well tuned saw can still feel bad if the feed pressure is wrong. Pushing wood into the blade too hard makes the blade deflect and the workpiece chatter. Twisting the board during a tight turn can also create a rough, vibrating feel. The saw responds best when the blade cuts at its own pace.
Use a light grip and let the teeth do the work. Guide the wood with steady pressure. Slow down before sharp corners. Back out and re enter if a turn gets too tight for the blade size.
On very thin stock, support the piece well and avoid forcing it across the table. Good technique lowers stress on the blade and on the saw itself.
Pros of this method: free, immediate, and helpful with every project. Cons: it takes practice and patience. If vibration seems worse only during cutting, your hands may be adding to the problem. Better technique often turns an average setup into a very usable one.
Build A Simple Maintenance Routine That Keeps Vibration Away
The best vibration fix is the one you do before the problem grows. A short routine after each session keeps the saw predictable. Brush or vacuum off dust.
Check blade clamps. Release tension if your saw manual calls for it. Wipe the table. Look for loose hardware. Listen for new sounds at the next startup.
Then add a weekly or monthly check based on how often you cut. Verify the mount, inspect the stand, oil the points that need lubrication, and confirm the table is still square.
Replace bent or dull blades early. Small checks prevent big frustration later. A saw that feels smooth today can drift out of shape slowly if nobody watches the details.
The real goal is simple. You want a saw that feels calm the moment you turn it on. Once that happens, delicate cuts stop feeling risky. They start feeling enjoyable again.
FAQs
Why does my scroll saw vibrate more at one speed than another?
That usually points to resonance. The saw, stand, or bench is hitting a speed range where movement gets amplified. Tighten the mounting points first, then check the stand, floor contact, and nearby loose items. A heavier and more stable base often reduces this issue a lot. If the problem is new, inspect the blade setup and moving parts too.
Should I bolt my scroll saw down or use rubber pads?
Start with a firm mount on a stable support. That solves more problems than pads alone. Rubber or dense isolation pads can help reduce vibration that travels into the bench or floor, but they work best after the base is already solid. If the stand is weak, pads will not fix the real issue.
Can wrong blade tension really cause rough delicate cuts?
Yes. A loose blade can wander, twist, and catch the wood. A blade that is too tight can feel harsh and break sooner. Proper tension gives better control and smoother tracking. If your cuts suddenly feel sloppy, blade fit and tension should be checked right away.
How do I know if worn parts are causing the vibration?
Watch for new rattling sounds, repeated blade breakage near the ends, side to side arm play, or vibration that stays even after you fix the mount and blade setup. Those signs often point to bushings, pivots, linkages, or tension parts that need repair. If you see those clues, unplug the saw and inspect it before more cutting.
What is the fastest fix for most scroll saw vibration problems?
For most users, the fastest gains come from four steps. Tighten the saw to a solid support, check the stand for wobble, install and tension the blade correctly, and lower the speed for delicate work. Those changes solve a large share of common vibration complaints and usually improve cut quality right away.

Hi, I’m Leah Ray — the voice behind CraftBench Vault. I’m a passionate woodworking enthusiast dedicated to reviewing the best wood cutting tools and woodworking products. Through honest research and hands-on experience, I help fellow crafters make smarter buying decisions. Welcome to my workshop!