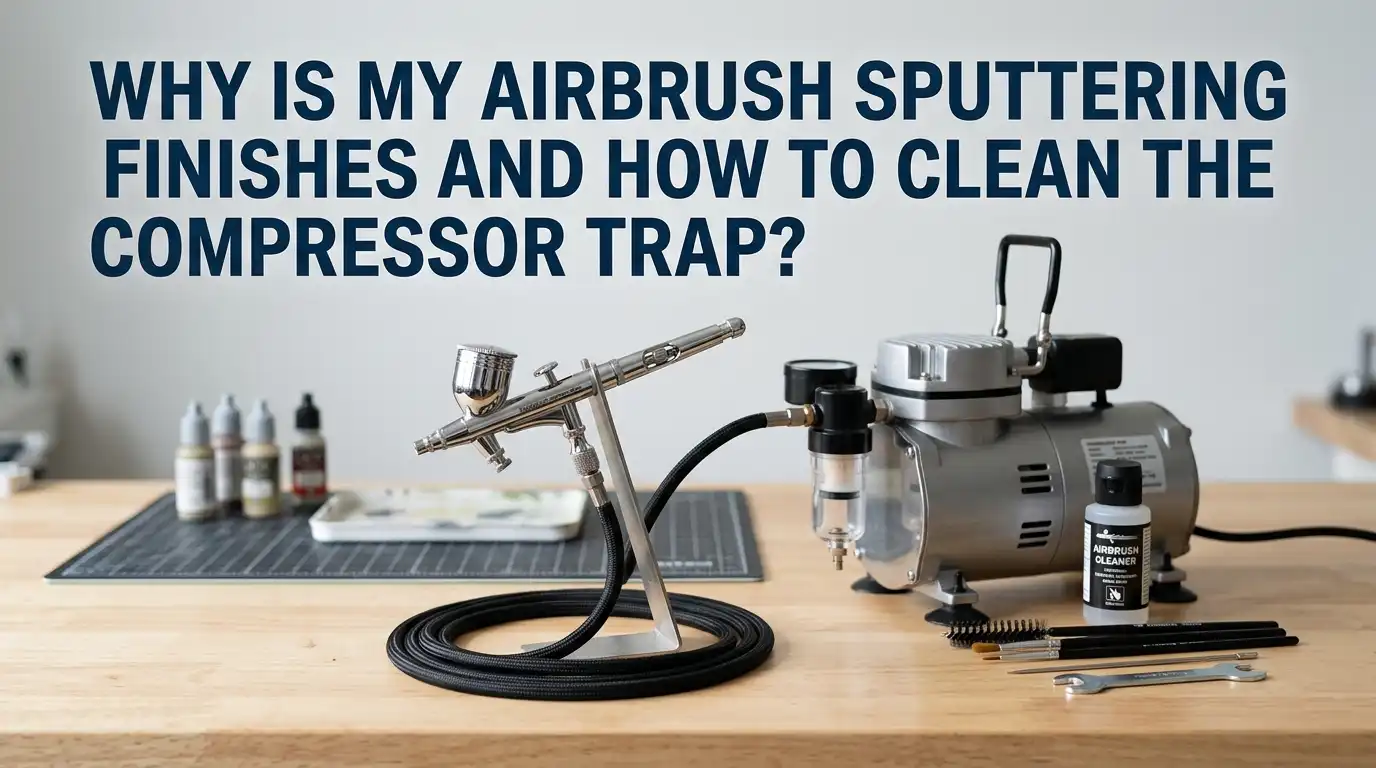
Why Is My Airbrush Sputtering Finishes and How to Clean the Compressor Trap?
Few things ruin a smooth paint job faster than an airbrush that suddenly starts spitting blobs, hissing wet specks, or coughing out uneven lines. One minute your finish looks glassy, and the next it looks like sandpaper.
If this sounds familiar, the good news is that most sputtering issues come from a small list of fixable causes. Even better, your compressor moisture trap, which is often the hidden villain behind wet sputters, only needs a few minutes of care to work like new.
This guide walks you through every common reason an airbrush sputters and shows you how to clean the compressor trap step by step.
Key Takeaways
- Paint consistency matters most. Most sputtering happens because the paint is too thick. Thin your paint to a milk like consistency using the right reducer for your brand.
- Moisture is the silent enemy. Water builds up inside the compressor tank and trap. Drain the moisture trap after every session to stop wet spits and blotches.
- Tip dry blocks the needle. Dried paint on the needle tip causes random splatters. Wipe the needle gently with a soft brush dipped in cleaner every few minutes.
- Low air pressure causes blobs. Run your airbrush at the right PSI for your paint, usually between 15 and 30 PSI for acrylics.
- Loose parts leak air and paint. Check the nozzle, needle cap, and air hose fittings. A small leak can ruin a whole finish.
- Clean the compressor trap regularly. Empty the bowl, wipe the filter, and check the drain valve to keep your air clean and dry.
What Sputtering Actually Means in Airbrushing
Sputtering is the sudden burst of paint or air that breaks up your smooth spray pattern. It can show up as wet spots, dry blobs, hissing noises, or paint that arrives in short pulses instead of a steady mist.
Each type of sputter points to a different cause. Wet sputters usually mean water in the air line. Dry blobs often mean tip dry on the needle. Pulsing usually means low pressure or a clogged nozzle.
Learning to read the sputter helps you fix it faster. Listen, watch the spray pattern, and feel the trigger. These small clues tell you exactly where the problem lives, so you do not waste time taking the whole airbrush apart for no reason.
Reason 1: Your Paint Is Too Thick
Thick paint is the number one cause of airbrush sputtering. When paint is too heavy, the airbrush cannot atomize it into a fine mist. Instead, it pushes out chunks that look like specks or blobs on your model. Acrylics, enamels, and inks all need thinning before they go through an airbrush.
Aim for a milk like consistency. Mix your paint with the right thinner or reducer in a small cup. Most acrylics need a ratio close to 1 part paint to 1 part thinner, but this changes by brand. Test the flow on scrap paper before painting your final piece.
Pros of thinning paint: Smooth lines, no clogging, better atomization, and finer details.
Cons: Over thinning causes runs, spider webs, and weak color coverage. Always thin in small steps.
Reason 2: Water in the Air Line
Compressors pull in warm humid air and squeeze it. When the air cools inside the hose or tank, the moisture turns back into water. That water then shoots through your airbrush and lands on your finish as wet droplets.
You will spot this when paint suddenly looks runny in one spot or when you hear a sharp hiss followed by a splash. A moisture trap stops most of this water, but it only works if you drain it often. If you live in a humid area or paint long sessions, expect more water than usual.
Pros of using a moisture trap: Cleaner air, fewer wet sputters, and longer airbrush life.
Cons: Traps fill up fast and need daily care. Cheap traps may leak air if not tightened well.
Reason 3: Tip Dry on the Needle
Tip dry happens when paint dries on the very end of the needle while you spray. The dried bits build up, block the nozzle, and then suddenly break free as a blob. Acrylic paints dry the fastest, so they cause tip dry more than enamels or lacquers.
To fix this, pull the needle back slightly and wipe the tip with a soft brush dipped in cleaner or water. Do this every few minutes during long sessions. Adding a drop of flow improver or retarder to your paint cup also slows drying. Never scrape the needle with metal, because that bends the fine point and ruins your spray pattern.
Reason 4: Air Pressure Is Too Low
If your PSI is too low, the air cannot push the paint through smoothly. The paint comes out in pulses or drips, and you see large blobs instead of a fine mist. Most acrylic airbrush work needs 15 to 30 PSI. Inks may need less, and heavy primers may need more.
Set your pressure while the air is actually flowing through the airbrush, not while it sits idle. The reading drops once the trigger opens. Adjust the regulator slowly and test on scrap paper.
Pros of higher pressure: Better atomization and fewer clogs.
Cons: Too much pressure causes overspray, dry finish, and wasted paint. Find the sweet spot for each paint type.
Reason 5: A Loose or Damaged Nozzle
The nozzle is the small cone at the front of the airbrush where paint meets air. If it is loose, cracked, or seated wrong, air sneaks into the paint channel and causes bubbles. These bubbles burst out as sputters.
Check the nozzle by removing the front cap and looking for cracks or paint buildup. Tighten the nozzle gently with the right wrench, but never overtighten, because the metal is soft. If you see a crack, replace it. A damaged nozzle will never spray well, no matter how clean it is.
Pros of checking the nozzle: Quick fix that often solves stubborn sputtering.
Cons: Nozzles are delicate and small. Losing or stripping one means buying a new part.
Reason 6: Clogged or Dirty Airbrush Parts
Dried paint inside the airbrush body, nozzle, or needle channel blocks normal flow. The pressure builds up behind the clog and then bursts through suddenly, throwing paint in chunks. This is common when painters skip deep cleaning between color changes.
Do a full strip down clean every few sessions. Remove the needle, nozzle, and front cap, and soak them in airbrush cleaner. Use thin cleaning brushes and pipe cleaners to scrub the inside of the body. Rinse, dry, and reassemble. Regular cleaning is faster than fixing clogs later.
How to Clean the Compressor Moisture Trap Step by Step
The moisture trap, also called the water filter, sits between the compressor and the air hose. It catches water and dust before they reach your airbrush. Cleaning it is simple, but you must follow the steps in order for safety.
Step 1: Turn off the compressor and unplug it. Pressurized air can be dangerous, so always cut power first.
Step 2: Release the air pressure. Open the drain valve at the bottom of the tank slowly and let all the air hiss out. Wait until the gauge reads zero.
Step 3: Find the small drain screw at the bottom of the moisture trap bowl. Place a rag under it and unscrew it slowly. Water and dirt will drip out.
Step 4: Unscrew the clear bowl by hand or with a small wrench. Wash it with warm soapy water. Do not use harsh solvents, because they crack the plastic.
Step 5: Remove the filter element inside. Most filters are bronze or ceramic. Rinse them under warm water and let them air dry fully.
Step 6: Wipe the housing, check the rubber O ring for cracks, and reassemble everything. Tighten the bowl until snug but not forced.
Step 7: Restart the compressor and test for leaks by listening for hissing or spraying a little soapy water on the joints.
How Often Should You Drain the Trap?
Most painters should drain the moisture trap after every session. If you only do short sessions, drain it at least once a week. In humid climates, drain it during the session if you paint for more than an hour at a time.
You should also drain the main compressor tank, not just the small trap. Find the brass valve under the tank and open it for a few seconds with the compressor running at low pressure. Water and rust flecks will blow out. Skipping this step lets rust build up inside the tank, which then sprays into your finish.
Pros of frequent draining: Dry air, clean finishes, and a longer lasting compressor.
Cons: Slightly more setup time, but the habit becomes second nature.
Upgrading Your Air Filtration Setup
If you fight moisture every session, your filter setup may be too small. Tiny inline filters fill up in minutes during humid weather. A larger two stage filter with a regulator and gauge handles much more water.
Some painters add a second inline mini filter near the airbrush handle. This catches any last drops of water that slip past the main trap. Coalescing filters work even better because they trap fine water vapor that simple bowl traps miss.
Pros of upgrading: Drier air, fewer sputters, and steadier pressure.
Cons: Higher upfront cost and more parts to maintain. Still, the cleaner finish is worth it for most serious users.
Easy Daily Habits That Prevent Sputtering
Small daily habits stop most sputtering before it starts. Prevention beats repair every time. Build a simple routine around your painting sessions and you will rarely deal with blobs again.
Before painting, drain the trap and tank, check your hose for kinks, and test spray on scrap paper. During painting, wipe the needle tip every few minutes and pull the trigger fully back to flush the nozzle. After painting, flush the airbrush with cleaner, wipe the needle, and drain the trap one more time.
These steps take less than five minutes total but add years to your gear. They also save paint, because you stop wasting material on ruined test sprays.
When to Replace Parts Instead of Cleaning
Sometimes cleaning is not enough. Needles bend, nozzles crack, O rings dry out, and filter elements clog beyond rescue. Knowing when to replace saves frustration.
Replace the needle if the tip looks bent under a magnifier or if it snags on cloth. Replace the nozzle if you see any crack, even a hairline. Replace O rings every year or whenever they look flat or shiny. Replace the moisture trap filter element once a year, or sooner if rinsing no longer clears it.
Pros of replacing parts: Instant performance boost.
Cons: Small ongoing cost. Still, fresh parts cost less than ruined paint jobs.
Final Quick Checklist Before You Spray
Run through this short list every time you set up. Drain the moisture trap. Check the air pressure and set it for your paint. Stir and thin your paint to milk consistency. Check the needle tip for dried paint. Tighten the nozzle and front cap. Test spray on scrap paper.
If the test spray looks clean, you are ready. If you still see sputters, stop and trace the problem from the air supply to the needle tip. Most sputters reveal their cause within a minute of careful checking. With these habits in place, your finishes will look smooth, even, and pro level.
Frequently Asked Questions
Why does my airbrush sputter only at the start of spraying?
This usually means a small amount of water sits in the air line from the last session. Drain the moisture trap and tank before you spray, and blow air through the hose with the airbrush detached for a few seconds. Starting dry stops first burst sputters almost every time.
Can I use vinegar or alcohol to clean the moisture trap bowl?
A little isopropyl alcohol is safe for wiping metal parts, but avoid soaking the plastic bowl in strong solvents like acetone or lacquer thinner. These crack the plastic. Warm soapy water works best for the bowl, and alcohol works well for the metal filter element.
How thin should I make my paint to stop sputtering?
Thin until the paint flows like whole milk. It should drip steadily off a stir stick without clumping. Different brands need different ratios, so always test on scrap before painting your real project.
Is it normal for water to come out when I drain the tank?
Yes, completely normal. Compressors pull moisture from the air and trap it inside the tank. Draining water out is part of healthy maintenance. If you see rust colored water, drain more often and consider replacing the tank if rust keeps appearing.
Will a bigger compressor stop sputtering?
A bigger compressor with a tank gives steadier pressure and fewer pulses, which helps with sputtering caused by pressure drops. However, it will not fix paint or cleaning problems. Treat compressor size as one piece of the puzzle, not a magic fix.
How long does a moisture trap filter last?
Most bronze or ceramic filter elements last about a year with regular cleaning. If your air still feels wet after draining and cleaning, replace the element. Filters are inexpensive and easy to swap, so do not wait too long.

Hi, I’m Leah Ray — the voice behind CraftBench Vault. I’m a passionate woodworking enthusiast dedicated to reviewing the best wood cutting tools and woodworking products. Through honest research and hands-on experience, I help fellow crafters make smarter buying decisions. Welcome to my workshop!